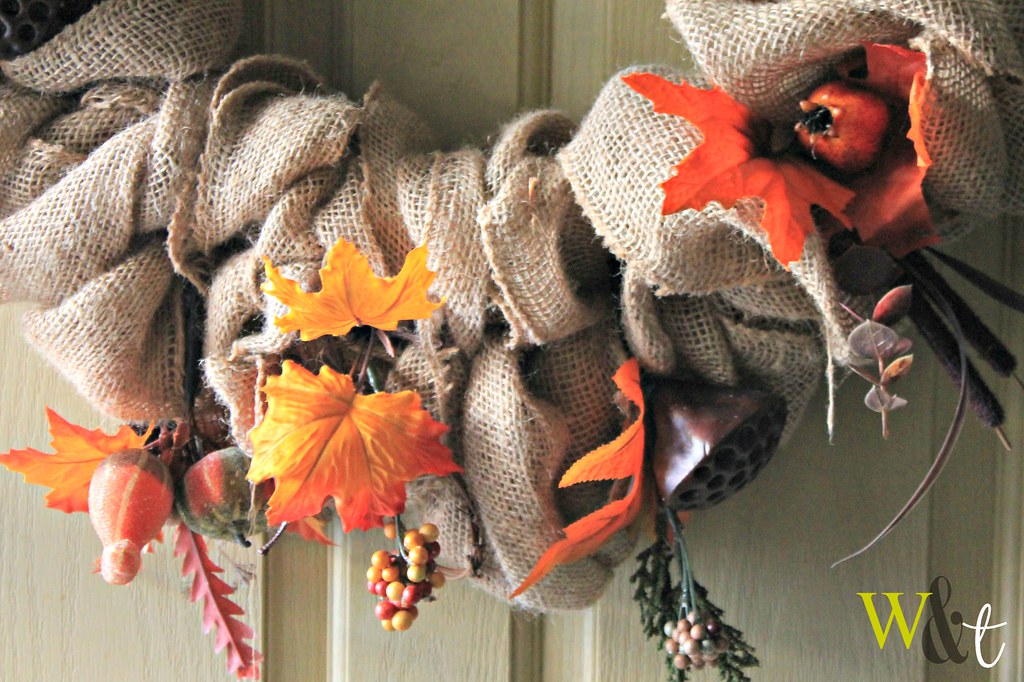
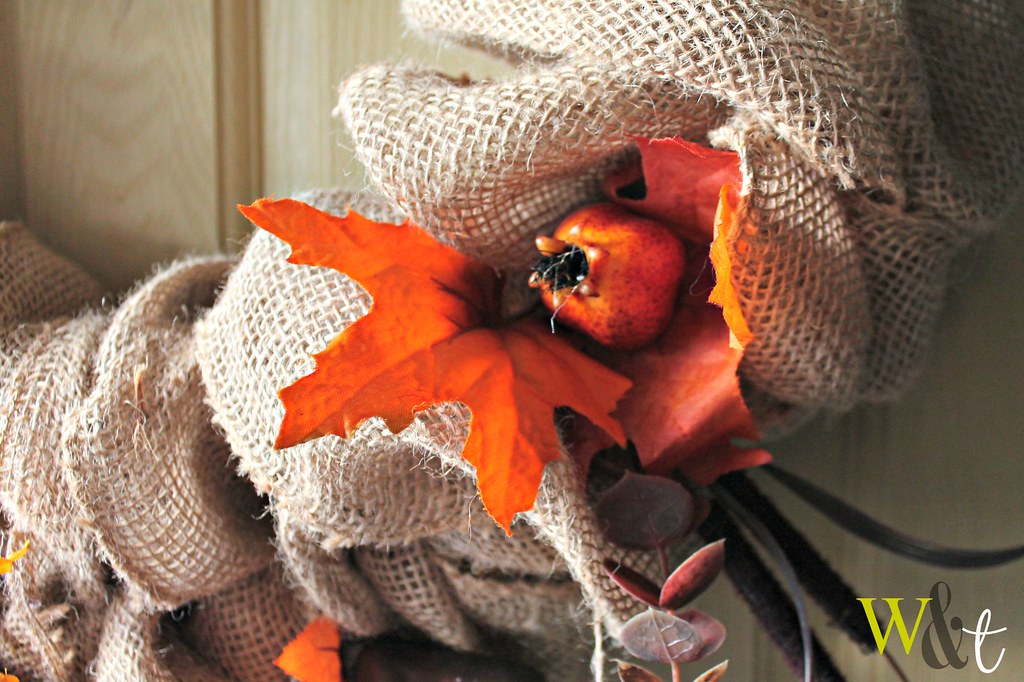
I love getting back into decorating around this time of year, especially because I get to utilize earth tones and textures for the season. I love browns and yellows and oranges all mixed together, so last year I decided to make a burlap wreath for my front door. I coveted the ones on ETSY but knew that I could make something comparable for half of the cost (Thank you AC Moore Coupons!). Although the burlap was about $5 a roll at regular price (and the rolls were on the small size), I simply made a couple of trips for all of my supplies and had the hubby buy some with his own coupon code at the store. In addition to the ring and burlap, I found some adorable little ornaments on clearance for between $.50 to $1 each at the time. In all, I think I spent under $20 for what sells for over $40 (+shipping) online.
I had never made a wreath before, but took the blogosphere for help. I found an easy tutorial at Little Lovely Leaders that had lot of photos to guide me through the process. In all I am proud of how it came out and it held up really well so far (as it was sitting in storage since last year).
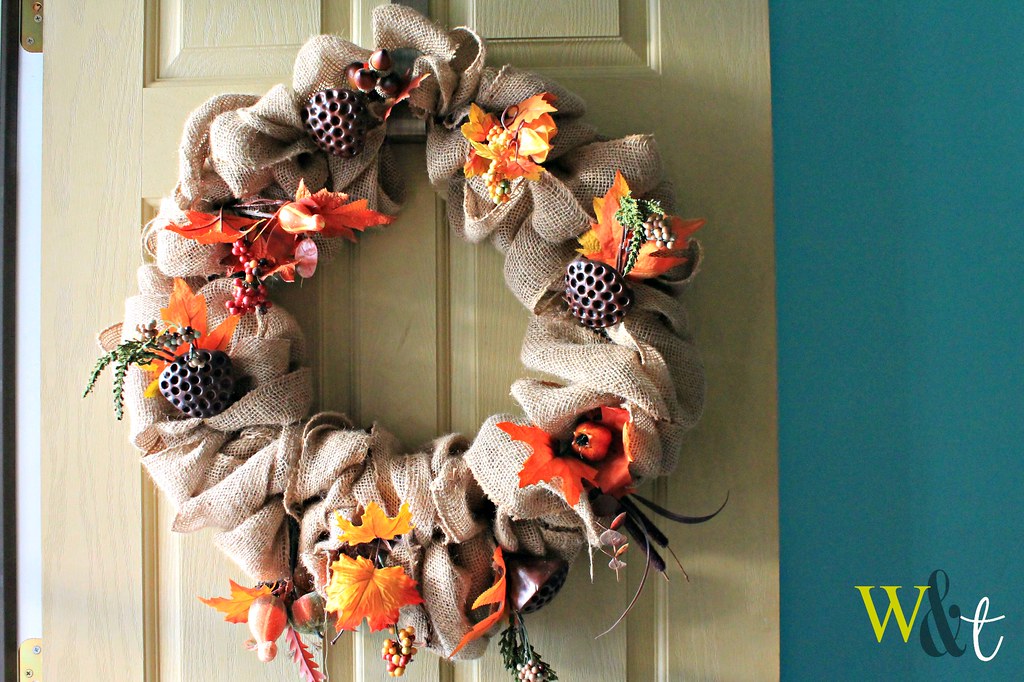
To change it up a bit during the fall I buy small wood signs with things like "Happy Fall," "Happy Halloween," and "Give Thanks" (for Thanksgiving)at the craft store and hang them in the center. This way I am able to keep it up the entire season and still add a little more decoration to the door for the holidays.
Thank you for posting this! I am so glad my tutorial helped!! This makes me so happy! Your wreath is perfection! Happy Fall!
ReplyDelete