Showing posts with label handmade. Show all posts

Halloween Recap!

Yes, I know... this post is a few days late, but I hope everyone had a fantastically fun filled Halloween out there. Despite the evening getting off on the wrong foot ( E didn't want to wear his costume! ) we got to enjoy a night filled with tricks or treats...well, really just the treats.

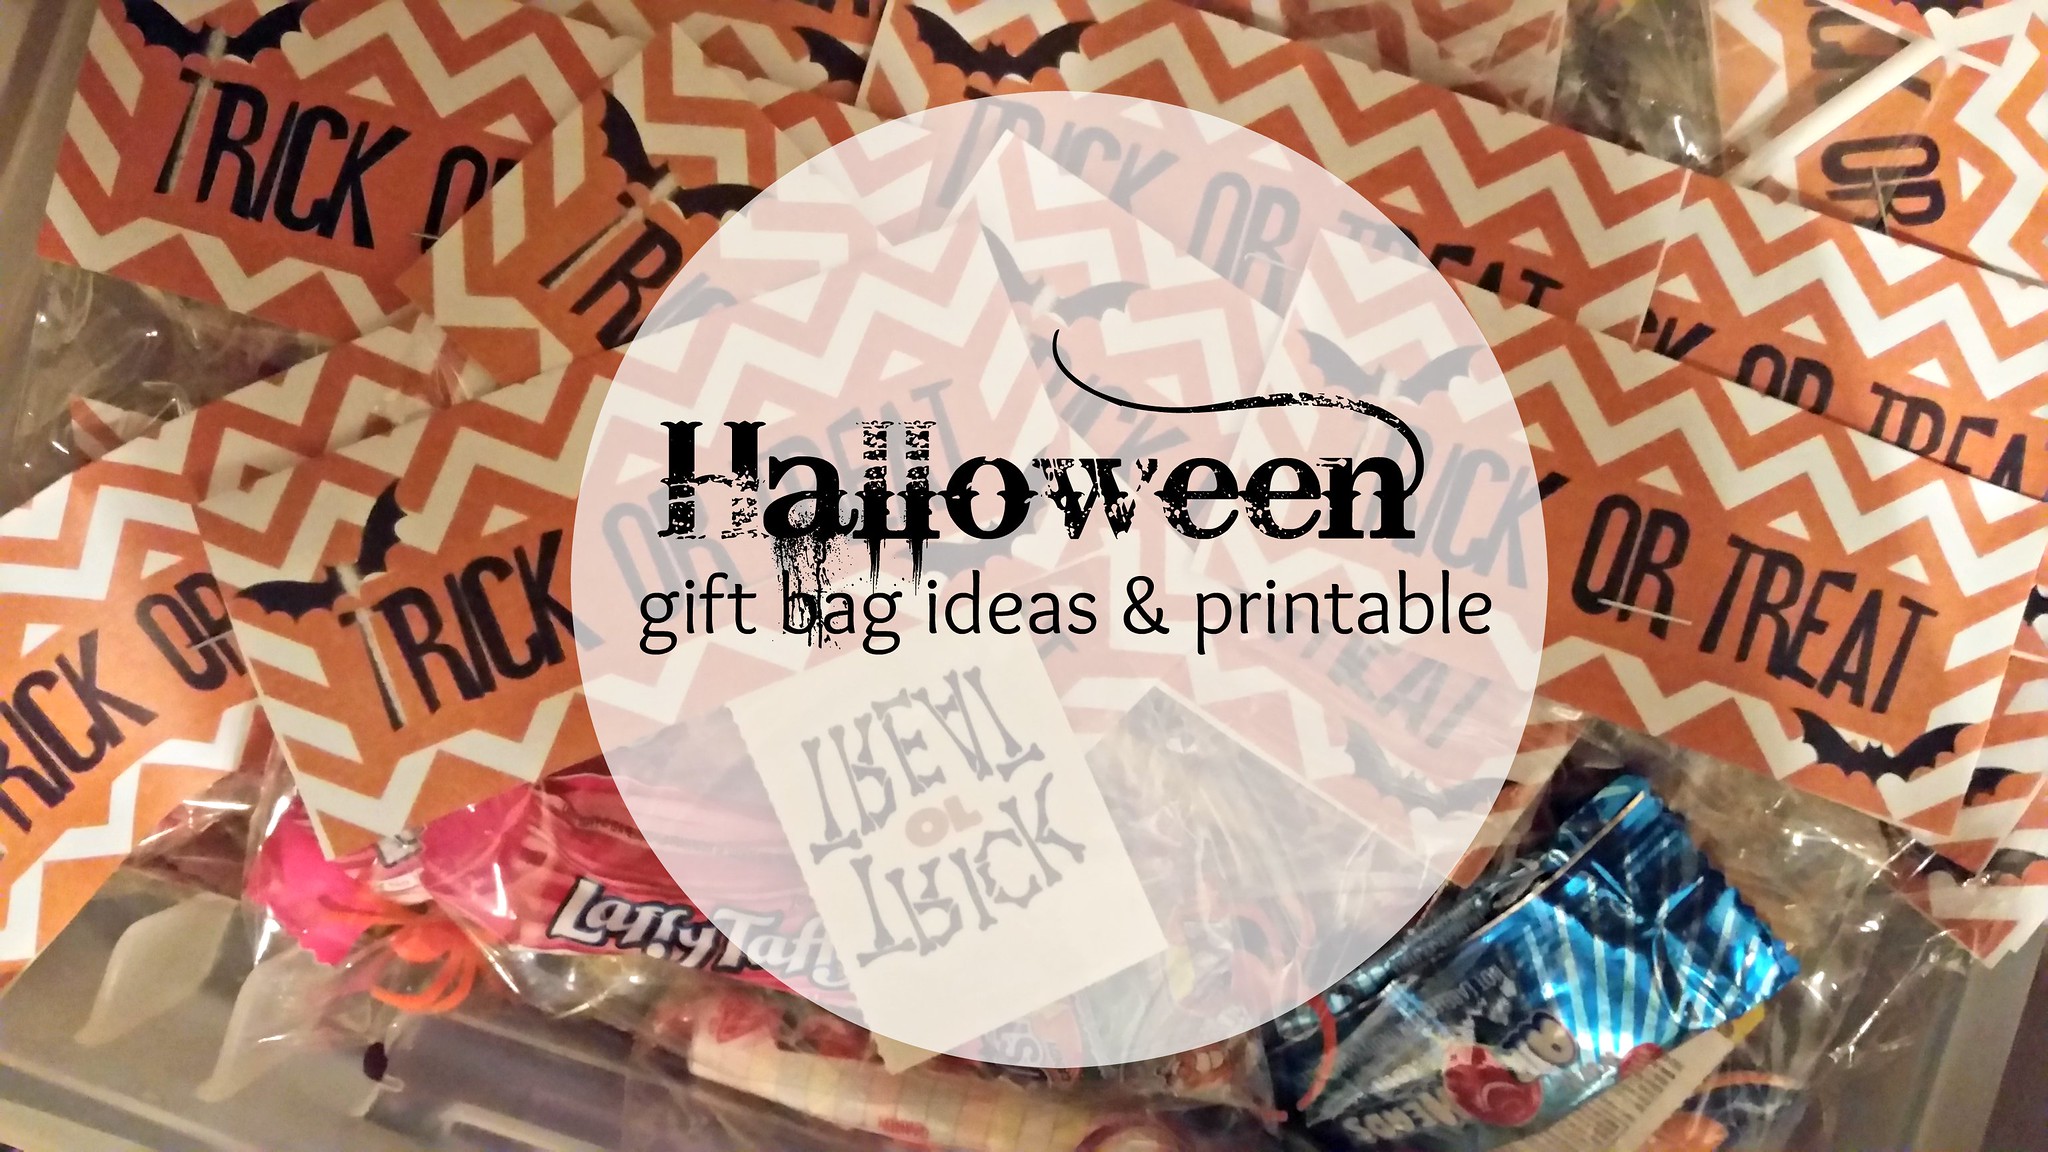
I spent the Thursday before baking lots of candy corn cupcakes, making chocolate covered pretzels, and filling treat bags with all kinds of goodies for Eamon's annual school party and putting the finishing touches on his costume. With a child who hates wearing anything on his head, I needed to make a few adjustments to what was to be the chain mail ( I think it is called a coif )and crown in order for it to fit just right. Come Friday morning, however, we chose not to send him to school in his "special" costume for fear of it getting ruined. Instead, he simply revisited his Doctor Who hat an scarf for the day, which was fine because it is still absolutely adorable.

20151029_203650 20151030_073827

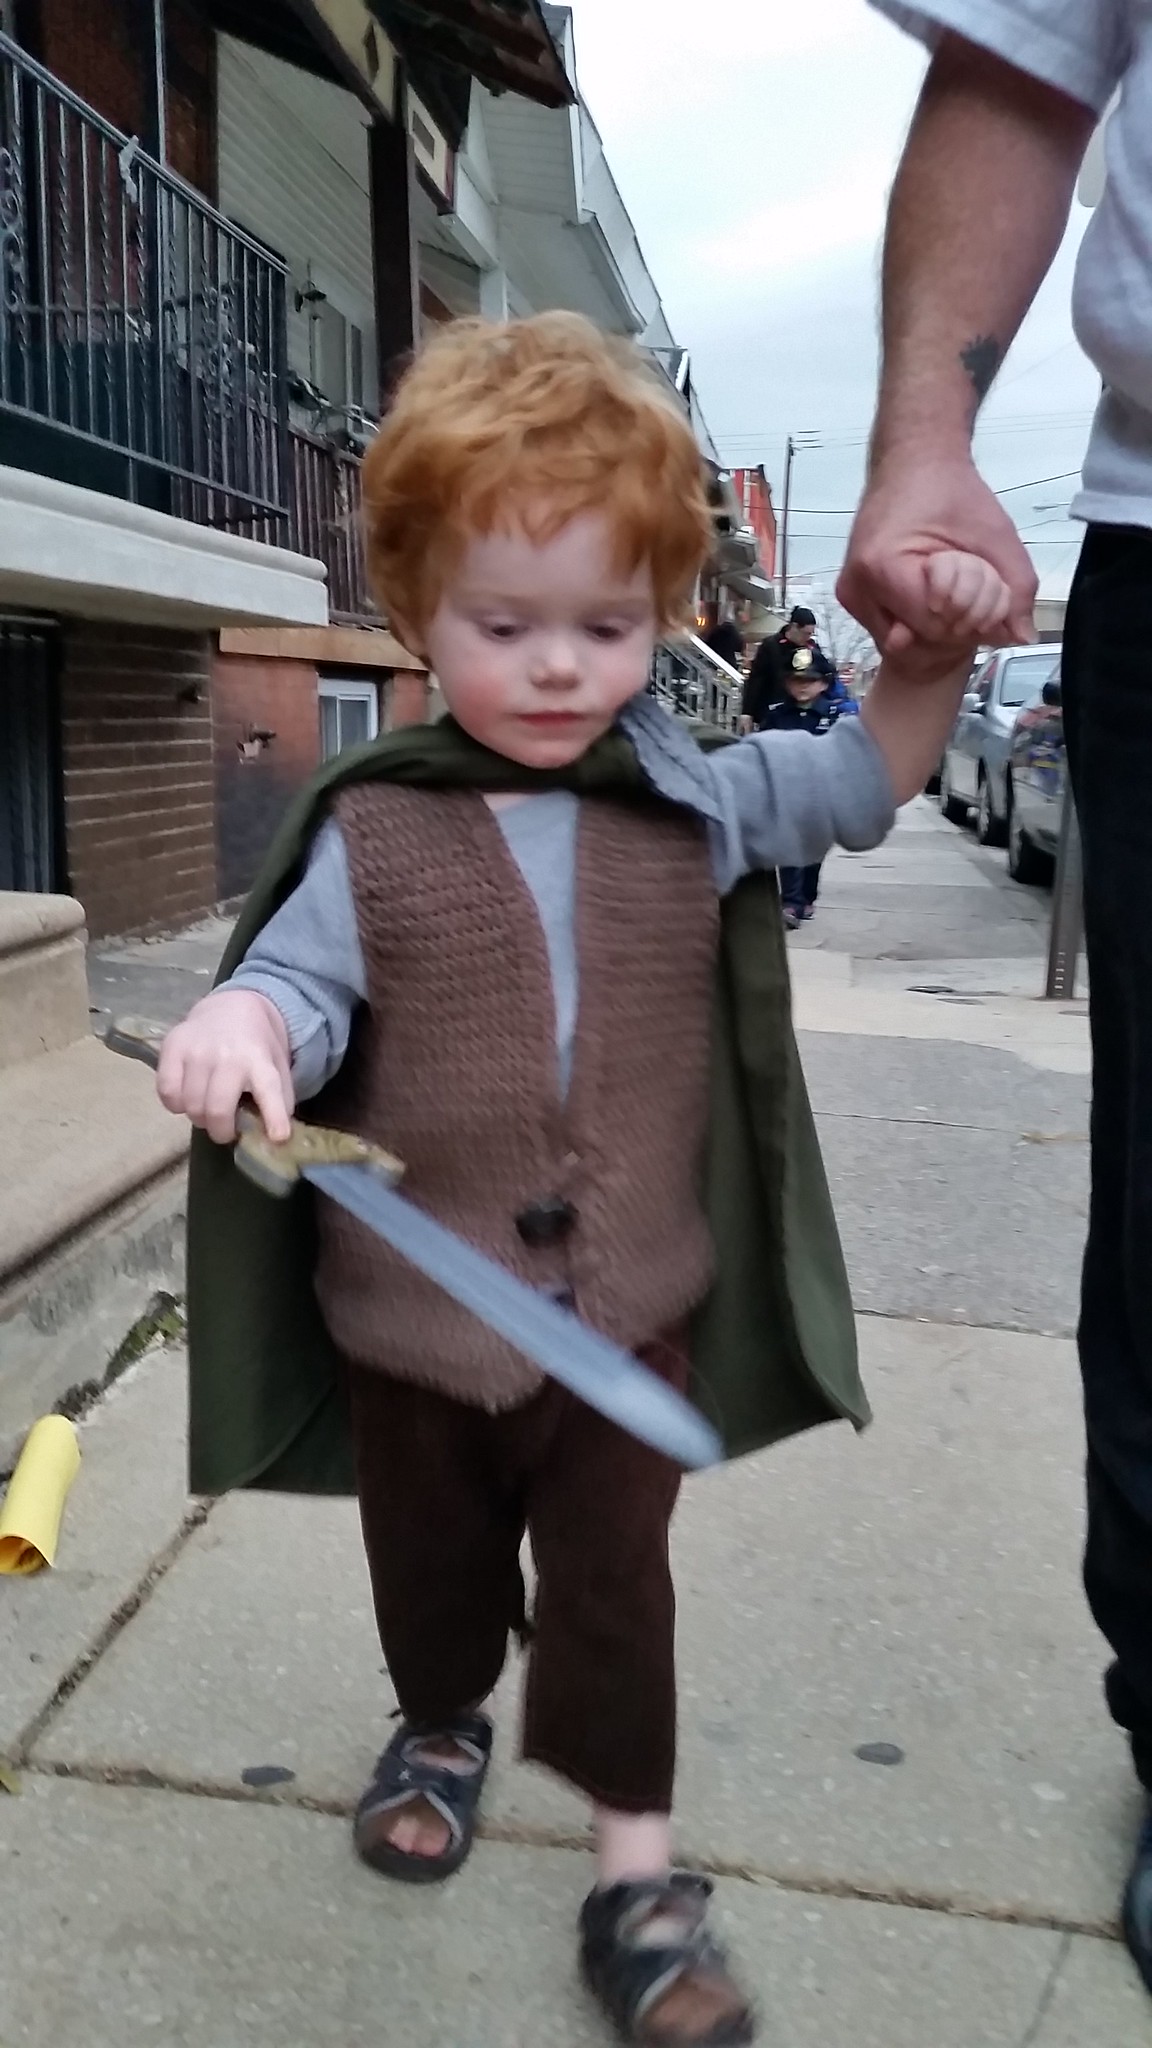
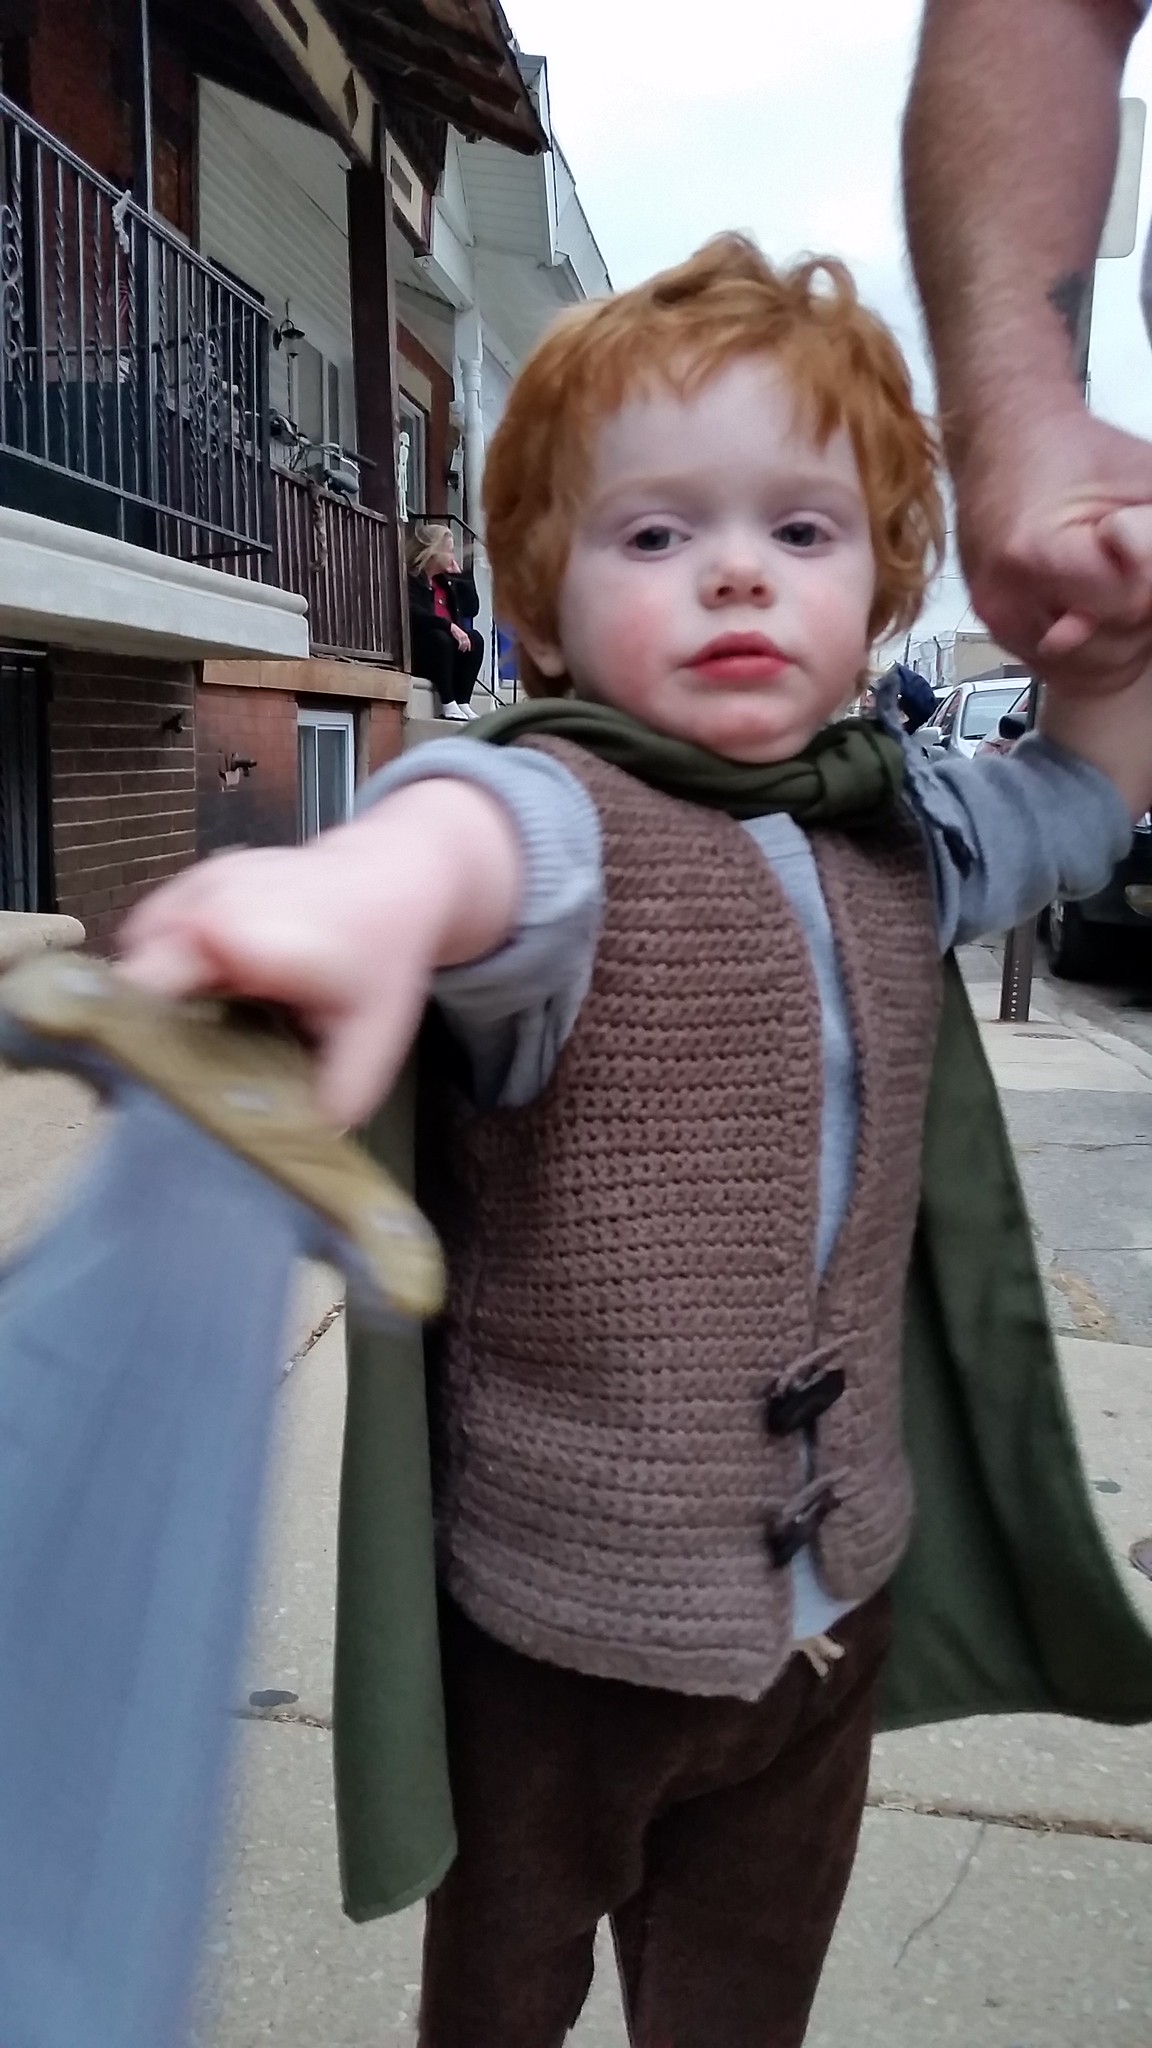
Although he was totally into wearing his hat and scarf all weekend, come Halloween night it took lots of coercing to get Eamon into becoming a knight. After promises that he would be seeing his friends trick or treating and mommy putting together a last minutes costume for herself (I was an old-time bandit like the ones Ralphie shoots in the Christmas story with his Red Rider BB gun - which is probably Eamon's favorite movie) he finally set up in his costume and we headed out for tricks or treats and a few visits to see friends and neighbors. We covered about seven or eight city blocks before his little feet tired out and he was tired of wearing his outfit. Even though the only candy he eats are plain chocolate bars (he has never actually cared for anything sweet), he was excited to dump his pumpkin of candy onto the floor and show off his treats.

11218759_10103620655259713_6339114192255551967_n12193569_10103620525888973_6268585804535121726_n
 I was pleased at how the costume came out over all. The crocheted coif was a bit difficult to eyeball without a pattern, but when you're trying to save money for more important things, spending $30 on etsy for a similar hat just wasn't warranted since I could easily make it myself. The crown was actually made from the leftover fabric from the curtains I made for Eamon's room a little while back, so I lucked out having to but any more material.

The next few hours were sparingly filled with kids looking for something sweet. I made close to 200 treat bags and since Halloween was on a Saturday I though we would get swarmed with kids all evening. It was quite the opposite. Before sunset most of the young kids came out and by about seven o'clock the trick or treating was pretty much over (except for the ignorant teenagers demanding candy without costume). I was really disappointed in the lack of children and their obvious lack of enthusiasm in the whole holiday. Few kids really seemed "into it" and even fewer parents showed any effort. Lots of last minutes Spidermans and Batmans with very little in between. I feel really sad about this. Maybe it's living in the city that has turned kids away from the uniqueness and individuality of the holiday; maybe its lazy parents; maybe its a generation of entitlists being raised to expect heaping rewards with little to no work involved; either way, I hope that the rest of the world's Halloween doesn't become like this. You see lots of  creativity in online posts and blogs, but sadly the reality of the holiday feels like quite the opposite. But enough of feeling like a Negative Nelly...it's time to start brainstorming for next year's costumes!

Halloween Treat Bag Ideas & Free Printable

20151026_074023

Halloween has always been a commercial holiday, obviously, but the past few years I have noticed that it can cost as much as Christmas! Candy is easily $10 a bag and with a few hundred kids (easily) wandering through the neighborhood (Lord, I wish I were in the burbs sometimes), you can charge up a good bit in treats alone. Then come costumes and decorating and parties and school treats...it can be overwhelming...fun, but overwhelming, especially when you have a full plate and are on a budget.

I have to admit, though, that I can go overboard when it comes to trick-or-treats. I adore Halloween. I think it's the artist in me coupled up with the sights and smells and colors of the fall that make it so fun and magical. One year I printed about a hundred treat boxes I had downloaded from the Martha Stewart website and stuffed them with candy and spider rings. (I used old manila three cut file folders they were throwing out and recycled them into the boxes.)  I also made plush felt ghost pins and little stuffed toys for all of the kids on my block or for a special treat for the kids with disabilities who came around that (oh they loved them so much!). I spend hours trying to make things extra special, although most of the time I honestly think that the majority of the kids who come could care less. :(

It's a lot harder now with a different job, cramped schedule, and a young child, too, so I always try to look for ways to make the holiday a little easier for me. A few years ago I found something a little more thrifty and a lot easier to make treat bags with: cello bags. Cello bags are the perfect size to fill with treats, can be decorated nicely, and are only around $2 for a hundred. Plus, they are always in stock at any craft store and any extras can be used up to bag other homemade treats like pretzels and homemade candy. Last year, while introducing myself to the wonderful world of Pinterest, I found the most adorable chevron print-outs for them too from The Unoriginal Mom blog and I have used them for the past two years now to make my bags (although I do not use card stock since I print so many).

20151015_183521
my living room floor the other evening

This year I needed (like really needed) to stay within a budget for my treats and luckily the Walmart near us has bagged candy for $8 - $10 a bag with around 200 - 300 pieces in each. Granted, they're not Snickers bars, but I tried to doll them up a bit by adding some stickers, rings, and temporary tattoos I picked up at the party store. Some of them also have super balls and play vampire teeth (these ones are for the bigger kids, though) that came in a big packet from Walmart for $4.99 (there are also bubbles in them as well, but I saved these for my son's school). I spent about $32.00 for three big bags and one small bag of candy and another $10 - $15 on the other pieces, which means, I was able to stay within a $50 (almost half of what I spent last year) budget for all of my goodies!

*** TIP: Pick up lots of goodies a the end of the Halloween season cheap from your local craft stores. ***

Over the course of two nights I sat and snipped and stuffed until I completed nearly 200 goodie bags, which are for the regular trick-or-treaters. I still need to come up with something special for my son's class (cupcakes are definitely in the works..and maybe some candy pretzels!!!) I also need to hit the treadmill since I keep sneaking all of the laffy taffy. :)


If you are looking for some inspiration for Halloween treats, I found a great post from Eighteen25.com with lots of printables as well.

What do you do to make the holiday special? 

Halloween Costume - Part II - Handmade Narnia Themed Knight's Shield

20151002_072053 
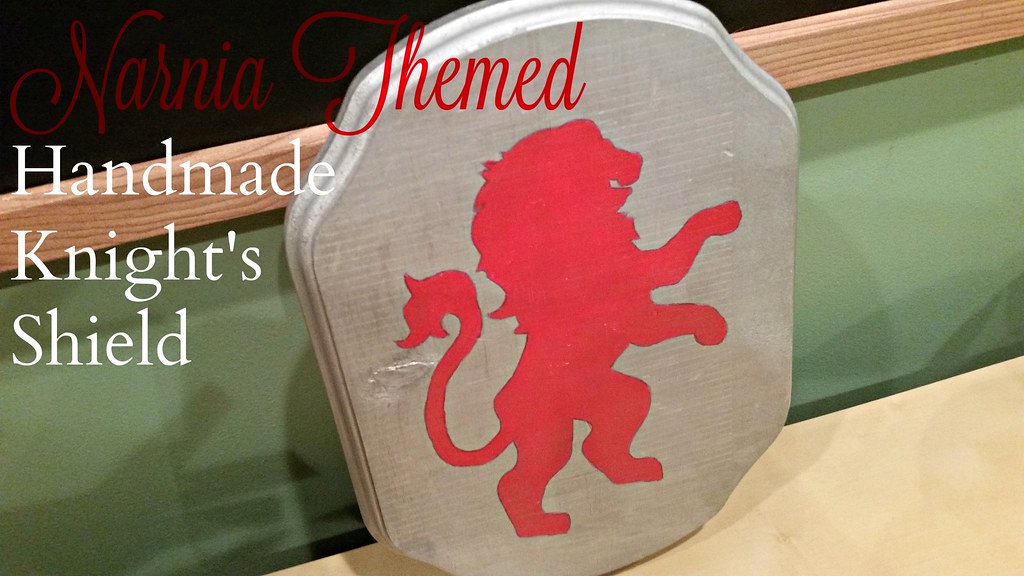
It has been a grueling past two weeks, full of household remodeling, hours at work, and me trying my best to get back into my gym & running routine. And despite the lack of sleep from the anxiety and clutter that are part of "construction," I am slowly getting things done. This includes adding more to E's Halloween costume. The stores are busy with candy and costumes and we have already gone through The Great Pumpkin movie at least a hundred times, so I know I only have a little time to get my act together.

I have been working on the chain mail hat/crown piece slowly but surely. With a little one who despises having anything on his head, that part will definitely be taking up more time that it should. Thus, I turned to something more simple: the shield. This piece was probably the easiest to put together; actually, there was little effort at all. Just a steady hand and a place to paint.

Inspiration:

Just like part one of this three-part Halloween Costume series, I took my inspiration from this lovely (and I mean lovely) blog from At The Picket Fence. This AMAZING mom threw an AMAZING Narnia party that would make any kid jealous, so definitely check her page out.

Supplies:

  • wood display base
  • spray paint in desired color ( I used acrylic silver )
  • stencil
  • red acrylic paint ( or other desired color )
  • fine paintbrush
  • polyurethane
  • construction staples or small tack nails
  • scrap cloth thick enough to make a handle
  • sewing machine & thread (or needle to hand sew)  

The Project: 

20150918_074332
Using one of those "wood block things" from the craft store that are typically used for displaying purposes (I always image taxidermy when I see them), I crafted a shield small enough for a toddler of the tiny-variety. Some silver spray paint, the same stencil from the smock, a paintbrush, some red acrylic, a piece of leftover fabric, and some small tack nails were what I used for this project.

After two generous coats of silver paint (wood is porous and this piece was not primed), I allowed the shield to dry overnight outside (where it was cooler and kept the fumes from the house). I applied the stencil and traced with a pencil to outline. Some bold, red acrylic paint worked wonderfully to bring out the piece's authenticity. I was pleased, also, at the steadiness of my hand, since I had not done any "fine" painting in quite some time. (Walls and ceilings don't count as art!)

20151002_072016

After the paint dried entirely, I applied a thin coat of I folded over some blue scrap fabric to construct a handle. After a little measuring and a top stitch with a complimenting thread, I used some small tack nails to secure the handle into place. I made sure to use something small enough but would also keep the handle in place after some play. You can also opt for construction staples, however, be sure to check the depth of your wood before to make sure nothing "pokes through" that can cut your little one.


20151002_072047

Cost: 
Although the project wasn't difficult I am really happy with how it came out.  The colors are so vibrant and the sizing was just right for my little guy. I splurged a little for the spray paint and bout one that is about $8 a can (but I used my 40% off AC Moore coupon), but the wood block was only $1.99. The acrylic paint and fabric and tacks were all things I had on hand, so this piece cost me about $5 - $6 to make, but it matches the costume so perfectly and this is something my little guy can continue to play for a long time if he chooses.

Halloween Costumes - Part I - Handmade Narnia Themed Knight

Pintrest, Pinterest, Pinterest! What did we ever do without Pintrest?!

I love searching Pinterest for ideas for almost everything, so when I needed to find some costume ideas for E I got the browsing. I found this blog post online for a Narnia inspired birthday accompanied by an adorable knight costume. The next day I hit the fabric store and grabbed some velvety-maroon fabric, some grey yarn, and felt (along with some other things for myself) and crossed my fingers.  I couldn't wait to have a go. Although Eamon has never actually seen Narnia, both of his parents are big fans.

Here it goes!

The construction of the vest was quite easy to make but still took some time since little one would not allow me to measure him properly! After some squirming I decided it was much easier to simply grab one of his shirts and measure from there. I began with half a yard of fabric which I ironed some straight seams for the sides and applied fray block (don't worry, it does not stain, despite what the photo may look like). Although this wasn't a necessary step, I noticed that the fabric ends frayed easily so I found no harm in it. Next, I applied some black fusible interfacing (found HERE, however I purchased on fabric row here in Philly) to the back of the "smock" to eliminate having to sew a backing on it, especially since the fabric was already thick enough. The color of the interface makes it look clean and polished without adding any extra sewing steps.

For the neck I used a t-shirt to draw out a circle from the center, making sure it was large enough to pull over. After, I sewed on some matching bias tape (aka the devil!) to the collar and sides, but chose some gold fringe for the bottom just like the blog showed. I applied the bottom with fabric glue and allowed to dry overnight before I ironed the piece to get it ready for the applique. A piece of gold felt and a lion stencil (found HERE ON PINTEREST) finished up the vest. I applied this with a little tacky glue as well. Not exactly the cheapest costume, but nonetheless adorable, and I was able to buy a lot of the pieces from local shops.


IMG_5364 IMG_5365 IMG_5382 12048864_10103542509165113_1774109766_n

Eamon didn't quite understand the vest but did like the fact that it had a gold lion, or as he called it, the Lion of Sodor (he is a huge Thomas the Tank Engine fan). Since he wasn't familiar with Narnia yet we keep telling him he is going to be a Knight of Sodor for Halloween. 

Supplies & Cost:

Here's a quick recap on what was used...

- 1/2 yard poly/velvet blend fabric: $7.49
- black fusible interfacing: no cost, part of my stash!
- gold felt: $.49
- 1 pack maroon bias tape: $2.49
- fringe: $3.95
- thread: on hand

Although the original post uses a ribbon tie to secure the piece, I used some glue-on velcro since E is so small and I didn't want the tie to cover up the design on the front.

Check back to see the progress on the rest of the costume along with some tutorial and how-to guides.

It's Never Too Soon for Halloween!

Today I have been obsessing over Halloween (just about a month prematurely). I recently had an old friend contact me about crocheting some Halloween inspired hats for her new baby after seeing my posts in my Etsy shop! I was so happy to hear from her and to hear about a new baby! (Isn't he just ADORABLE!)

So with all this talk about Halloween and seeing the fall displays being put up in the craft stores, I have been inspired to get searching and pinning on my Pinterest boards. I also though it would be a good time to start searching for some great costume ideas to the pea. Growing up, my Godmother was an excellent seamstress and all around crafter. She was always my inspiration for all of the arts and crafts I did growing up and would teach me how to hand sew and make jewelry when I was a little girl. Every year she would make me a costume from scratch: witch, devil, flapper girl, rock star, you name it. I kept them my entire life until my youngest niece was old enough to play dress up in them (which was only a few years back). They were so beautiful and colorful. Nowadays it seems like parents would rather visit the party store and drop anywhere from $20 - $100 on a cheap, poorly constructed costume that just barely gets their kid through the evening.

There was an article posted on Etsy a few years back from Chappelle Ellison titled "Making the Case for Handmade Halloween Costumes." In the article she actually quotes a DesignSponge piece titled Art In The Everyday: Vintage Halloween Costumes. For those born prior to the mass marketing of big box stores (and I was actually somewhat on the borderline of that generation being a product of the last of the Woolworth stores), some of us had the opportunity to be corny and creative at least one time a year. Costumes were (and I assume still are) an opportunity for pride and competition amongst kids. Who doesn't want to win a competition or show off at school? Like now, there were still a lot of kids with store bought costumes like super hero or princess or Disney theme costumes, but EVERYONE looked the SAME and every year I must give out candy to at least a hundred Iron Men, Batmen, and Elsas! What fun is that? Maybe it is just where I live (fingers crossed), but kids are not expressing themselves anymore and it feels so sad. You don't see creativity and kids playing dress up like they used to (like we use to). Technology is probably the main culprit.  But is it only that? As the DesignSponge and Etsy articles tell us - parents are stretched so thin that there is little time to even cook an adequate dinner in some households let alone put together a Halloween costume. Although I can sympathize being one of those homes, look at all those moms (and dads) who make the time to keep Halloween special (and be a kid themselves). But enough finger pointing....back to costumes!

Every year we have two costumes for Eamon: one for his pre-school that he can pretty much destroy and have it not be a big deal and the other a well thought out, handmade costume. I was so proud of how he looked last year in his little Hobbit costume. The cape and pants were easily sewn without a pattern. The pants are an almost suede-like material I scored for a dollar in the clearance bin at what was my favorite fabric store (which, sadly, not is closed :( ) and were made by tracing a pair of pants a size bigger than he was wearing. Utilizing a method for an elastic waistband I braided cord instead and left the legs short and un-hemmed. The cape was about $4 in fabric to make and was knotted in the front and adorned with a little felt leaf. A long grey thermal shirt sat underneath a crocheted vest (the longest and most tedious part of the costume) and a pair of summer sandals received a little faux-fur treatment (since we all know Hobbits had hairy feet!). A play sword and a chain with a gold ring finished off the costume. Under $20 in cost and about five hours of preparation spanning about a week (most of it being the crocheted vest) and we had a simple but adorable handmade Halloween costume. No frills, no fuss, and most of all, it felt like real clothes - meaning that it was two-year-old friendly and easy to get on!

20141031_17485620141031_174858(0)

I have already spent an hour (ok maybe more) looking for inspiration for this year's costume(s). Of course, Pinterest is my BIGGEST inspiration for ideas right now. As it stands right now I am completely torn between this adorable fox found on Handmade Charlotte and a cute little Ewok costume just like this one on Costume Express for at least ONE of Eamon's costumes. Of course if it were up to him he would simply dress as Thomas the Tang Engine...probably every day.


There are too many cute ideas to choose from. I can't wait to get started on this year's project! What are your favorite Halloween costume ideas?