The Rope Trick: Upcycling Decor

Rope is a simple and inexpensive item that is typically overlooked when it comes to a decorative use. However, with a move back to natural, somewhat bohemian elements in home decor, designers are taking a $3 spool of jute and turning it into $50 vases and $30 votive holders. After taking to Pinterest for some inspiration I took elements from this tutorial to turn an old, inherited piece and make it more...well...us.

IMG_5119

The original piece came from my husband's Grandmother's home in Avalon, NJ. It hung in out bathroom, but it's daintiness did not seem to fit the rest of the decor of the room. Needless to sayI decided to replace it with something more suiting (which also happened to be a piece from her home). It has been collecting dust and winding up in awkward places where it simply doesn't belong because I did not want to get rid of it. I also did not want to do something to it that might destroy it (just in case). So, I decided the rope wrapping was the way to go.


The entire project took less than one package of this jute rope, which I got at Walmart for $1.97 ( ca-ching! ). I usually keep a few of these around, but with the house in chaos right now (that's another story), I thought it easier to just buy another roll instead of ripping open boxes and bins. I like this particular rope for a lot of my crafts because it is unfinished. A lot of ropes have a wax-like coating on them which helps them "grip" as well as prevents them from fraying. Since I like my projects a little more rustic sometimes (pretty colors mixed with indie & natural elements), I want something that it going to have more texture. Other than that, the only supply you need is a hot glue gun or suitable glue.

20150821_191901

I began with the easiest part of my letter: the middle. As the girth of my letter is different than the tutorial, I opted out of the first step, which was to glue a strand around the perimeter of your letter.


When that was finished I took to conquer the tricky parts - the corners and ends. Wrapping in the corners can create a lot of bulky overlapping, so be careful. In these spots I applied some hit glue and applied the rope in a tight "wave" pattern actually wrapping it entirely around. After that I wrapped around this a few times to cover it up. I did the same for the ends, making sure to securely coil up my rope and apply a generous amount of hot glue to hold.

20150824_075455
All in all I am pleased with the end product. With under and hour of work and under $2 in cost, I was able to take an old treasure and turn it into something new.

 If you'd like some more inspiration on rope projects, check out this fabulous pin!

The Simplest Stuffed Animal Solution


FACT: Kids have too many stuffed animals. And even after attempting to clean them all out, there are still just too many lying about waiting to be played with. Heaven forbid you get rid of that one particular bear or giraffe even though it has not been touched in eight months and there are seven others just like it, right? Well, not only do they collect dust, but they take up a lot of space...and in a small home, even a little bit of space is a lot of space.

This weekend I set out for a storage solution for some, if not all, of Eamon's stuffed animals. Philadelphia row homes are very small (at least the old ones like ours) and with a tight budget right now I was looking for something that required few supplies and would minimize the amount of space efficiently. This Girl's Life blog had quite a few wonderful ideas, however, it was this post from Hysterically Ever After that hit the nail right on the head and with two household objects and ten minutes of time. I set off to conquer the plush jungle and I did so with gusto!


IMG_5087


I made a few modifications (if you want to call them that) to the blogger's original design. I used ribbon twice as thick as it seemed more sturdy as well as visually appealing to me and opted not to knot the clothes pins in place. Since I used 1" ribbon the pins stayed in place quite easily and I did not like being restricted before hand on where I wanted to place the toys. This freedom can come in hand when positioning large and small toys together (as in the photo above) and allows you to add more pins in the future (as the collection grows).

Total cost: $0
All of the materials I had on hand, however, should I have needed to buy these materials, it would have been under $3: $1.49 for ribbon (after coupon) at AC Moore  and $.98 for clothes pins at Walmart.

Olde Pine Cemetery

Photography is so cliche' anymore. It is quite disappointing in its own way how everyone sees themselves as a photographer thanks to affordable SLRs, I-Phones, and Instagram. I never claimed to be an expert as I can barely maneuver my SLR in manual mode, yet, I still find myself thoroughly enjoying a quite ride in the morning searching for a spot to snap a few photos.

One such recent morning I decided to forgo my morning session at the gym for a quiet bike ride into Olde City. I wandered into the Olde Pine Cemetery early enough to take it all in without the sounds of traffic and kids heading to school for the day. It was quite nice. Peaceful. Inspiring.

IMG_4624
IMG_4608

There are so many cemeteries in Philadelphia, many of which have been holding their dead since the 1700s. Olde Pine is one of the such. Burials began in 1764 as soon as Thomas and Richard Penn (the sons of William Penn) deeded property at 4th and Pine Streets to a group of Presbyterians. The Church that sits to the corner of the lot had yet to even be built before plots were dug and graves were filled. The site holds over 200 Revolutionary War soldiers, masons, doctors, lawyers, tradesmen and even signers of the Constitution. Unfortunately, many simply remark on how the film National Treasure was filmed there and disregard the number of thirteen star flags peering up at them.

IMG_4611 IMG_4606

The site is beautifully kept with flowers adorning areas around the graves and ivy neatly falling over the walls. If you are ever a visitor to the area and unfamiliar with the history, I would recommend booking one of the tours of the churchyard. Also, if you are brave, you could opt for the ghost tour of the area.

Kitchen Organizing Adventure - Part I

20150808_095048

For me cleaning is not exactly an "adventure," however, when I get to buy new supplies for any reason I get excited. Maybe a little too excited. I have been storing the majority of my kitchen dried goods in various jars, but this weekend I decided to get serious and REALLY sort out all of the nuts, flours, and beans (as well as cereals) and keep the shelves sorted for good! 


20150808_124555

Haul Time! 

Budget is always a big concern when it comes to any project of mine. Although we do have some Dollar Stores near me, they tend to have very few organizational items and those they do carry are usually flimsy and made of plastic. Luckily there is a Walmart and IKEA within a mile from my home, IKEA being the one I usually turn to for storage since they offer a wider assortment of glass storage as opposed to plastic bins, which are not ideal for any long term food storage. IKEA products are pretty versatile as well, so items in the kids section could actually work in the kitchen and vice versa. For this project I needed items that were air tight to keeps things like bugs (flour bugs in particular) out and keep the products IN and fresh. I keep a lot of dried goods on hand like rice, baking flours and sugars, dried beans, grains, and, especially, nuts. They help to keep meals versatile and work well at adding nutrition like fat and protein. It is also a good idea to keep a variety of dried goods around in case of emergencies since not only do they have a great shelf life, you can store fats, carbs, and proteins without refrigeration. Unfortunately, in order to make everything uniform for this project, I would need over 40 containers! (That's a lot of dried foods.) With prices ranging from $3.49 - $4.49 each, that's a lot of money being spent for the sake of my OCD. In reality it took me quite some time to actually finish this project (buying a few jars every trip to lessen the burden) my trip Saturday was actually for the last few and to grab something to keep my cereals in. This is another reason I prefer IKEA for a lot of my organization: they offer similar items ( as well as durable items ) in a variety of sizes. Living in a small home, this is greatly appreciated.

20150808_125634

As the jars ate up so much of my budget, I needed to think of something economical that would actually work to keep the jars labeled. Labeling is a must for any organizational project, IMO. As chalkboard labels were not available at any shop in my area and ordering them online would cost about a dollar a label plus shipping, I tried homemade chalkboard labels made by spray painting a sheet of Avery 5163 printing labels from the office supply store (or from work, he he) I had on hand with chalkboard paint leftover from other crafty adventures, and, although they looks quite cute, the plain labels did not withstand humidity and the occasional splashes of water that are inevitable in a kitchen (they do, however, work on other surfaces quite nicely). To come up with a solution to this problem, I turned to the school supplies and applied a strip of clear contact paper right over the label. It works like a charm, and, 45 jars later, all of my dried goods are labeled and ready to...well...eat. Mission accomplished. 

20150808_082539
 

The Korken series jars are available in three difference sizes and have an airtight seal. The range from $2.49 to $4.49 a jar. There are several other shops that carry similar items, such as Target and Williams & Sonoma, but expect to pay up to twice the amount. In addition I used:

  • Avery 5163 Labels
  • Printer
  • Clear Contact Paper
(SIDE NOTE: I found a super cute and sorta whimsical font called Penelope Anne online as I do not like the heaviness of the standard fonts.) 

I'm not going to disclose how much I actually spent on this madness, but you can do the math. Was it worth it? Heck yea! Everything I need is neatly labeled and put in its place. Anxiety resolved, and the next time hubby wants to know where to find the cashews I need not open my mouth. 

It's Never Too Soon for Halloween!

Today I have been obsessing over Halloween (just about a month prematurely). I recently had an old friend contact me about crocheting some Halloween inspired hats for her new baby after seeing my posts in my Etsy shop! I was so happy to hear from her and to hear about a new baby! (Isn't he just ADORABLE!)

So with all this talk about Halloween and seeing the fall displays being put up in the craft stores, I have been inspired to get searching and pinning on my Pinterest boards. I also though it would be a good time to start searching for some great costume ideas to the pea. Growing up, my Godmother was an excellent seamstress and all around crafter. She was always my inspiration for all of the arts and crafts I did growing up and would teach me how to hand sew and make jewelry when I was a little girl. Every year she would make me a costume from scratch: witch, devil, flapper girl, rock star, you name it. I kept them my entire life until my youngest niece was old enough to play dress up in them (which was only a few years back). They were so beautiful and colorful. Nowadays it seems like parents would rather visit the party store and drop anywhere from $20 - $100 on a cheap, poorly constructed costume that just barely gets their kid through the evening.

There was an article posted on Etsy a few years back from Chappelle Ellison titled "Making the Case for Handmade Halloween Costumes." In the article she actually quotes a DesignSponge piece titled Art In The Everyday: Vintage Halloween Costumes. For those born prior to the mass marketing of big box stores (and I was actually somewhat on the borderline of that generation being a product of the last of the Woolworth stores), some of us had the opportunity to be corny and creative at least one time a year. Costumes were (and I assume still are) an opportunity for pride and competition amongst kids. Who doesn't want to win a competition or show off at school? Like now, there were still a lot of kids with store bought costumes like super hero or princess or Disney theme costumes, but EVERYONE looked the SAME and every year I must give out candy to at least a hundred Iron Men, Batmen, and Elsas! What fun is that? Maybe it is just where I live (fingers crossed), but kids are not expressing themselves anymore and it feels so sad. You don't see creativity and kids playing dress up like they used to (like we use to). Technology is probably the main culprit.  But is it only that? As the DesignSponge and Etsy articles tell us - parents are stretched so thin that there is little time to even cook an adequate dinner in some households let alone put together a Halloween costume. Although I can sympathize being one of those homes, look at all those moms (and dads) who make the time to keep Halloween special (and be a kid themselves). But enough finger pointing....back to costumes!
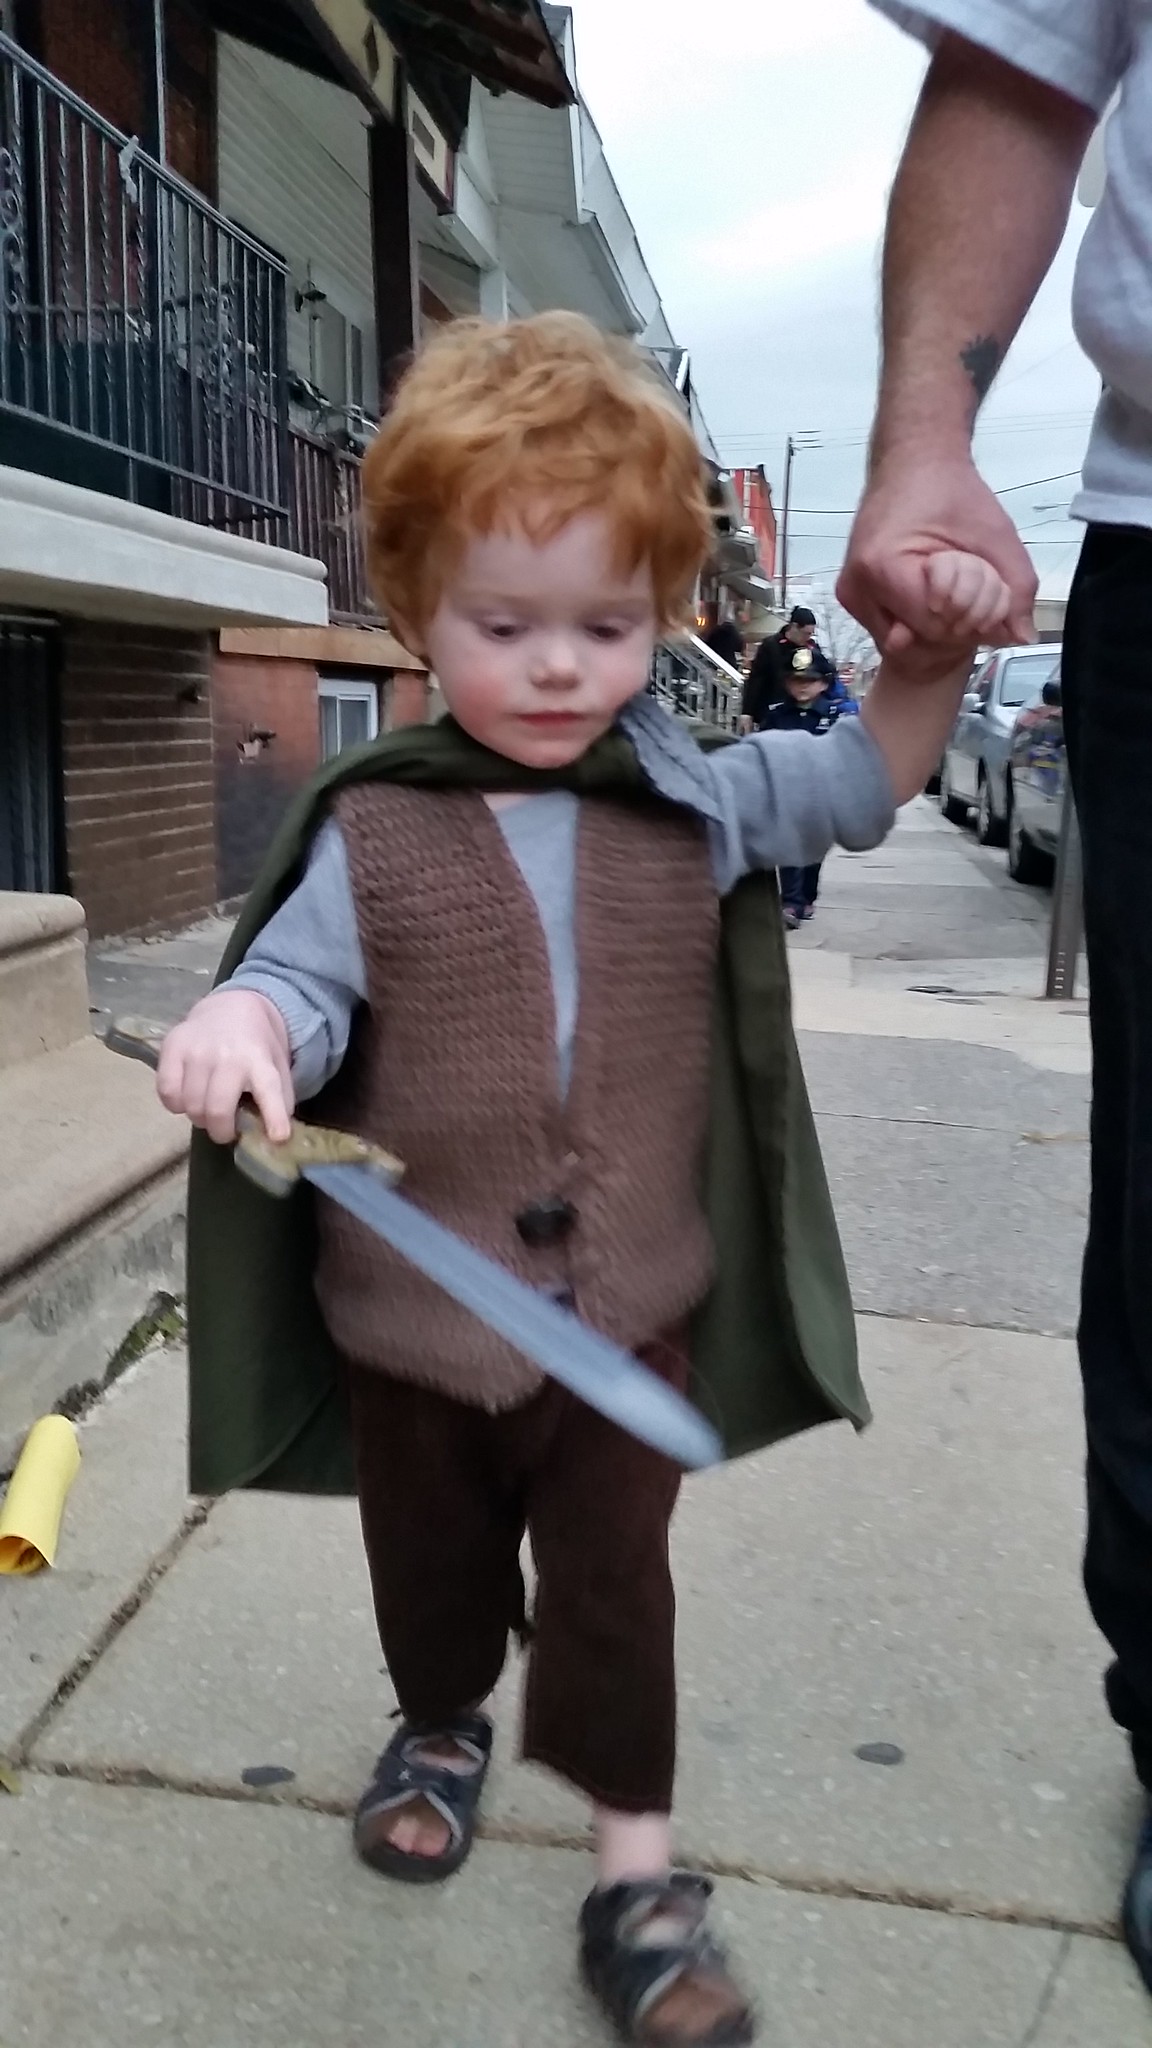
Every year we have 
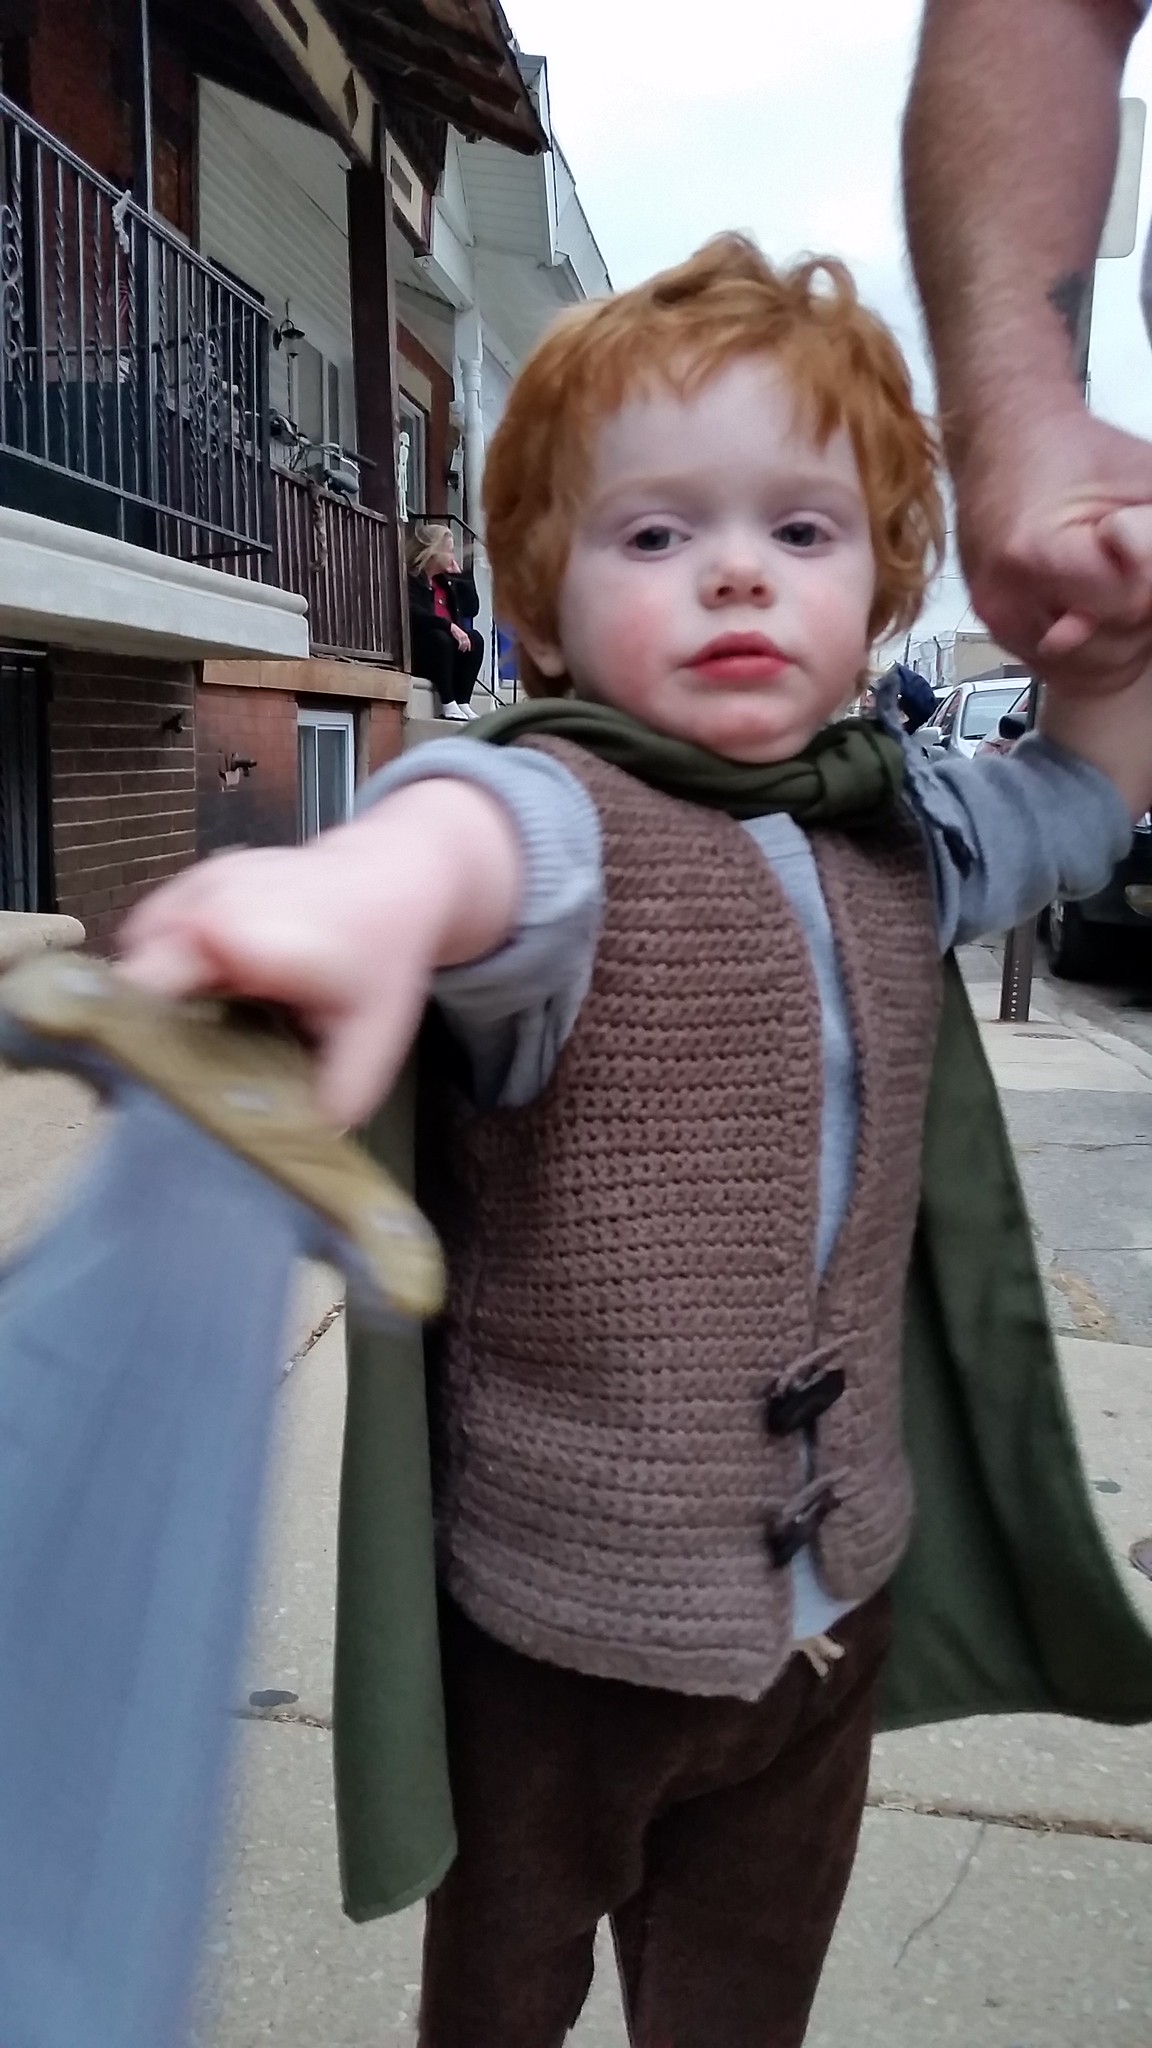
two costumes for Eamon: one for his pre-school that he can pretty much destroy and have it not be a big deal and the other a well thought out, handmade costume. I was so proud of how he looked last year in his little Hobbit costume. The cape and pants were easily sewn without a pattern. The pants are an almost suede-like material I scored for a dollar in the clearance bin at what was my favorite fabric store (which, sadly, not is closed :( ) and were made by tracing a pair of pants a size bigger than he was wearing. Utilizing a method for an elastic waistband I braided cord instead and left the legs short and un-hemmed. The cape was about $4 in fabric to make and was knotted in the front and adorned with a little felt leaf. A long grey thermal shirt sat underneath a crocheted vest (the longest and most tedious part of the costume) and a pair of summer sandals received a little faux-fur treatment (since we all know Hobbits had hairy feet!). A play sword and a chain with a gold ring finished off the costume. Under $20 in cost and about five hours of preparation spanning about a week (most of it being the crocheted vest) and we had a simple but adorable handmade Halloween costume. No frills, no fuss, and most of all, it felt like real clothes - meaning that it was two-year-old friendly and easy to get on!

20141031_17485620141031_174858(0)

I have already spent an hour (ok maybe more) looking for inspiration for this year's costume(s). Of course, Pinterest is my BIGGEST inspiration for ideas right now. As it stands right now I am completely torn between this adorable fox found on Handmade Charlotte and a cute little Ewok costume just like this one on Costume Express for at least ONE of Eamon's costumes. Of course if it were up to him he would simply dress as Thomas the Tang Engine...probably every day.


There are too many cute ideas to choose from. I can't wait to get started on this year's project! What are your favorite Halloween costume ideas?
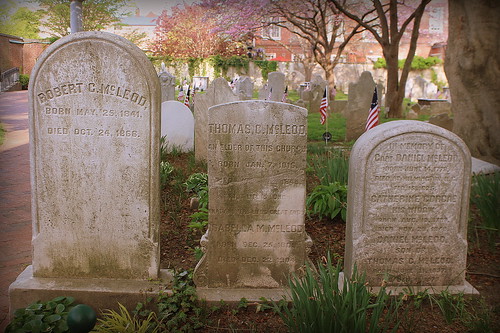
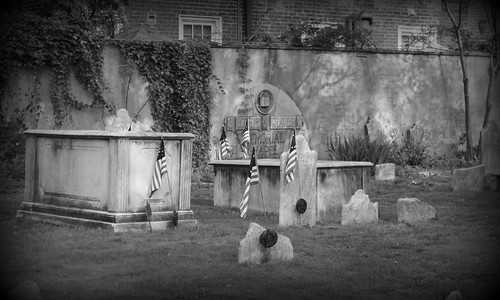
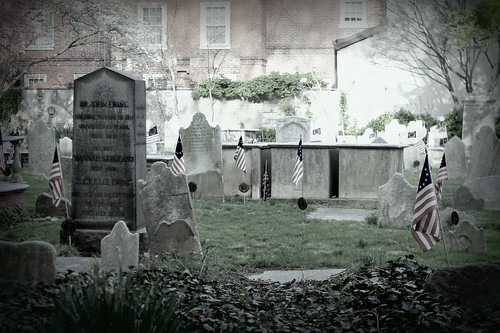
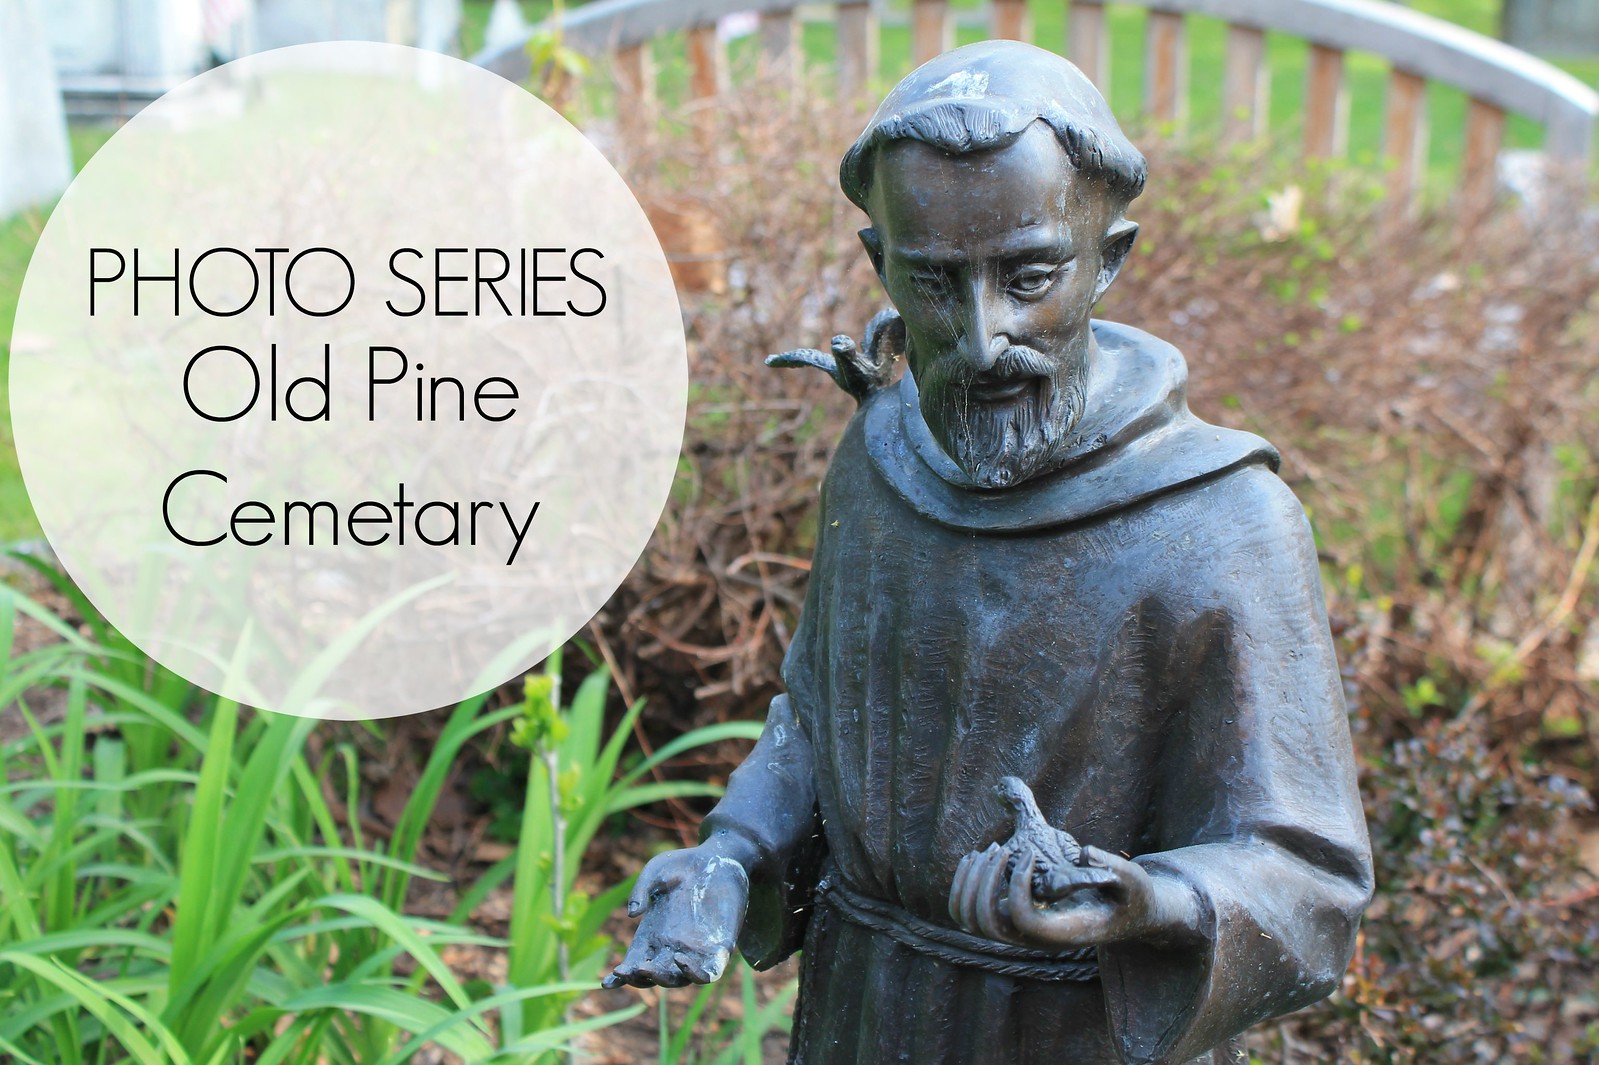