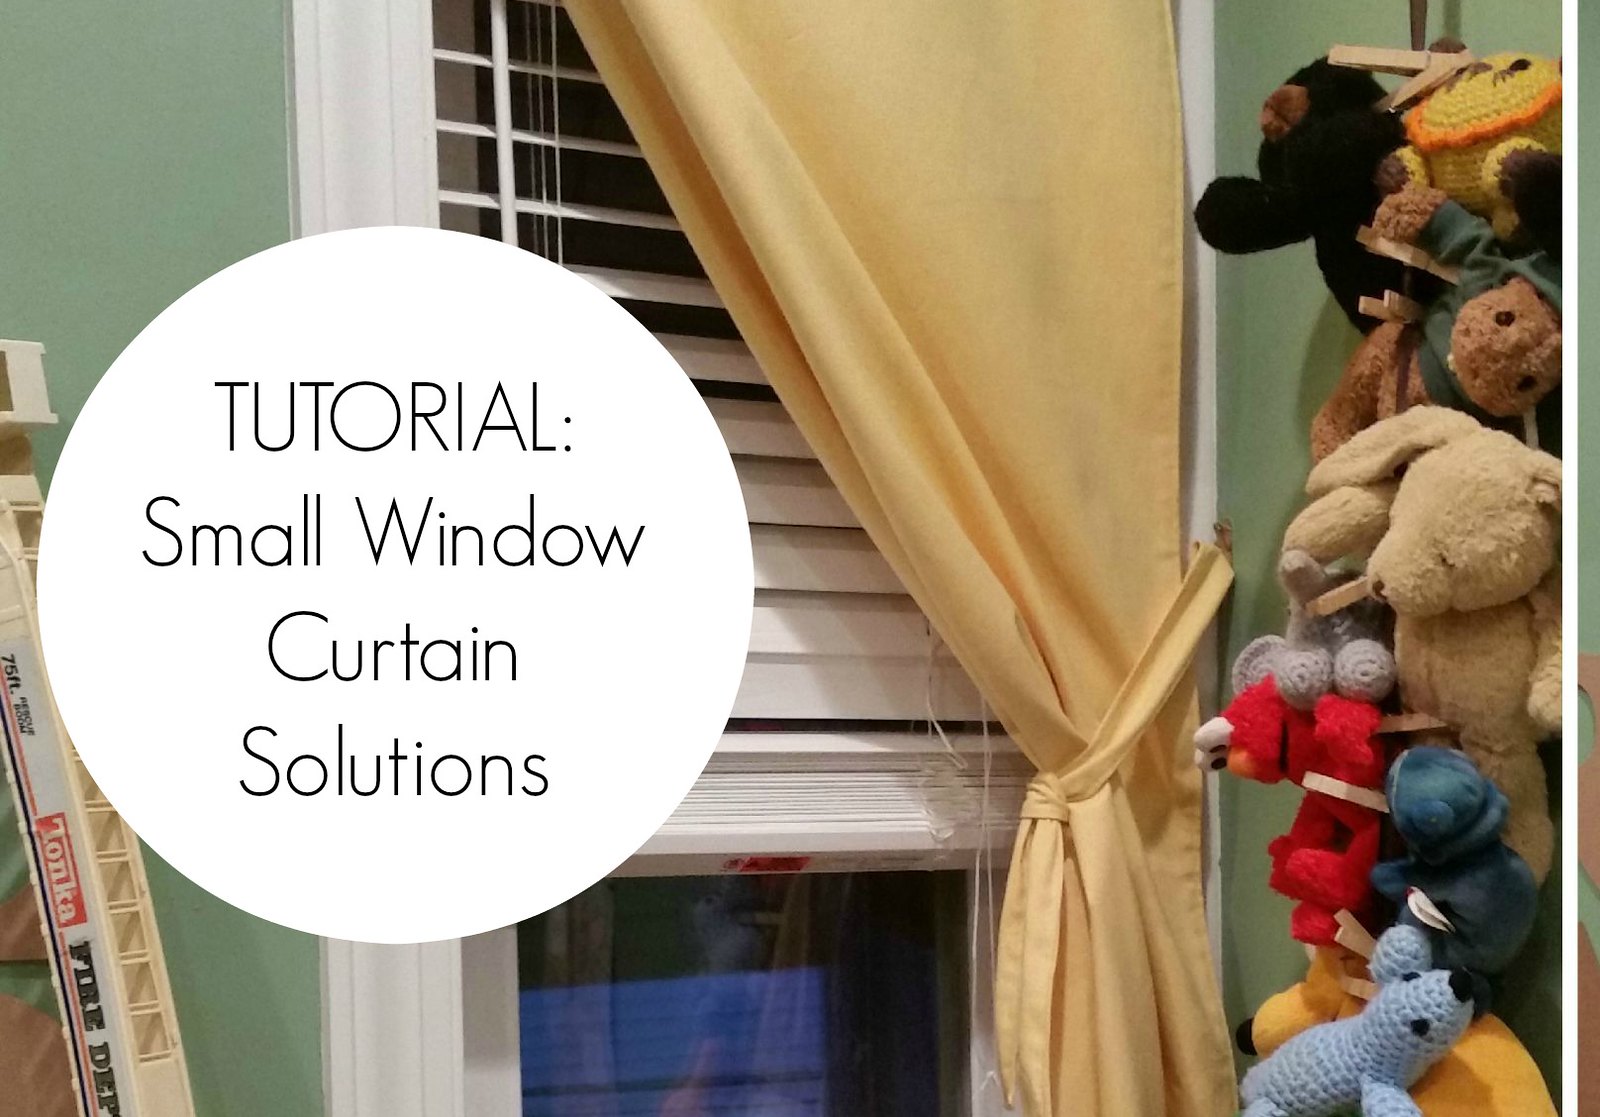
Small Window Curtain Idea & Tutorial

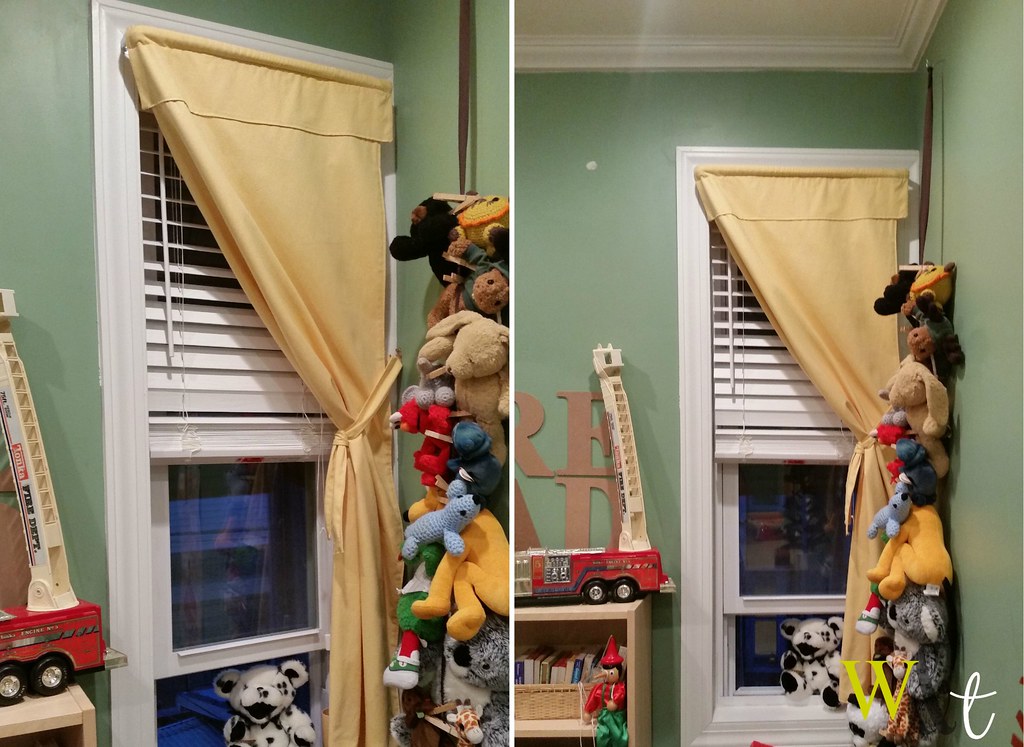
20150828_195302 When I was fixing up E's room these past two months (as well as the rest of the house!), I decided to tackle a project I had been putting off for years...curtains. E's room is actually MY bedroom from childhood (how cute, right?), and I only ever remember simple, little lace curtains on the window. Not exactly boy-room material. And at barely 20" in width, it is not something I can simply head out to IKEA for, either.

While searching the internet for some ideas and inspiration, I came across THIS link for a shaker curtain. I liked the idea of one, simple piece, and, since we are using blinds as well, a Roman shade was just not going to work.

...small city homes are simply terrible to work with.

PART I: The Curtain - Despite the narrow width of the window, it is still a standard height, making the idea a little more complex since I could not tack them up the same way as the blog shows. The first thing I did was to measure the width and height of the window. I added about six additional inches to the length of the measurement since the curtain was going to be "bunched up" to one side. The fabric I used was a bright, yellow canvas I bought at on Fabric Row in Philly for about $10 (thank you imperfections for making discount fabric!). I constructed the curtains using a basic method, however, since I can never make things simple, I added a cute little top piece, making them more of a cafe' curtain style. E has a toy kitchen in his room, so they go great. The little extension really helps to hide the side of the curtain rod we needed to use due to the extremely short distance from the end of the window to the wall on the right (which is only about 3"). I'm glad because I really despise those rods, as nostalgic as they can be.  Also, I doubled up the fabric to serve as a lining, since I like all of my curtains lined for some reason (warmth!).

Here is a basic, rudimentary diagram of their layout.


PART II: The Tie - In addition to the fabric for the curtain, I also cut a strip about 3 1/2 ft in length for a tie (doubled up and top stitched). You can also choose to use a regular ribbon or curtain "tassel" and the length depends on where you will secure your curtain and how much slack you want to have. Experiment beforehand and adjust your tie to suit.

Once I had the curtains up, I had to decide where I would secure it. As I mentioned, the length of the window left the option to tie it up in the upper corner pretty much completely out (as it is shown on the ORIGINAL BLOG I used for reference) so I opted to knot mine to the side. I used a small hook and inserted it into the opposing wall at the proper height (test! test! test! before you go making holes!), and used a cross knot (like tying a dress tie) to secure.
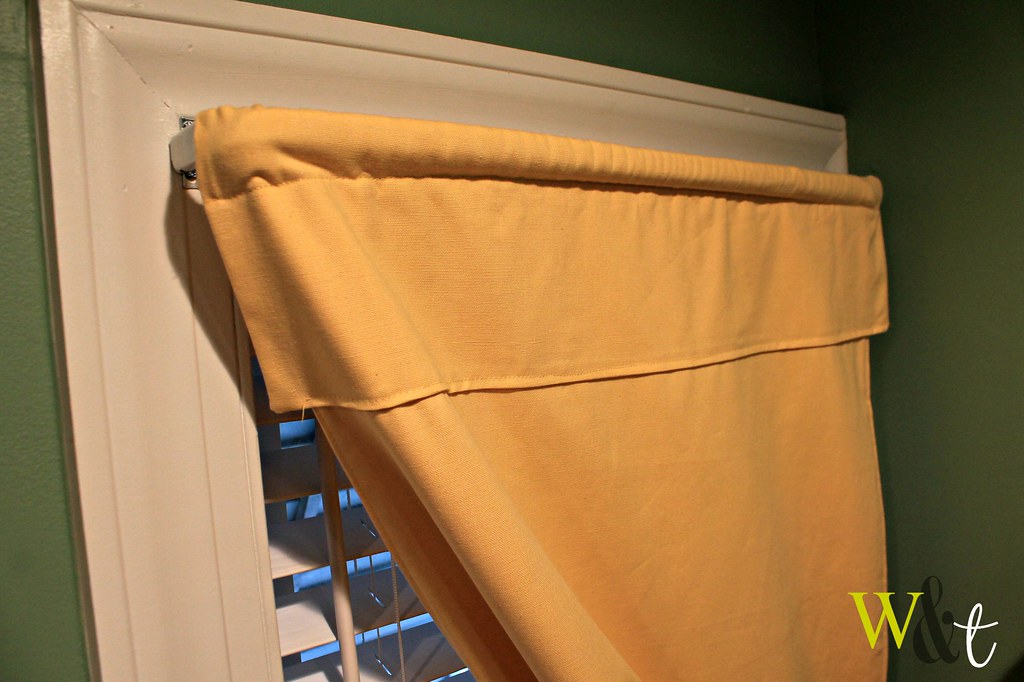
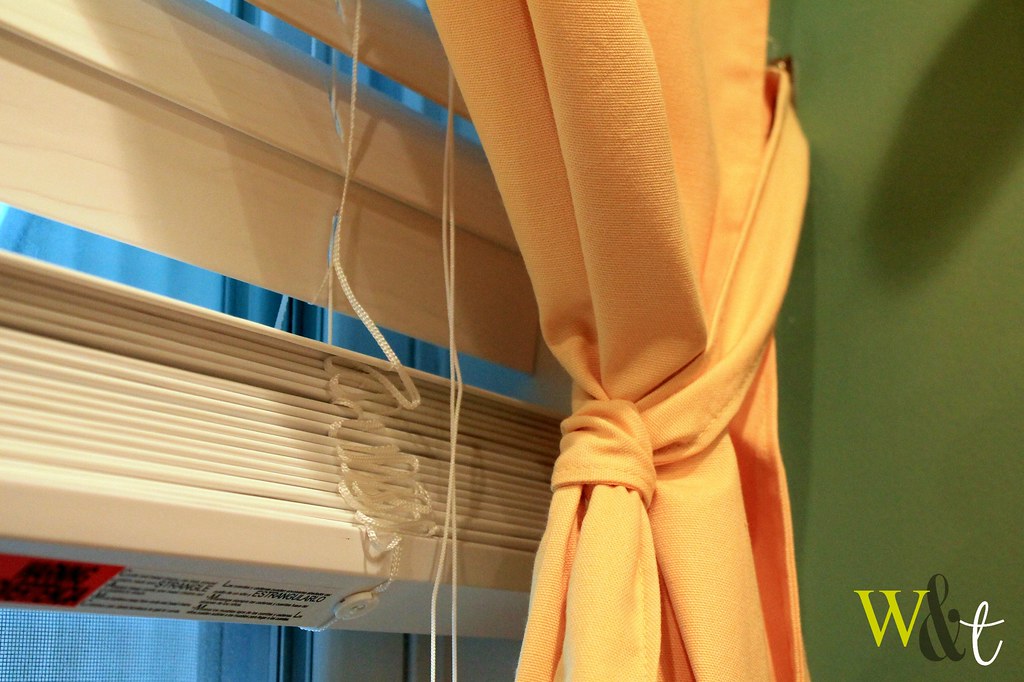
IMG_5224
notice how the extension covers almost all of the curtain rod

IMG_5221 20150828_195302
(pay no attention to the little hole I was patching on the wall! :) )
 
I'm really happy with the way the curtain came out. I was a nervous wreck sewing it (as I usually am), but was pleased when my little experiment worked out for the best...Thankfully.

Things I Found: Friday #2

Five new finds from this week...

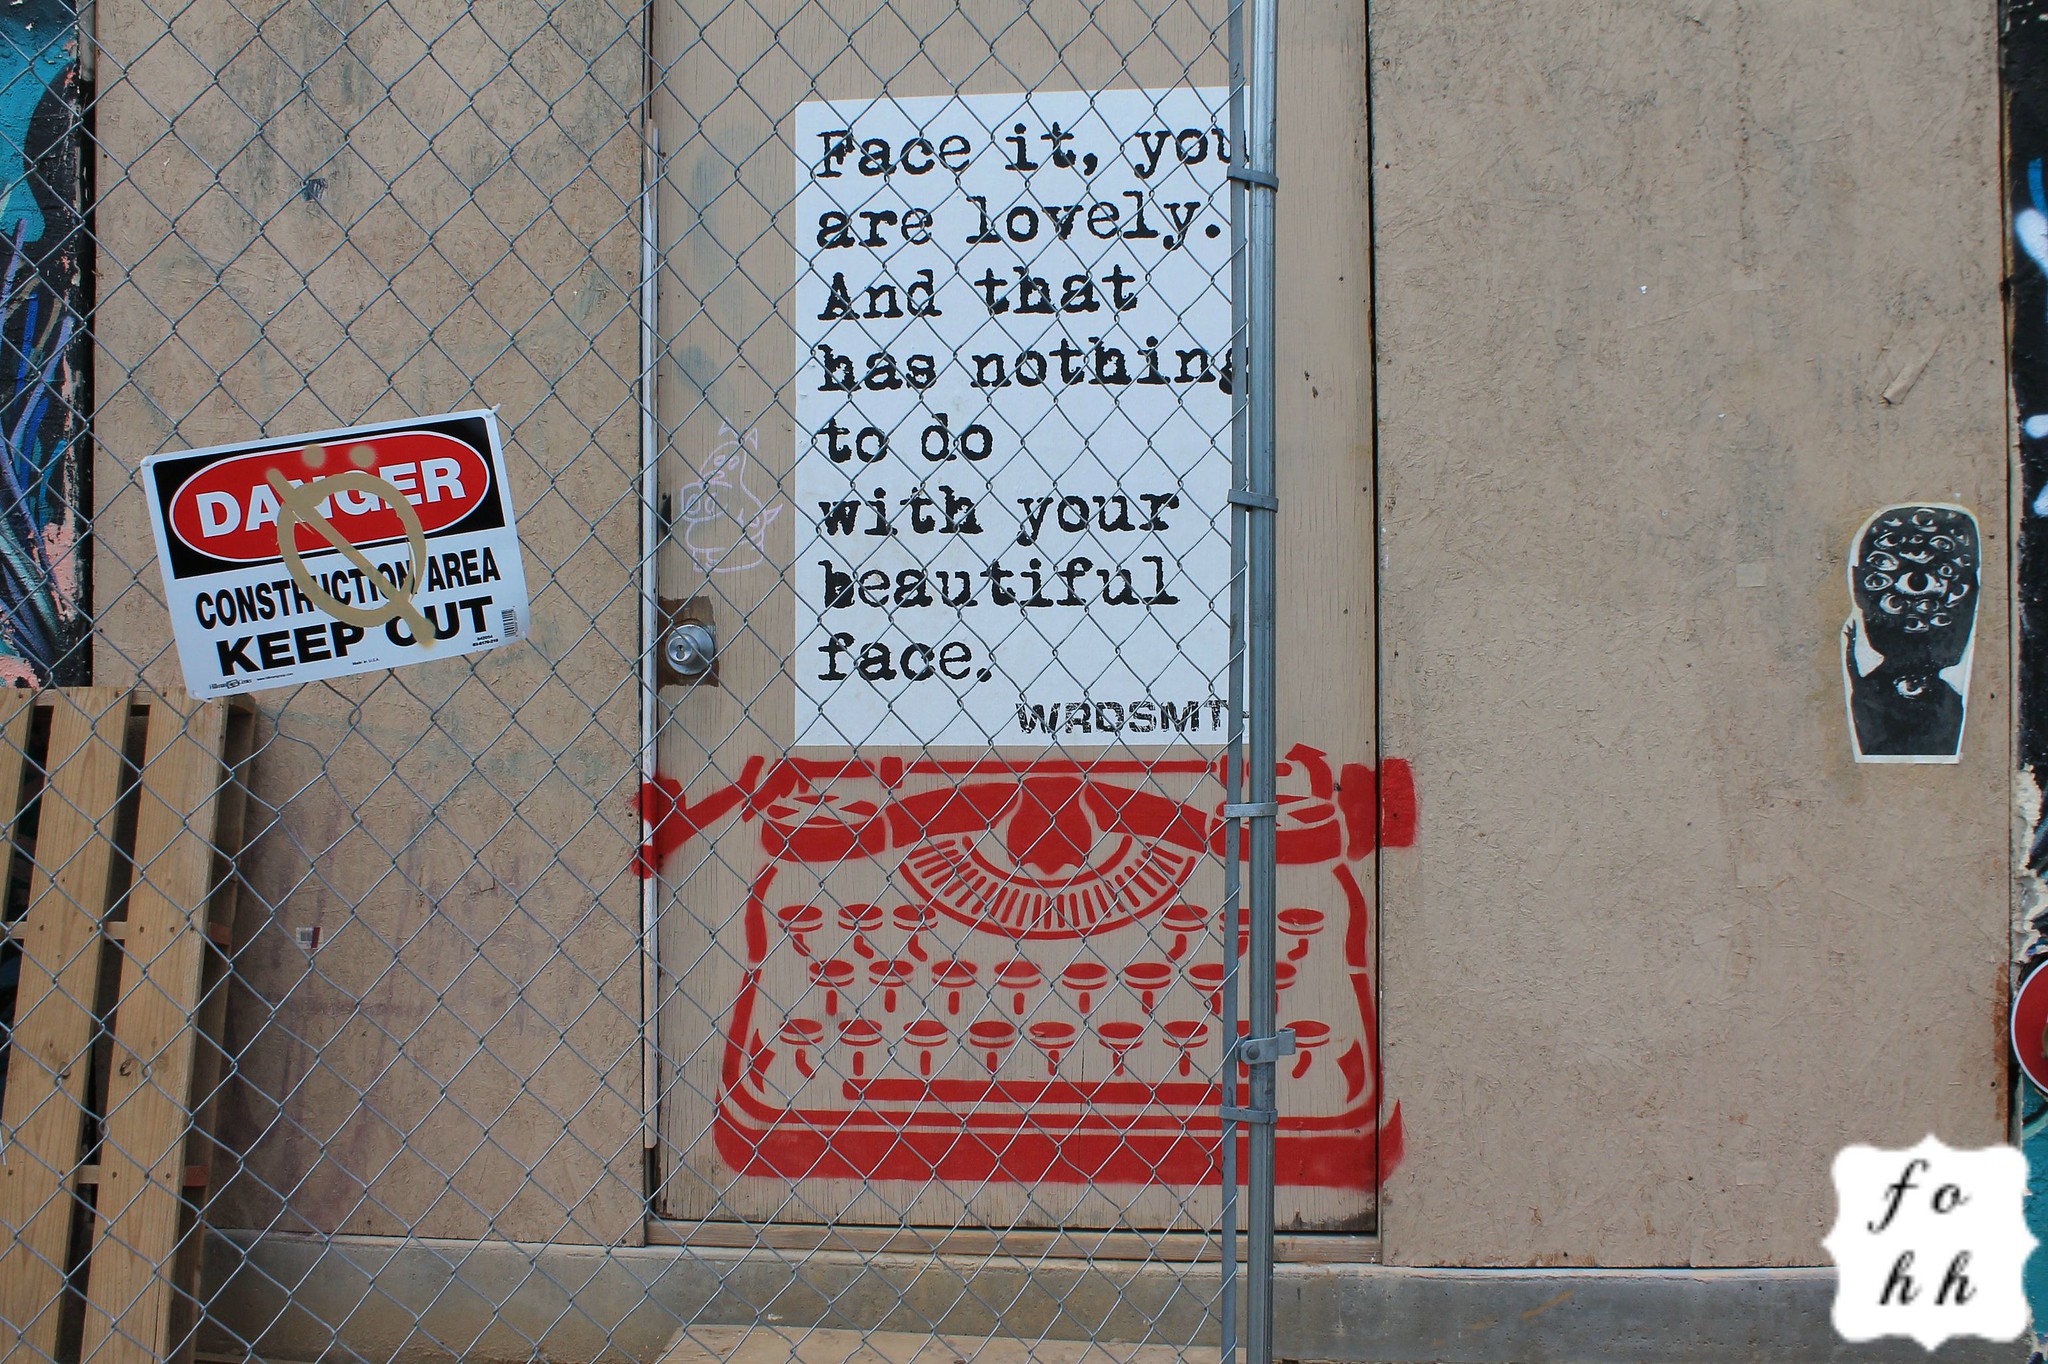
This install from Joe Boruchow in front of one of my favorite fabric shops.
20150916_133115

An adorable little mural on a side street/alley in Center City.
20150916_132242

This tile art on an abandoned lot...
20150921_084031

The Consulate of Romania (because who doesn't need to know that!)... 20150922_114116

An this dainty lady...
20150922_114301

Halloween Costumes - Part I - Handmade Narnia Themed Knight

Pintrest, Pinterest, Pinterest! What did we ever do without Pintrest?!

I love searching Pinterest for ideas for almost everything, so when I needed to find some costume ideas for E I got the browsing. I found this blog post online for a Narnia inspired birthday accompanied by an adorable knight costume. The next day I hit the fabric store and grabbed some velvety-maroon fabric, some grey yarn, and felt (along with some other things for myself) and crossed my fingers.  I couldn't wait to have a go. Although Eamon has never actually seen Narnia, both of his parents are big fans.

Here it goes!

The construction of the vest was quite easy to make but still took some time since little one would not allow me to measure him properly! After some squirming I decided it was much easier to simply grab one of his shirts and measure from there. I began with half a yard of fabric which I ironed some straight seams for the sides and applied fray block (don't worry, it does not stain, despite what the photo may look like). Although this wasn't a necessary step, I noticed that the fabric ends frayed easily so I found no harm in it. Next, I applied some black fusible interfacing (found HERE, however I purchased on fabric row here in Philly) to the back of the "smock" to eliminate having to sew a backing on it, especially since the fabric was already thick enough. The color of the interface makes it look clean and polished without adding any extra sewing steps.

For the neck I used a t-shirt to draw out a circle from the center, making sure it was large enough to pull over. After, I sewed on some matching bias tape (aka the devil!) to the collar and sides, but chose some gold fringe for the bottom just like the blog showed. I applied the bottom with fabric glue and allowed to dry overnight before I ironed the piece to get it ready for the applique. A piece of gold felt and a lion stencil (found HERE ON PINTEREST) finished up the vest. I applied this with a little tacky glue as well. Not exactly the cheapest costume, but nonetheless adorable, and I was able to buy a lot of the pieces from local shops.


IMG_5364 IMG_5365 IMG_5382 12048864_10103542509165113_1774109766_n

Eamon didn't quite understand the vest but did like the fact that it had a gold lion, or as he called it, the Lion of Sodor (he is a huge Thomas the Tank Engine fan). Since he wasn't familiar with Narnia yet we keep telling him he is going to be a Knight of Sodor for Halloween. 

Supplies & Cost:

Here's a quick recap on what was used...

- 1/2 yard poly/velvet blend fabric: $7.49
- black fusible interfacing: no cost, part of my stash!
- gold felt: $.49
- 1 pack maroon bias tape: $2.49
- fringe: $3.95
- thread: on hand

Although the original post uses a ribbon tie to secure the piece, I used some glue-on velcro since E is so small and I didn't want the tie to cover up the design on the front.

Check back to see the progress on the rest of the costume along with some tutorial and how-to guides.

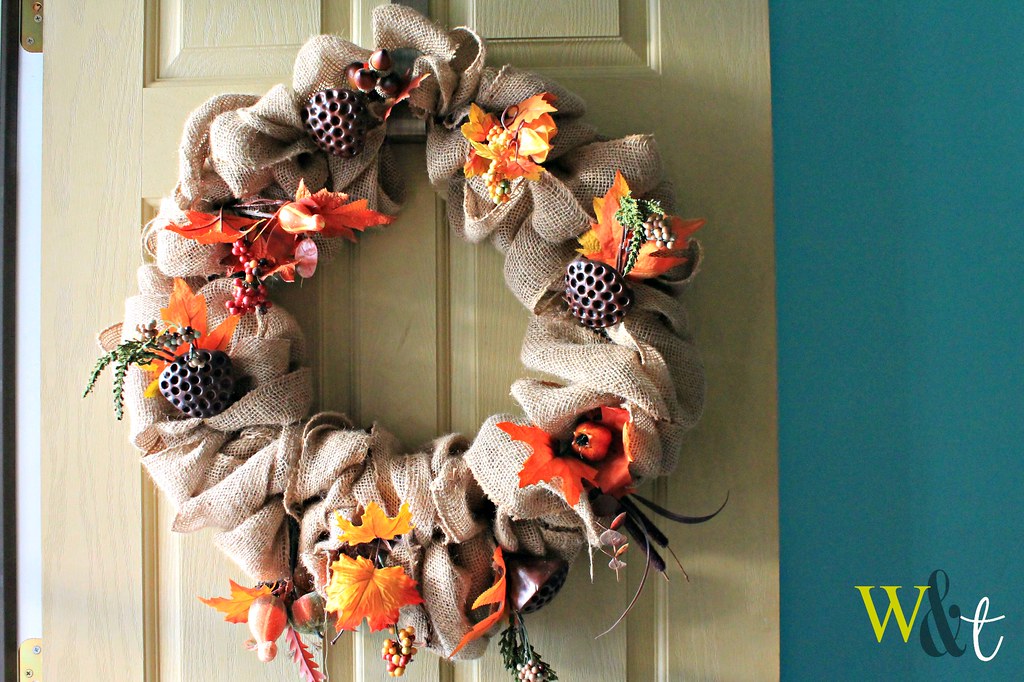
Tutorial Tuesday: Burlap Wreath

It's (finally) fall! ...and with fall comes all of the beautiful colors of the leaves, cool and crisp weather, and lots of home remodeling for me! Some people Spring Clean, well I prefer the fall to complete all of my remodeling projects and spruce ups.

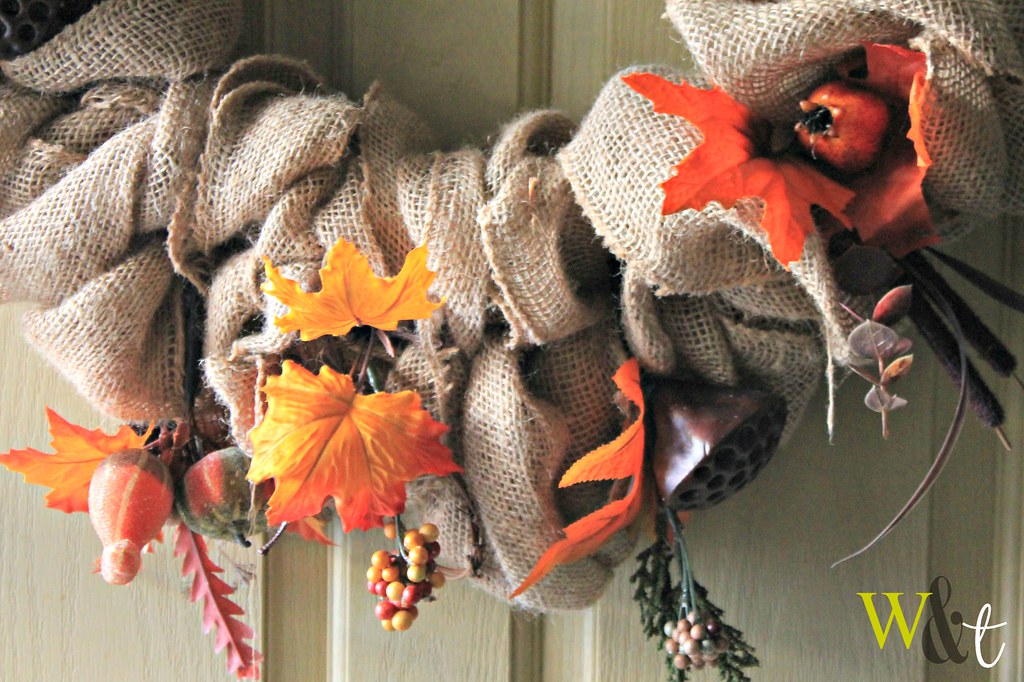
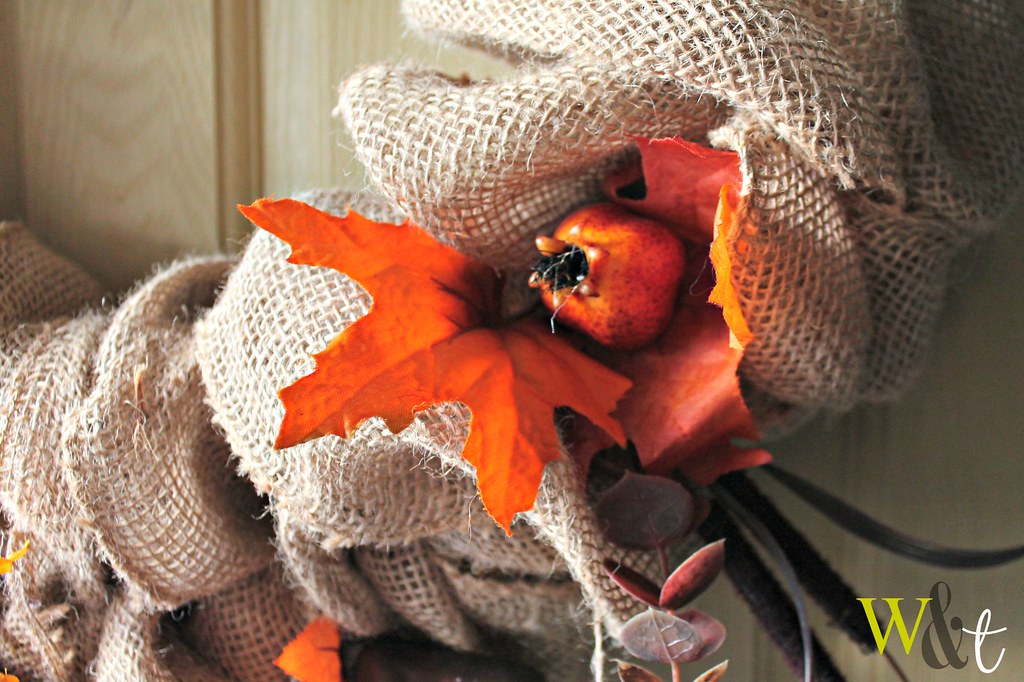
I love getting back into decorating around this time of year, especially because I get to utilize earth tones and textures for the season. I love browns and yellows and oranges all mixed together, so last year I decided to make a burlap wreath for my front door. I coveted the ones on ETSY but knew that I could make something comparable for half of the cost (Thank you AC Moore Coupons!). Although the burlap was about $5 a roll at regular price (and the rolls were on the small size), I simply made a couple of trips for all of my supplies and had the hubby buy some with his own coupon code at the store. In addition to the ring and burlap, I found some adorable little ornaments on clearance for between $.50 to $1 each at the time. In all, I think I spent under $20 for what sells for over $40 (+shipping) online.

I had never made a wreath before, but took the blogosphere for help. I found an easy tutorial at Little Lovely Leaders that had lot of photos to guide me through the process. In all I am proud of how it came out and it held up really well so far (as it was sitting in storage since last year).

IMG_5093 IMG_5092 IMG_5089

To change it up a bit during the fall I buy small wood signs with things like "Happy Fall," "Happy Halloween," and "Give Thanks" (for Thanksgiving)at the craft store and hang them in the center. This way I am able to keep it up the entire season and still add a little more decoration to the door for the holidays.

Tuscan Philadelphia: Part I

While I was home doing some work on the house the other day I was outside painting my front railing and chatting with my neighbors, something that, despite the annoyance they can be sometimes, I relish. Living in a decaying urban area of Philadelphia filled with social breakdown and blight, I am so happy to have the majority of houses that surround me inhabited by the same people I have been growing up with since childhood. I have lived in my home now for about 28 years of my life. It belonged to my grandmother and then my mother and father, and, upon their divorce, I secured its rights. But that's another story...

So in our conversation she remarked about how nice the house was looking and said that she wants to be the "Tuscany of Beulah Street." I didn't quite know what she meant by this. "Oh you've never looked at pictures from Tuscany? I love it, everything has paint chipping and is covered in flowers. Things are hundreds of years old and covered in flowers," she said pointing to the paint chipping on her railing and posts....and watering her dozens of flowers. But she got me thinking. There's a difference between aging and dilapidation. The problem is that, considering where I live in respect to other places in the city...and the world...when things start to age, people simply leave it to fall apart hoping that the city of their landlord will fork the cost out to repair instead of taking an initiative to make a change. Sad. A chipping wall will turn into a broken window and a building covered in graffiti in a matter of days. But not everywhere. There are place in the city where a crack in the wall is beautifully accented by ivy, an aging statue and terracotta pots - just like Tuscany. My neighbor's house might have flaking paint, but she cleans her porch every day and tends to the little things that she can.

This has me setting out to find the little bits of elegant decay in the city. I had an idea where I might find a little bit of this but I only had time to pick a few shots in a little alleyway behind some nice brownstone-style homes along Spruce street. I am hoping to document more as I now have a different view on these little things. Enjoy!

spruce 008spruce 007spruce 005spruce 004

9/11

It seems like forever ago but yet everyone has that one memory. Generations back it was where you were when Pearl Harbor was attacked?; when we landed on the moon?; when JFK was shot? For this generation the question is: where were you when the towers fell? For me I was cutting class to go to the diner with an old friend. When the plane heading over Pennsylvania went missing the radio stations were making everyone in Philadelphia paranoid that we were next, so we rushed home where I spent a good part of my day consoling my elderly Jewish neighbor who was certain that they were coming to "kill all the Jews again." She passed away recently, and, honestly, that was probably the only day I ever saw her break down emotionally like that.

A few years back I visited New York for the first time since the year 2000. We had a trip planned to see Jerry Lee Lewis and decided to wander around Manhattan and Tribeca for the day (bar hopping mostly). They were almost half way through building the new tower at that point so, like any tourist, we had to stop for a few solemn moments just to take it all in. Maybe it was all of the hustle with the construction going on, but it wasn't as eerie as I had anticipated.


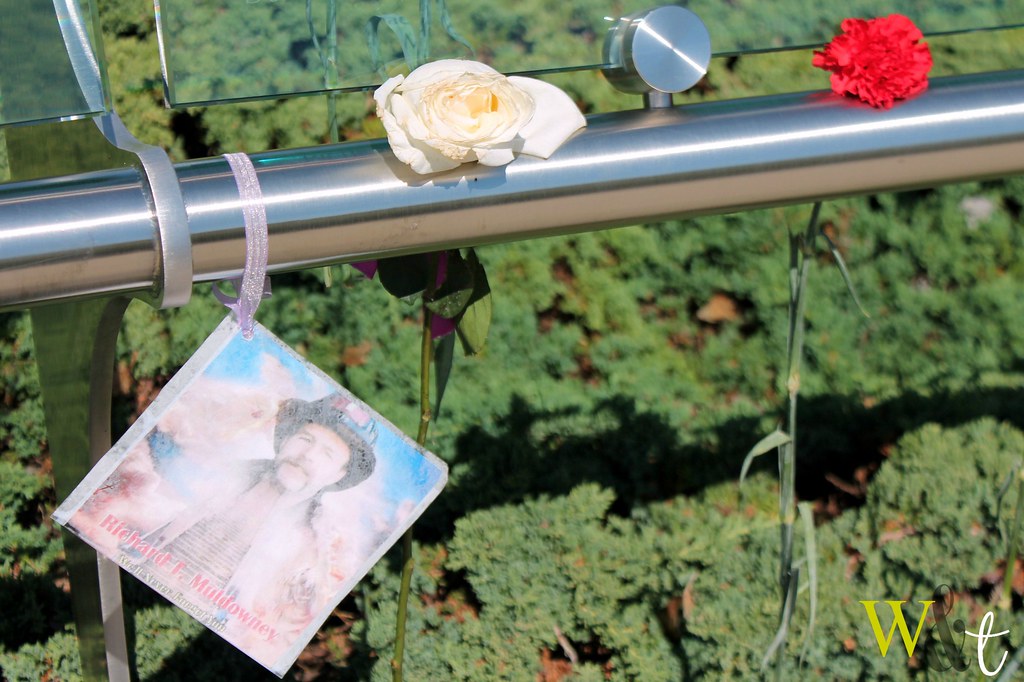
We haven't made it back to NYC since, although a trip is hopeful for the near future. We did, however, recently ride up towards Newtown (think the place they filmed Signs) and swung through Yardley where there is a substantial 9/11 memorial called the "Garden of Reflection". You never think that so many people outside of New York City were present and/or affected by the tragedies that took place that day. The majority of the local names etched into the glass at the memorial were employees in the towers or medics/firemen/police present that day. In addition, many were on one of the four planes that went down that day.

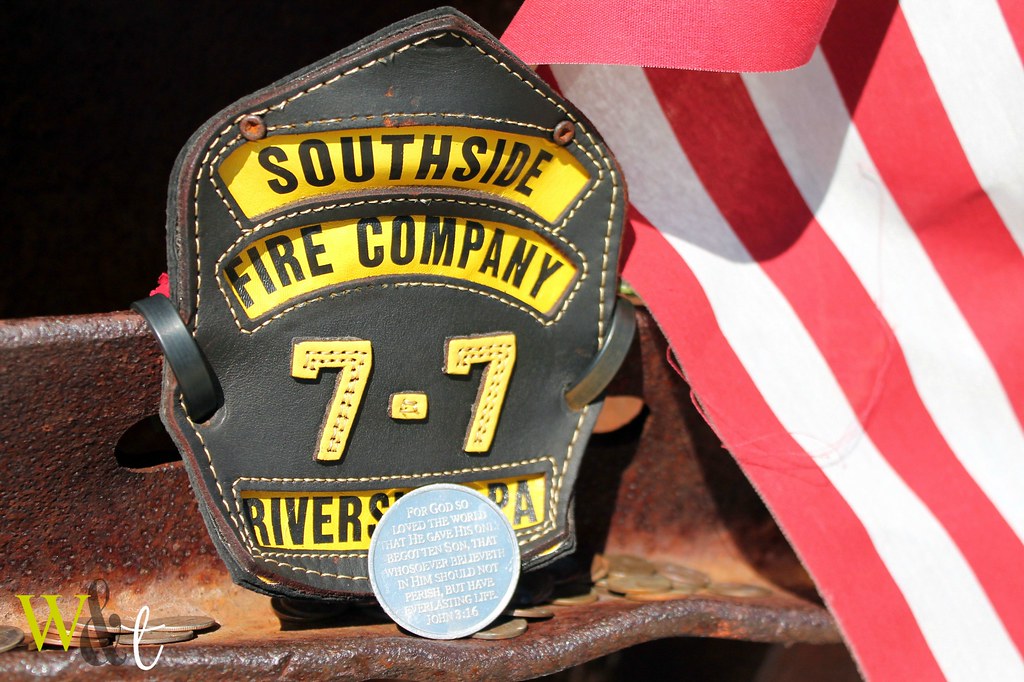
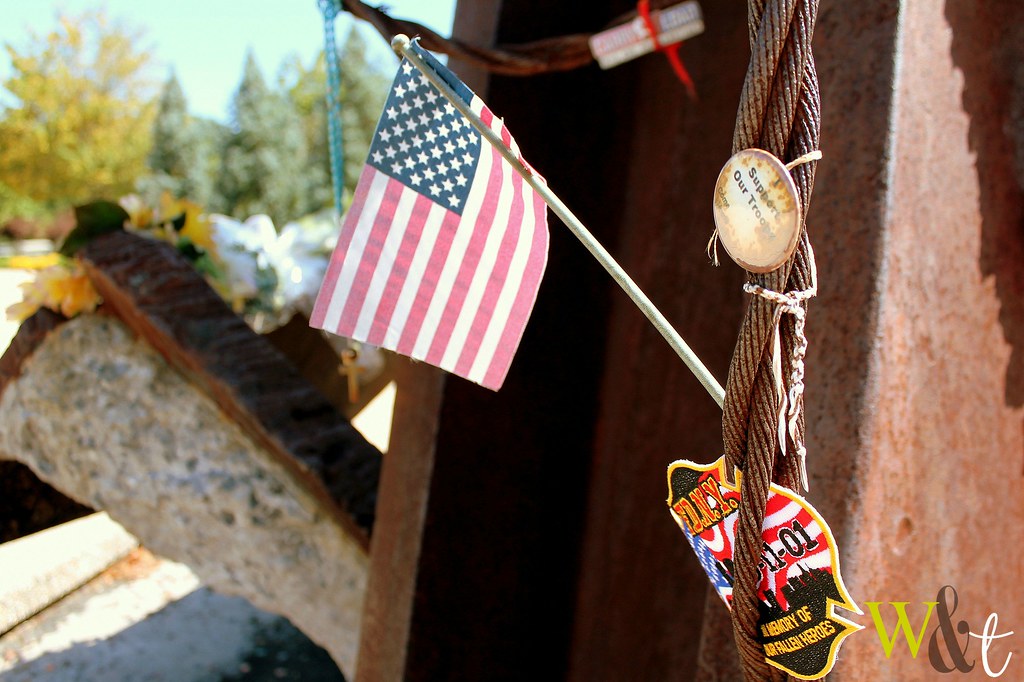
The memorial has an amazing twin fountain (symbolic of the towers) that lights up the park at night, a plaque solely with the victims' names who resided in Bucks County, a remembrance walk all 2793 names on a glass panel, and an actual piece of the rubble from WTC that is covered in trinkets hung by families of the victims. We didn't get to spend much time and were told that the park is more awe-inspiring come the night time when the fountain lights up and the tiny luminaries (representing the children who lost a parent) come to life.

IMG_2359 IMG_2376 IMG_2401 IMG_2371 For anyone interested in visiting the memorial, it is a short trip from Center City Philadelphia via I-95. It is not too far from Tyler State Park and there are always events going on in Newtown and Yardley that are worth the trip.

Labor Day Weekend: Volkfest

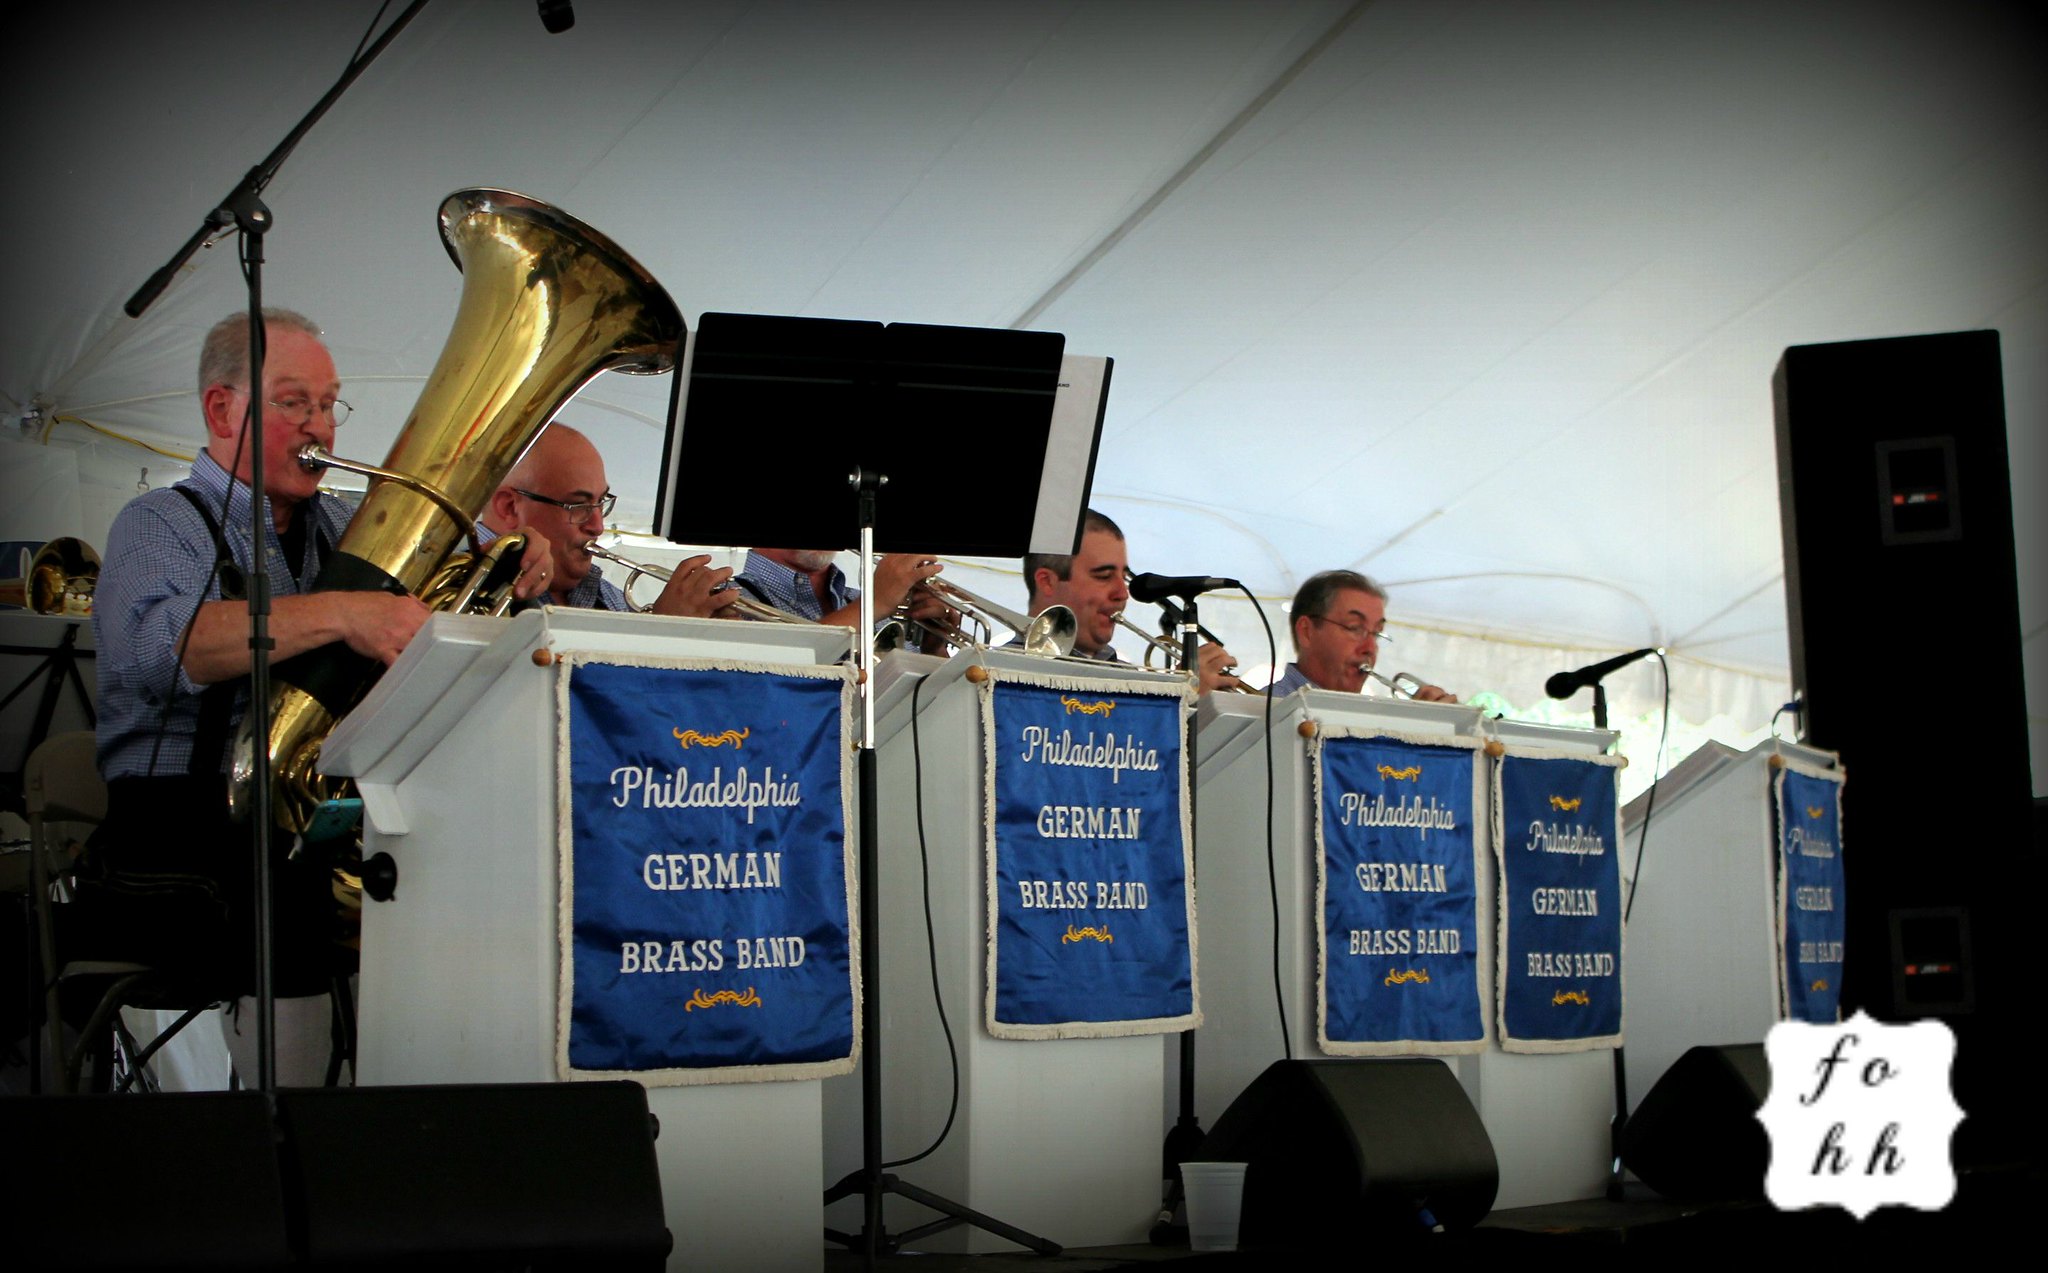
IMG_5341 Every Labor Day weekend, without fail, we attend the Oktoberfest festivities at Canstatter's Volkfest Verin in Northeast Philly. This past holiday weekend was no different. Miniature in scale to the Volkfests in Germany, there was still plenty of authentic German food, beer, and festivities to enjoy including a German band, Mummers String Band, games, and rides for kids (and adults still the size of kids). The three-day festival is the oldest German Volksfest in the United States, with this year being the 143rd annual festival. It is one of the first in a series of Oktoberfest festivities in the tri-state area.

v1

The Cannstatter Volksfest Verein is a German-American benevolent society founded in Philadelphia in 1873. It was started by a group of German-American businessmen whose stated goals of the group were to uphold German culture, sociability, and charity through having a yearly festival and using the funds raised to donate to needy institutions and individuals. As German immigration has all but come to an end in the United States, the activities are more about preserving German culture in the community now. They host an assortment of themed festivals, concerts, and weekly dinners/dances reminiscent of Lawrence Welk reruns.

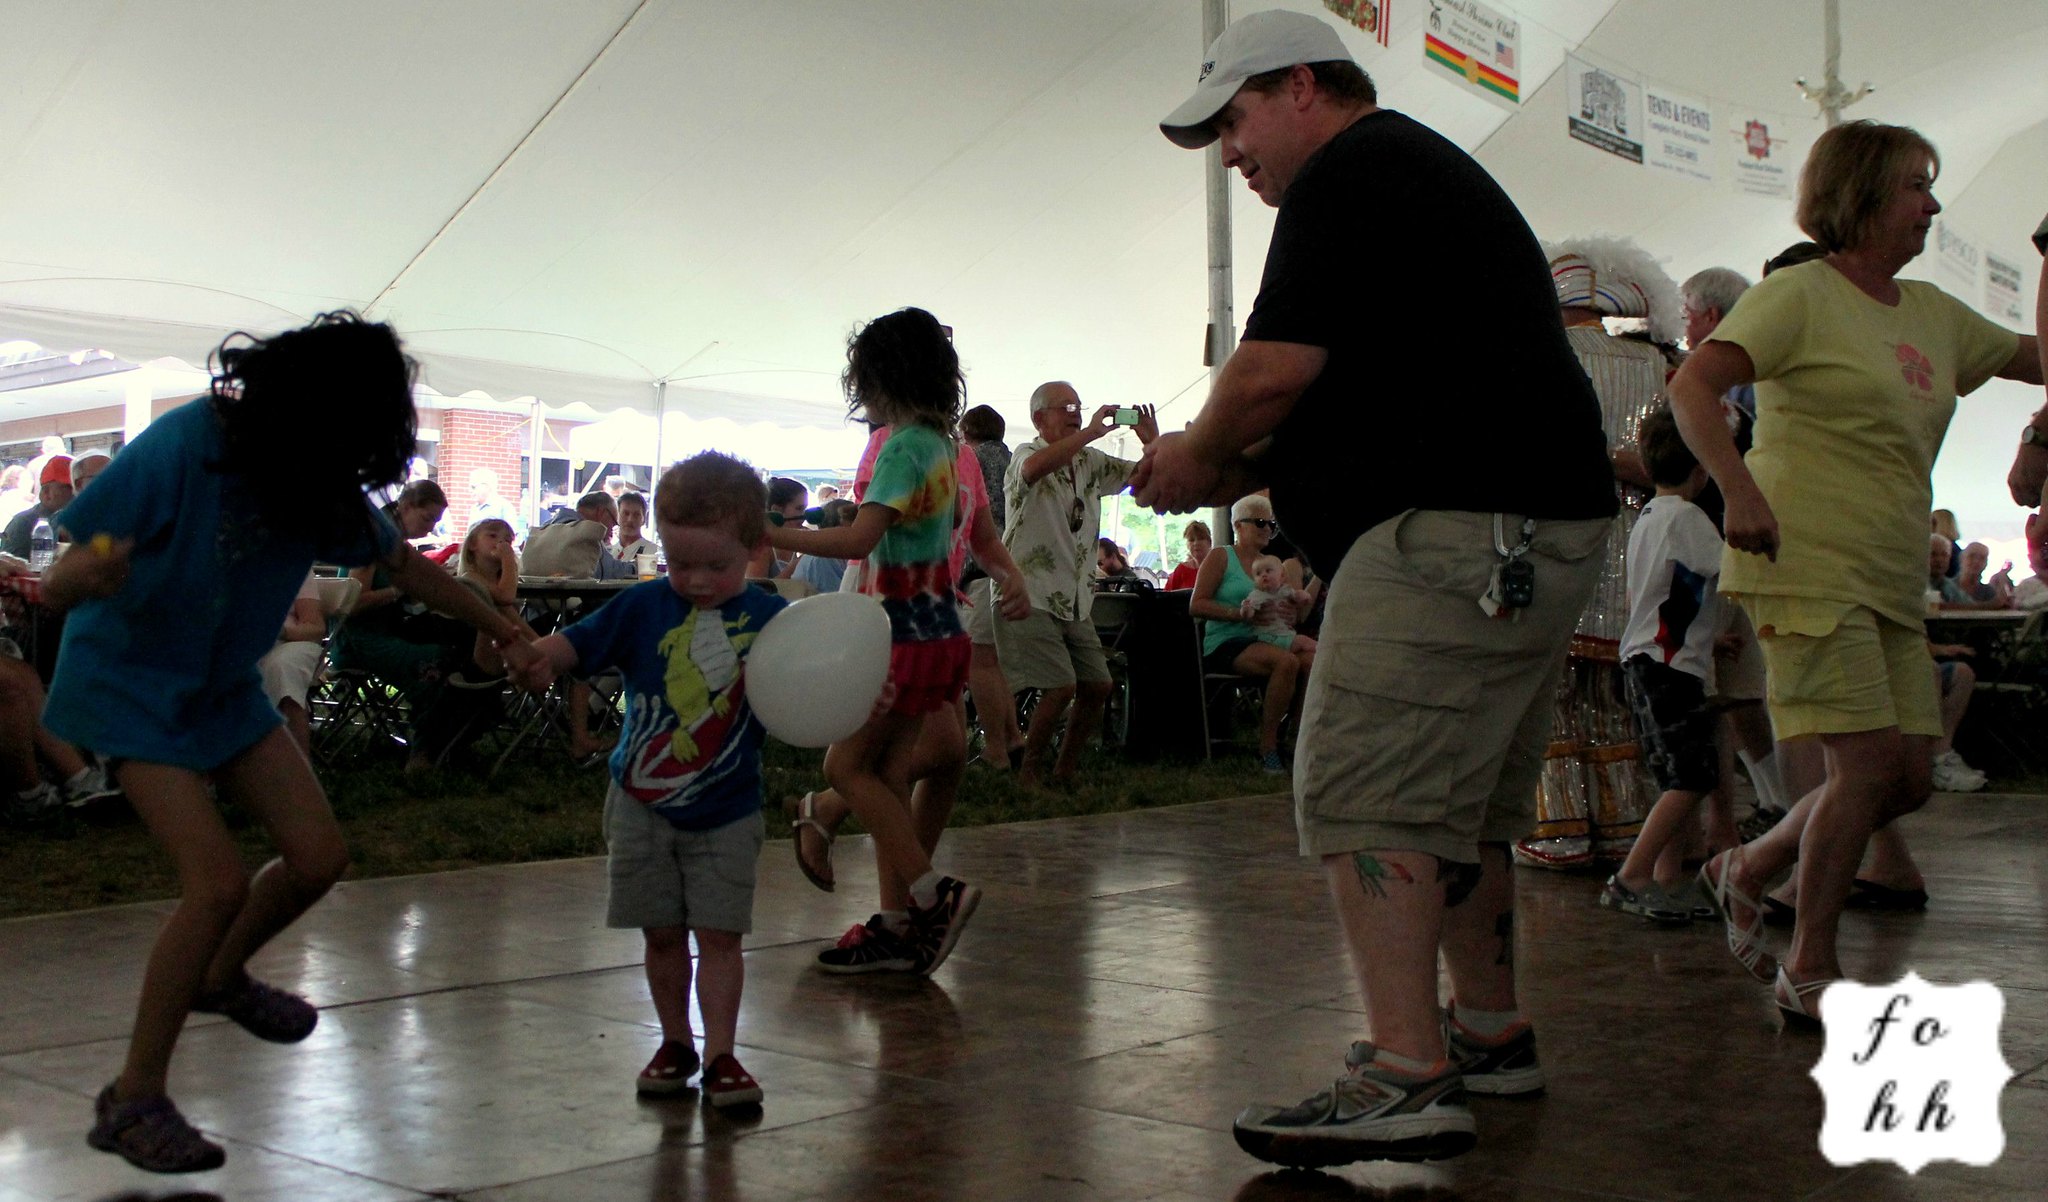
We began going to the festival about three years ago when the Pea was just a little baby...a little pudgy baby who was not yet able to run and bounce and pull mommy and daddy in every direction. Terry's father is a member of the organization and with a friend visiting from out of town that year we decided to try something different that the usual bbq and fireworks. Despite the fact that it is always 90-something degrees out and incredibly humid every year, Eamon absolutely loves the music where as Terry & I mostly enjoy the plates of bauernwurst and endless pitchers of Warsteiner. We usually end up hooking up with friends and/or family at the event, a few of which have kids of their own, and, as usual, I spend a lot of time chasing them about camera in hand trying to grab a few moments to share. Being that Eamon is three now, I have been spending more time with the chasing aspect rather than the photography part, leaving me a little bit rusty at times in my shots. Nevertheless, there were still a few great snaps I was able to get while the kids danced about. I had an amazing idea that morning to grab a bag of balloons I picked up at the dollar store and throw them in my backpack for the trip. I think that day I blew up about 50 balloons giving them to just about every kid at the festival. I felt like a party clown without the hideous makeup giving toddlers balloons while their parents tried to figure out why I was doing what I was doing but all in all happy for their kid to have something to play with while they sat and ate.

v2 v3 v9 v10 v6 v5 v4

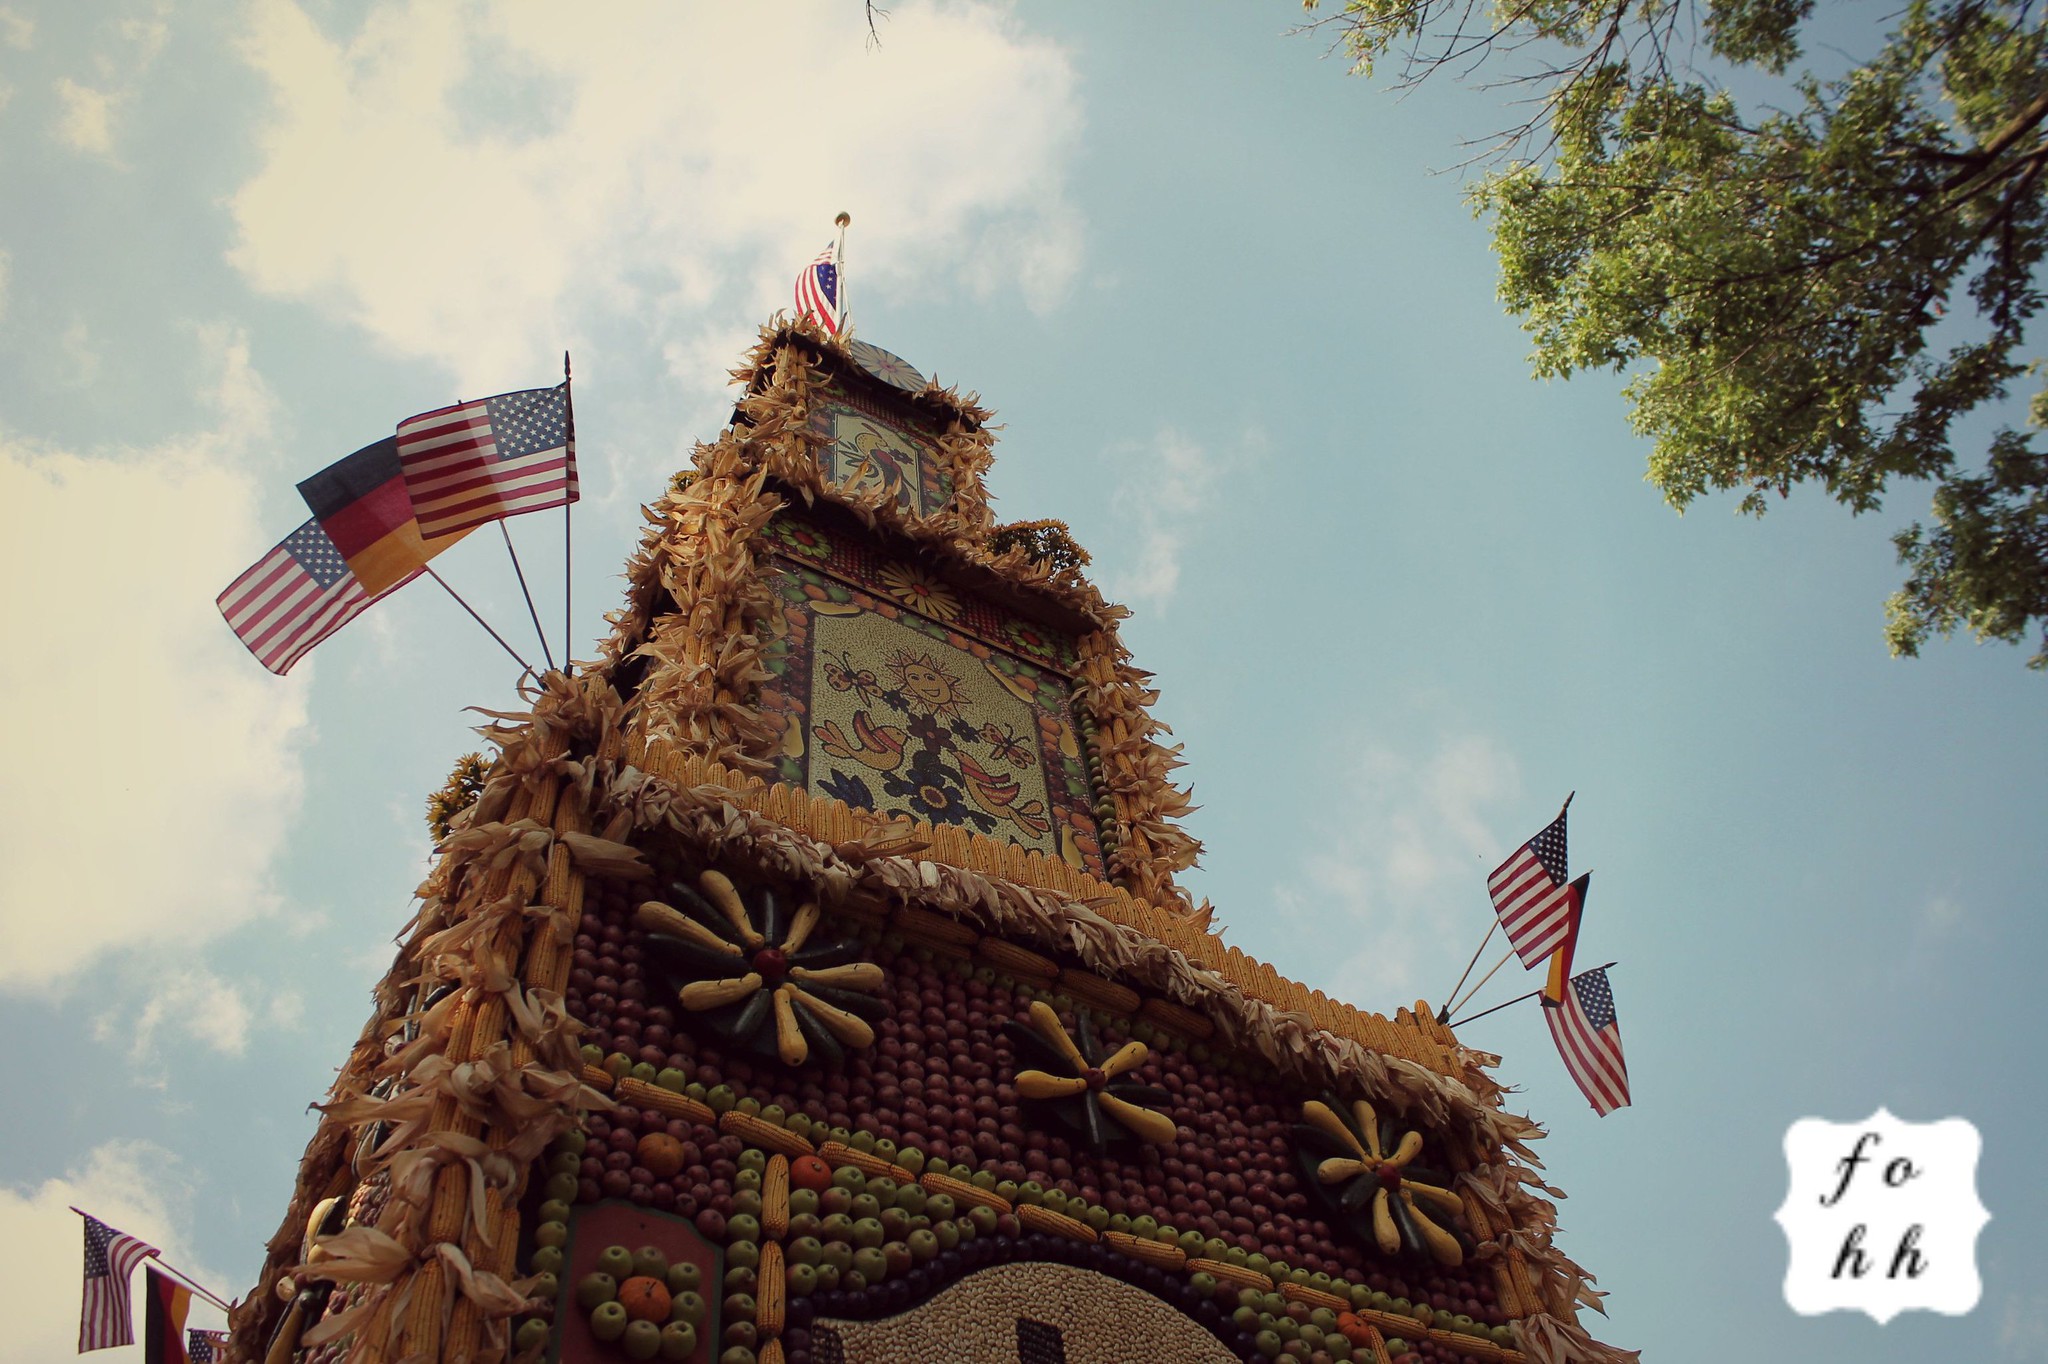
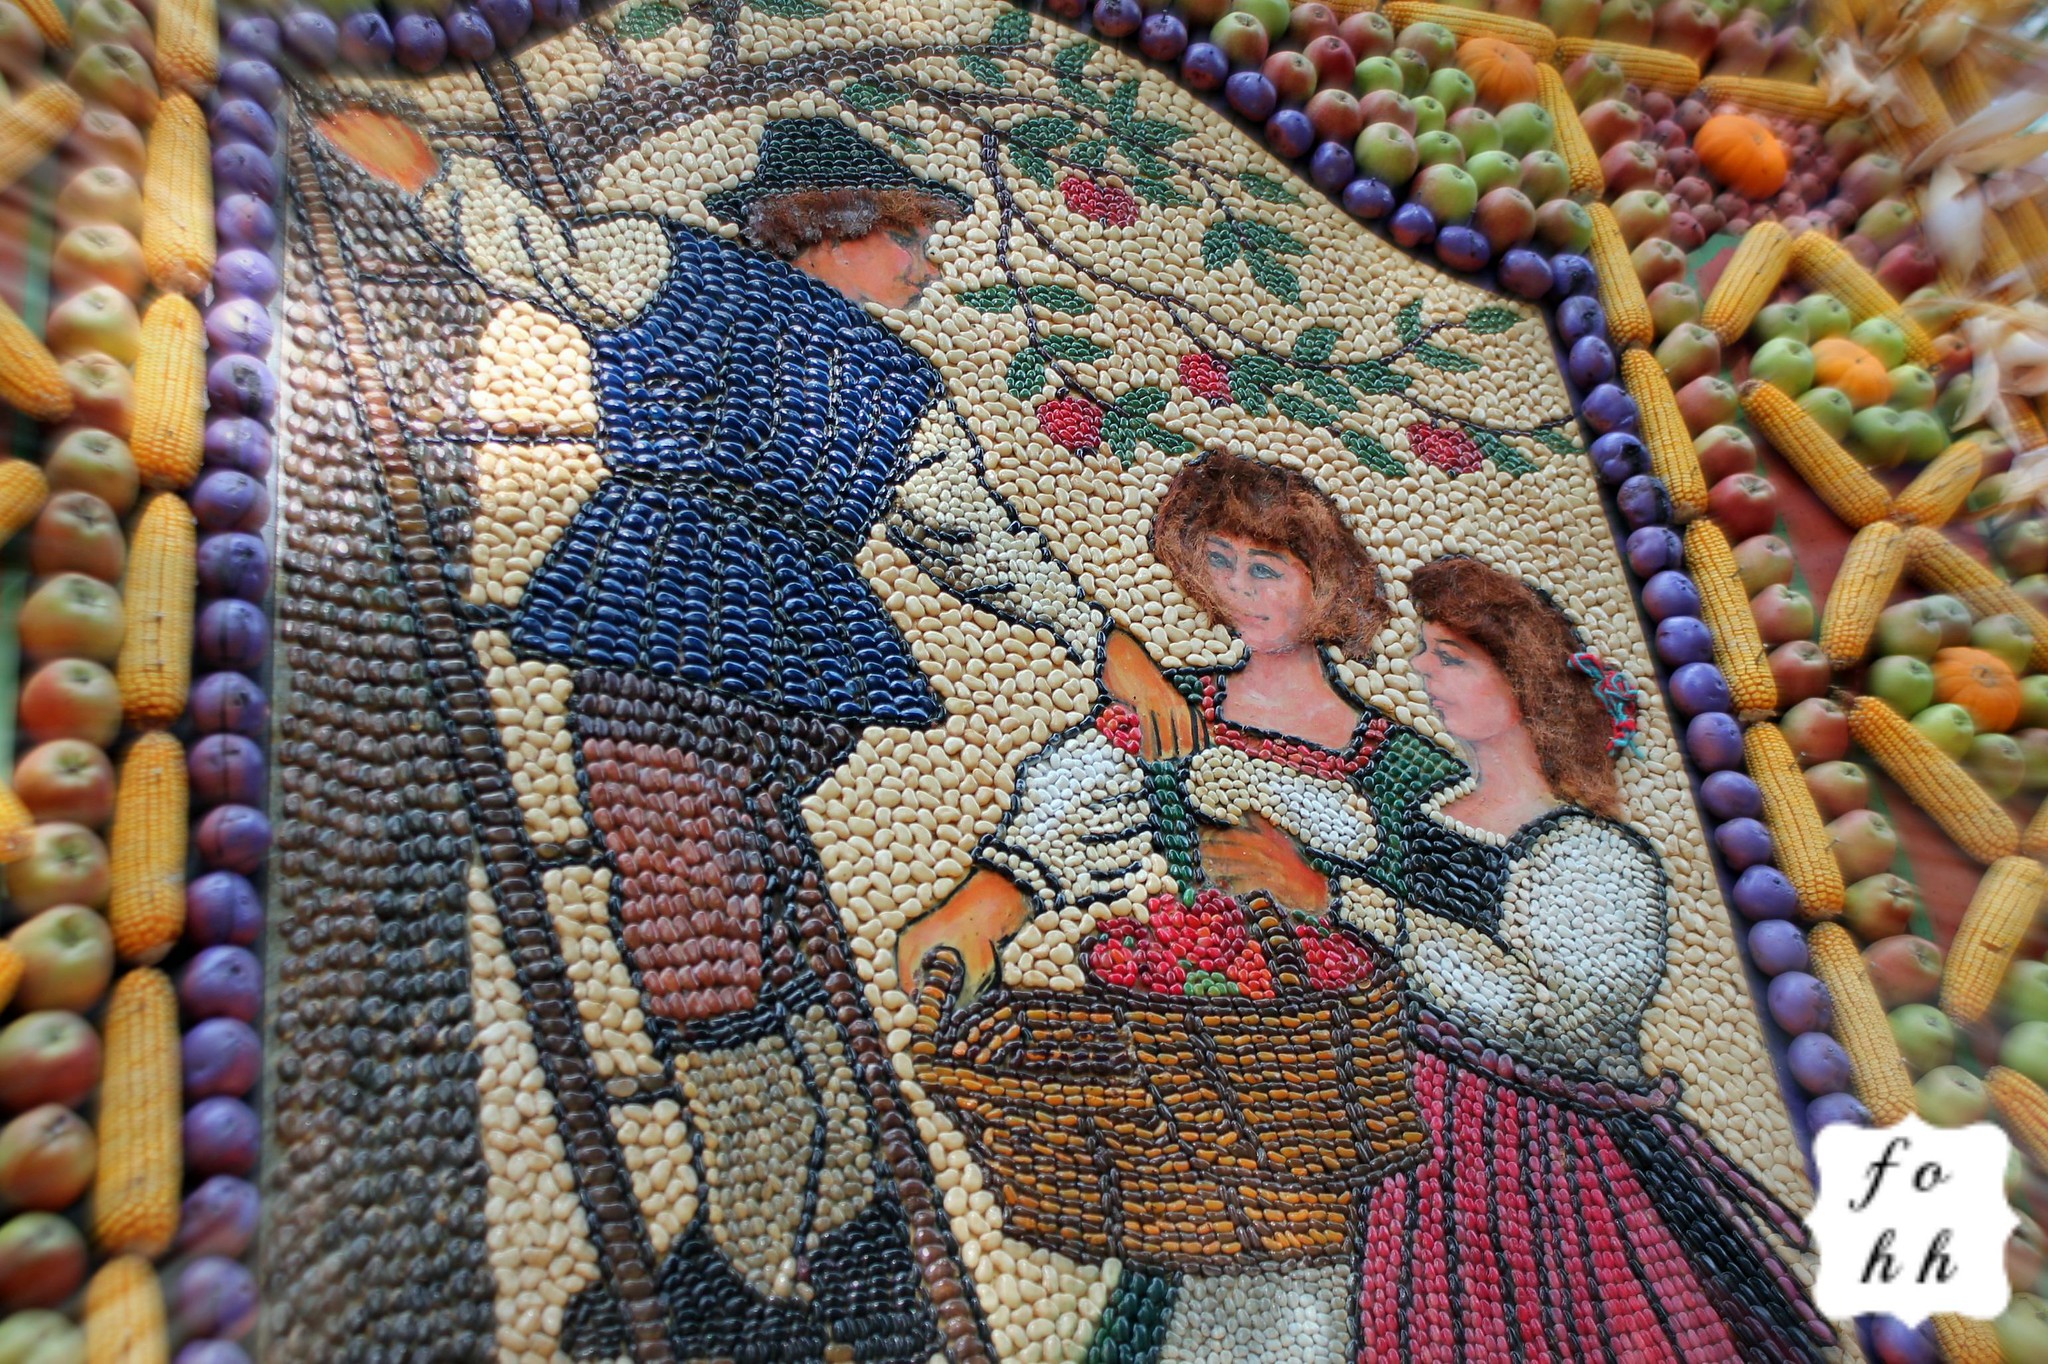
The bands are one of my favorite parts of the festival. There is always an authentic German brass band with lots of polka-playing and traditional tunes. And being that we are in Philadelphia, there is always a Mummers string band. After all, the word "mummer" is German for "one who makes diversion in disguise; a masker; a buffon." My other favorite of the festival is the centerpiece Fruchtsaule, or fruit column, composed of layers of dried fruits and vegetables out of which a tower formation is created. Each layer graphically represents some significant aspect of German culture or history. The characters painted with the foods are just like illustrations out of Hansel and Gretel and other German classics. They have so much life and color to them you cannot help to be drawn into their stories. At the base of this column, people dance and children play. A reenactment supposedly takes place every year, but I have yet to witness it.

v7 v8

In addition to the festivities, there are also vendors selling handmade German items such as hats, clothing, clocks, wood figurines, baskets and more. Aside from the Christmas Villiage, it is probably the biggest gathering of German culture in the Greater Philadelphia area and certainly worth a visit should you be in the neighborhood next Labor Day.

Things I Found: Friday

Just some of the lovely things I found this week:

IMG_5027-1
This wonderful street art installation.

20150902_123119-1
This hungry fella.

20150902_124455-1
This lady hanging by a string.

20150902_125600
And this neat new architecture.


If you'd to know more about these places to see for yourself send me a message.

What I Made - Squids!

This week has been super busy for me (as they usually...eh, always are). A long series of unfortunate circumstances has been forcing me to remodel/refurbish the upstairs bedrooms for the past few weeks and I have been putting in long hours at the office as well with some serious cases. This leaves little time for other things let alone craft work.

I had been working on this long-term project for a friend who became obsessed with a squid scarf she saw online somewhere and wanted to know if I could make it. "Sure!" I said and sent her out to get the yarn in the color she wanted. I didn't know what I was getting into!

20150825_184655

The scarf construction was a piece of cake: I used the same method I would use to make shoe bottoms to make it one continuous piece that wasn't square like a regular scarf would be. But...ALL THE DAMN SUCKERS! Yup, some 40 suckers and lots of hours later (it was a stop and go project with hard to work with yarn) I was finished. YAY! But wait, there's more. Not only was there a scarf involved, but the leftover yarn turned into talks of a hat. Oy! I didn't know what a squid hat would look like but I gave it a try. Apparently I did ok because she was quite happy with the finished product.

20150901_201631
The finished products
I'm pleased to say that I have quite a group of eccentric friends...many of whom now want to be little squids for the winter.