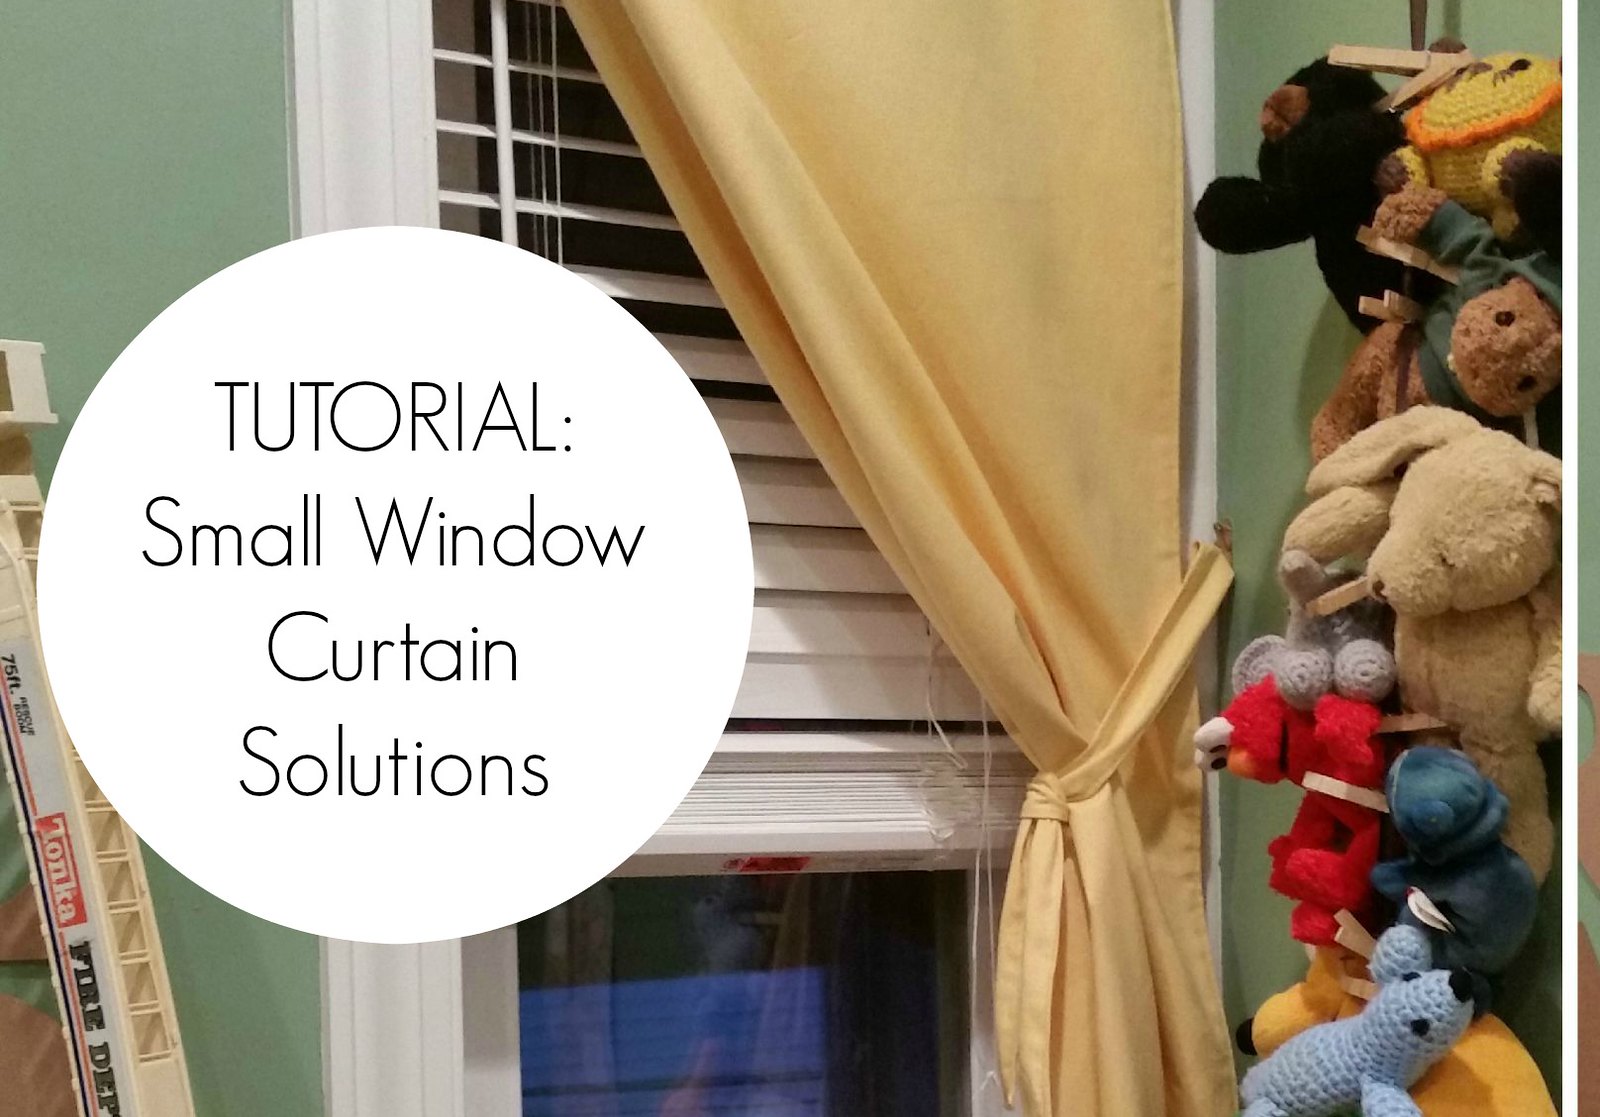
 When I was fixing up E's room these past two months (as well as the rest of the house!), I decided to tackle a project I had been putting off for years...curtains. E's room is actually MY bedroom from childhood (how cute, right?), and I only ever remember simple, little lace curtains on the window. Not exactly boy-room material. And at barely 20" in width, it is not something I can simply head out to IKEA for, either.
While searching the internet for some ideas and inspiration, I came across THIS link for a shaker curtain. I liked the idea of one, simple piece, and, since we are using blinds as well, a Roman shade was just not going to work.
...small city homes are simply terrible to work with.
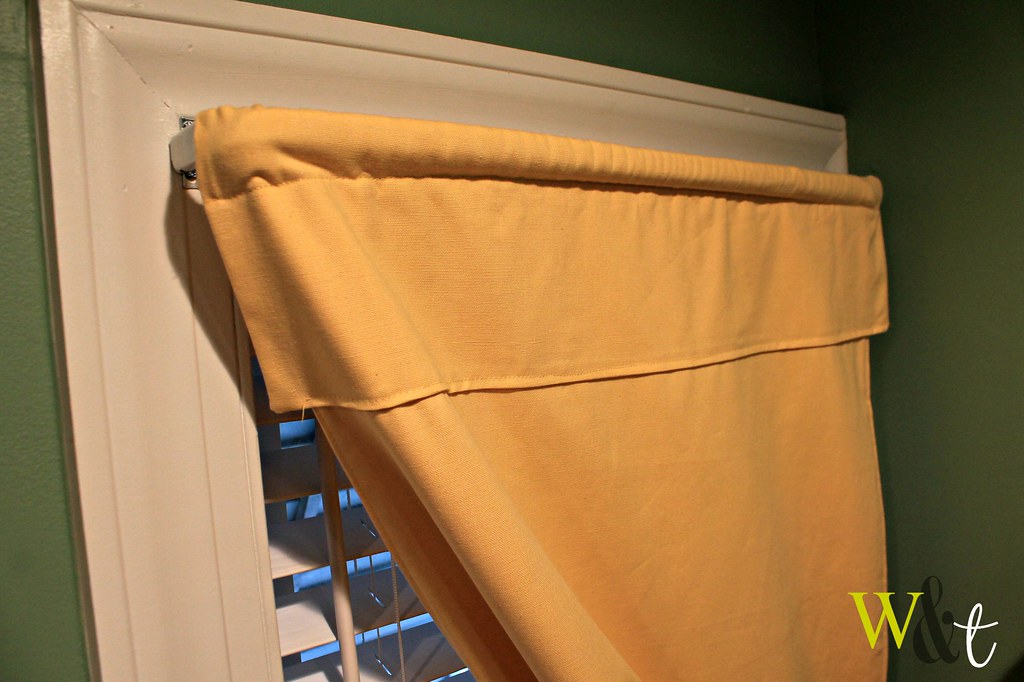
PART I: The Curtain - Despite the narrow width of the window, it is still a standard height, making the idea a little more complex since I could not tack them up the same way as the blog shows. The first thing I did was to measure the width and height of the window. I added about six additional inches to the length of the measurement since the curtain was going to be "bunched up" to one side. The fabric I used was a bright, yellow canvas I bought at on Fabric Row in Philly for about $10 (thank you imperfections for making discount fabric!). I constructed the curtains using a basic method, however, since I can never make things simple, I added a cute little top piece, making them more of a cafe' curtain style. E has a toy kitchen in his room, so they go great. The little extension really helps to hide the side of the curtain rod we needed to use due to the extremely short distance from the end of the window to the wall on the right (which is only about 3"). I'm glad because I really despise those rods, as nostalgic as they can be. Also, I doubled up the fabric to serve as a lining, since I like all of my curtains lined for some reason (warmth!).
Here is a basic, rudimentary diagram of their layout.

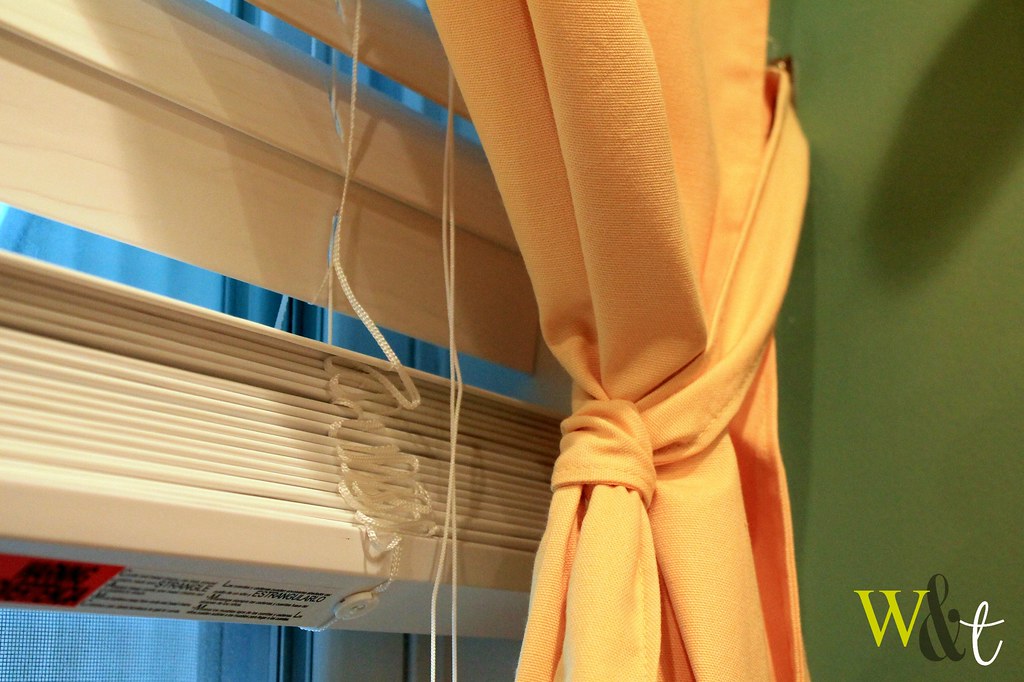
Once I had the curtains up, I had to decide where I would secure it. As I mentioned, the length of the window left the option to tie it up in the upper corner pretty much completely out (as it is shown on the ORIGINAL BLOG I used for reference) so I opted to knot mine to the side. I used a small hook and inserted it into the opposing wall at the proper height (test! test! test! before you go making holes!), and used a cross knot (like tying a dress tie) to secure.
(pay no attention to the little hole I was patching on the wall! :) )
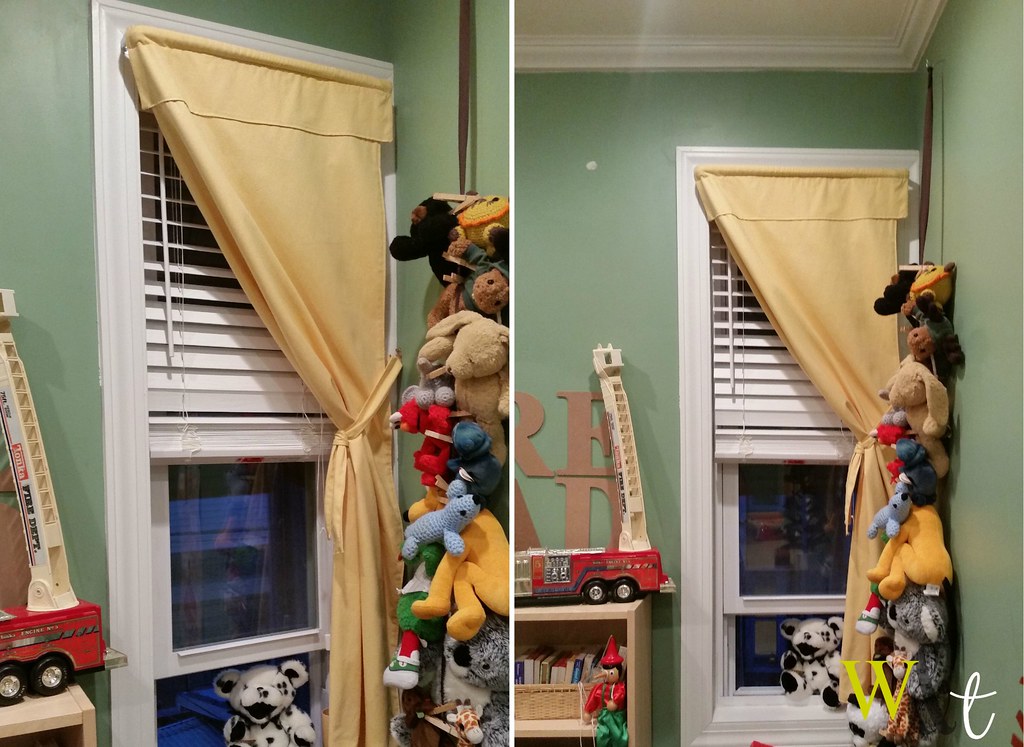
I'm really happy with the way the curtain came out. I was a nervous wreck sewing it (as I usually am), but was pleased when my little experiment worked out for the best...Thankfully.
No comments