Showing posts with label Crafts for the Home. Show all posts

Small Window Curtain Idea & Tutorial

20150828_195302 When I was fixing up E's room these past two months (as well as the rest of the house!), I decided to tackle a project I had been putting off for years...curtains. E's room is actually MY bedroom from childhood (how cute, right?), and I only ever remember simple, little lace curtains on the window. Not exactly boy-room material. And at barely 20" in width, it is not something I can simply head out to IKEA for, either.

While searching the internet for some ideas and inspiration, I came across THIS link for a shaker curtain. I liked the idea of one, simple piece, and, since we are using blinds as well, a Roman shade was just not going to work.

...small city homes are simply terrible to work with.

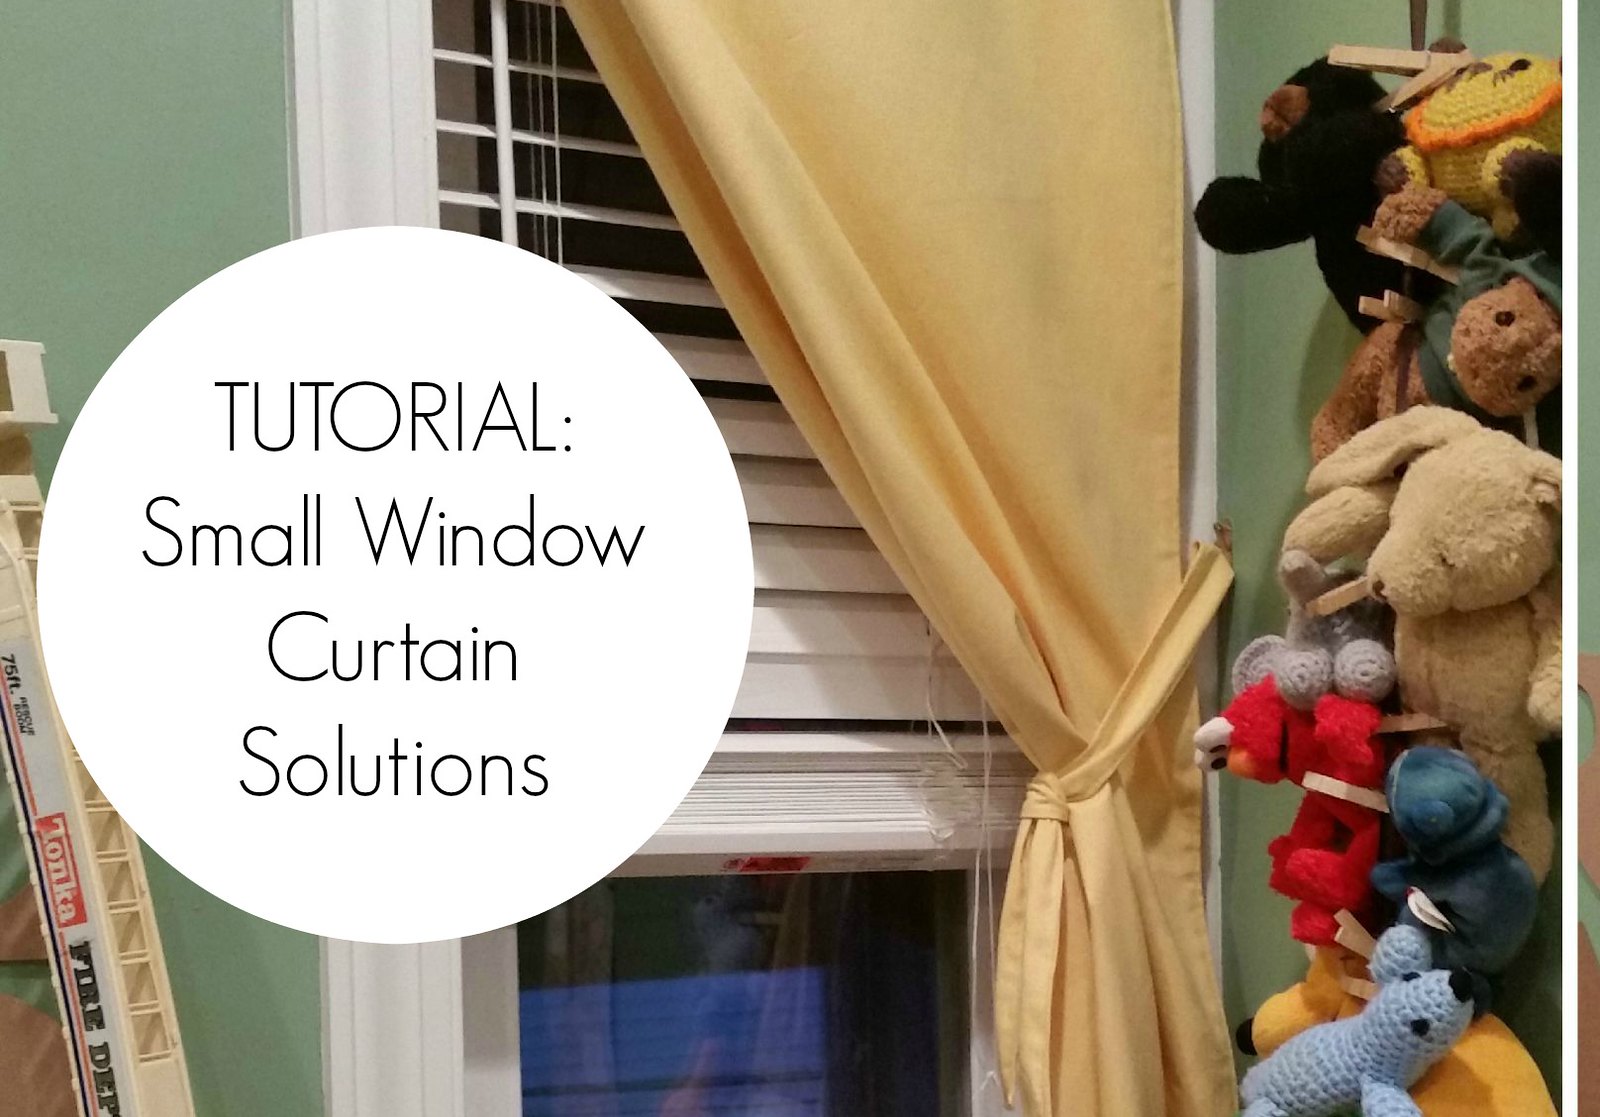
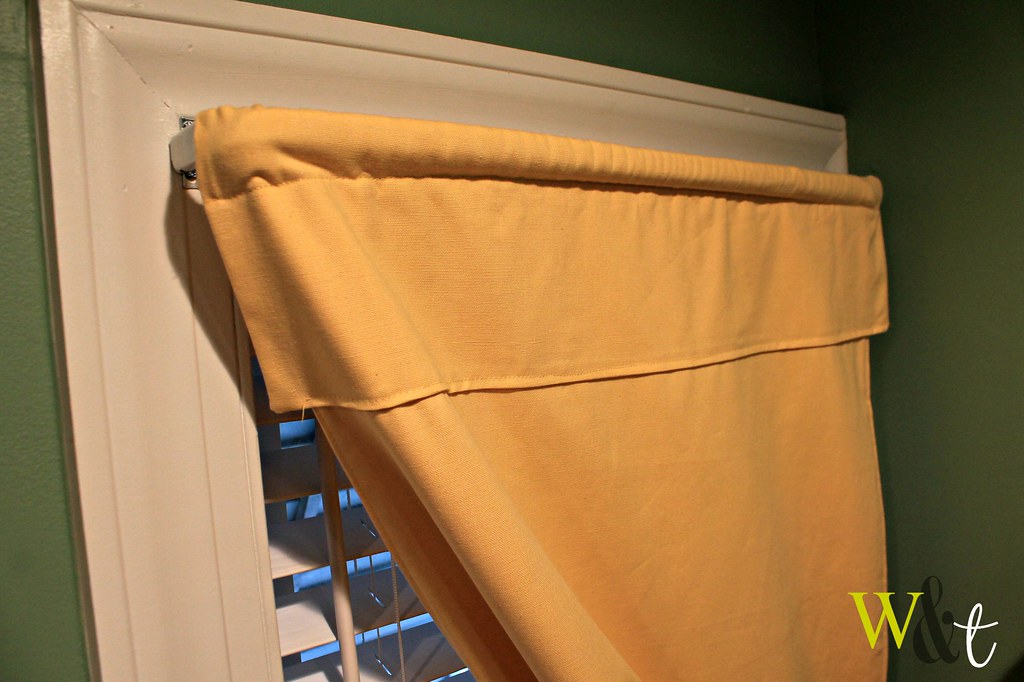
PART I: The Curtain - Despite the narrow width of the window, it is still a standard height, making the idea a little more complex since I could not tack them up the same way as the blog shows. The first thing I did was to measure the width and height of the window. I added about six additional inches to the length of the measurement since the curtain was going to be "bunched up" to one side. The fabric I used was a bright, yellow canvas I bought at on Fabric Row in Philly for about $10 (thank you imperfections for making discount fabric!). I constructed the curtains using a basic method, however, since I can never make things simple, I added a cute little top piece, making them more of a cafe' curtain style. E has a toy kitchen in his room, so they go great. The little extension really helps to hide the side of the curtain rod we needed to use due to the extremely short distance from the end of the window to the wall on the right (which is only about 3"). I'm glad because I really despise those rods, as nostalgic as they can be.  Also, I doubled up the fabric to serve as a lining, since I like all of my curtains lined for some reason (warmth!).

Here is a basic, rudimentary diagram of their layout.


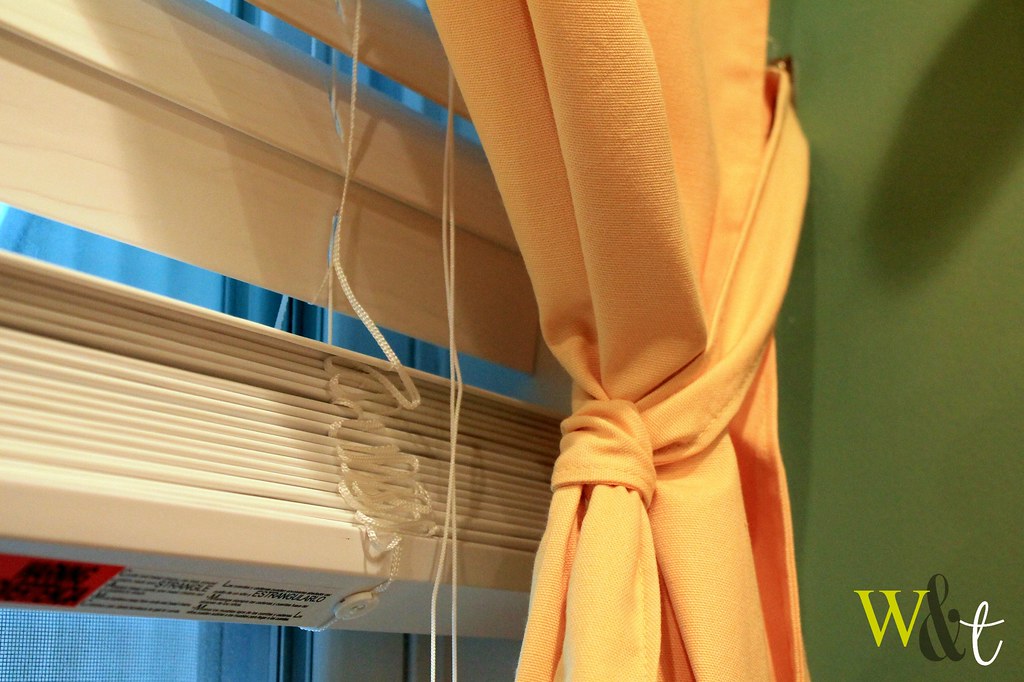
PART II: The Tie - In addition to the fabric for the curtain, I also cut a strip about 3 1/2 ft in length for a tie (doubled up and top stitched). You can also choose to use a regular ribbon or curtain "tassel" and the length depends on where you will secure your curtain and how much slack you want to have. Experiment beforehand and adjust your tie to suit.

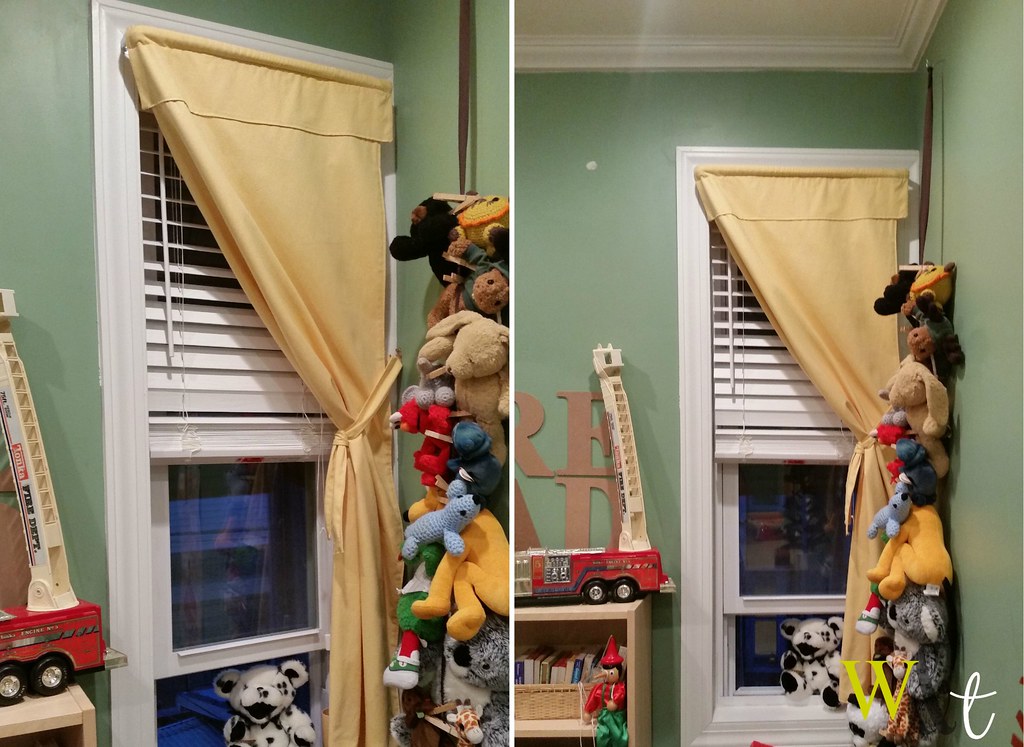
Once I had the curtains up, I had to decide where I would secure it. As I mentioned, the length of the window left the option to tie it up in the upper corner pretty much completely out (as it is shown on the ORIGINAL BLOG I used for reference) so I opted to knot mine to the side. I used a small hook and inserted it into the opposing wall at the proper height (test! test! test! before you go making holes!), and used a cross knot (like tying a dress tie) to secure.
IMG_5224
notice how the extension covers almost all of the curtain rod

IMG_5221 20150828_195302
(pay no attention to the little hole I was patching on the wall! :) )
 
I'm really happy with the way the curtain came out. I was a nervous wreck sewing it (as I usually am), but was pleased when my little experiment worked out for the best...Thankfully.
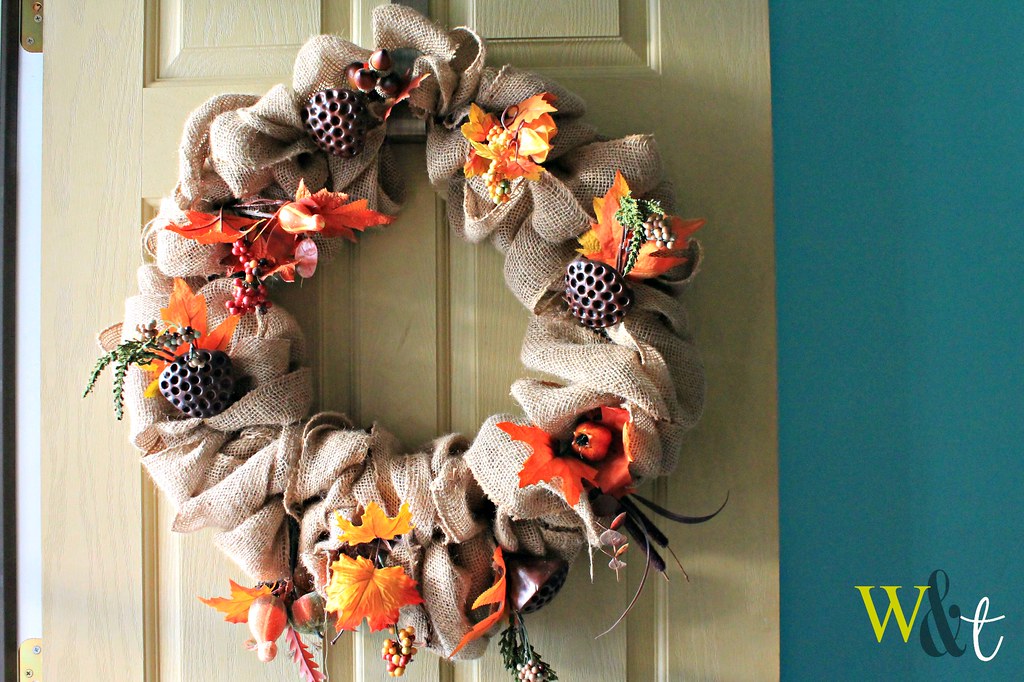
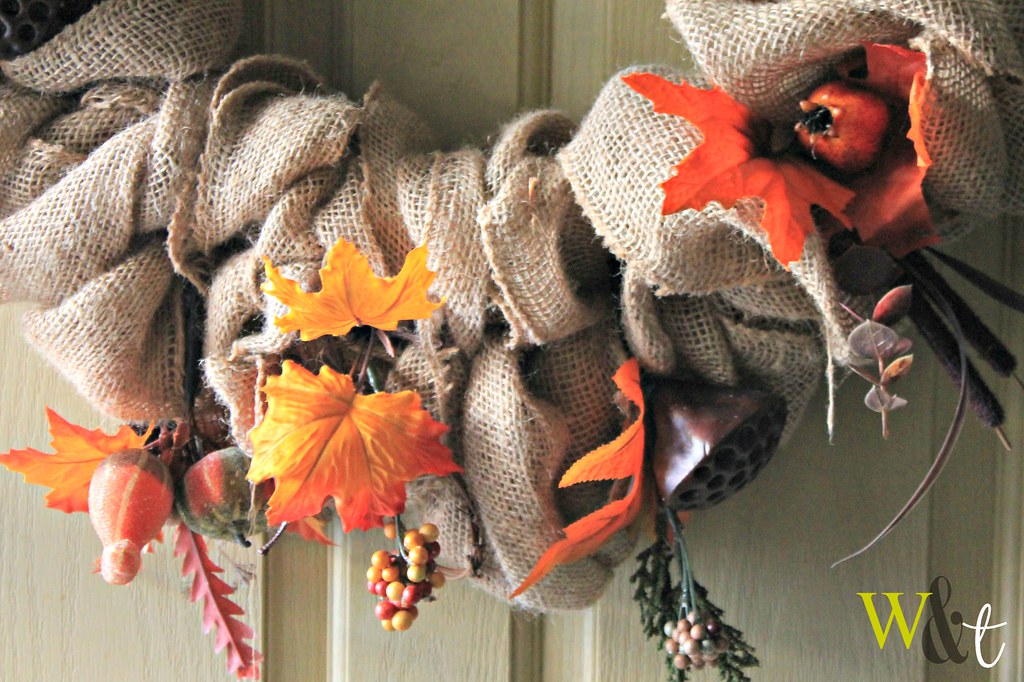
Tutorial Tuesday: Burlap Wreath

It's (finally) fall! ...and with fall comes all of the beautiful colors of the leaves, cool and crisp weather, and lots of home remodeling for me! Some people Spring Clean, well I prefer the fall to complete all of my remodeling projects and spruce ups.

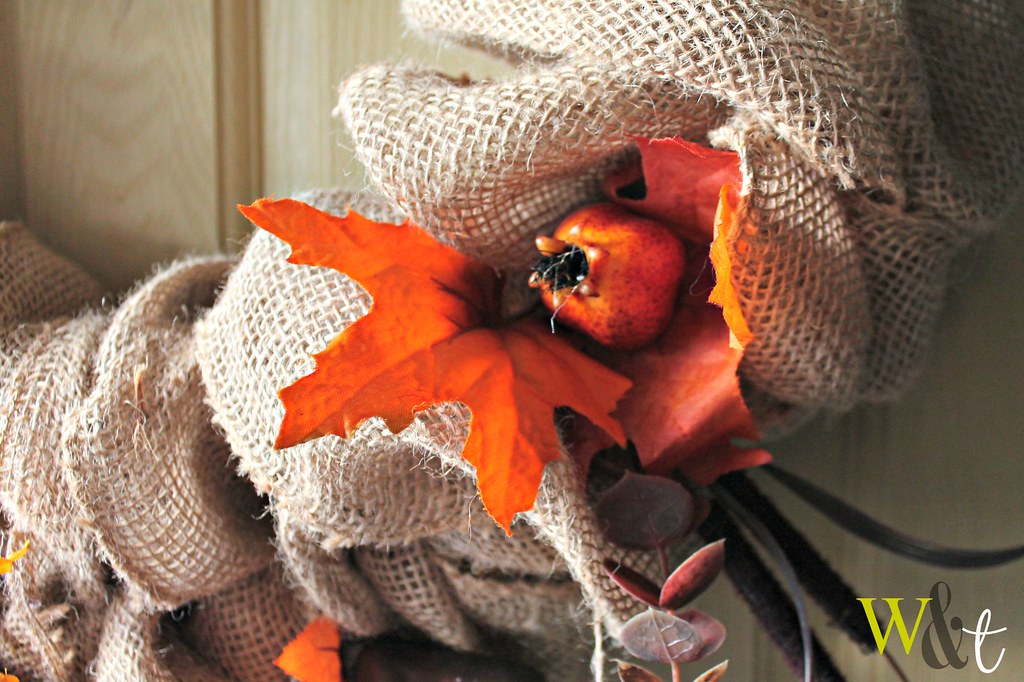
I love getting back into decorating around this time of year, especially because I get to utilize earth tones and textures for the season. I love browns and yellows and oranges all mixed together, so last year I decided to make a burlap wreath for my front door. I coveted the ones on ETSY but knew that I could make something comparable for half of the cost (Thank you AC Moore Coupons!). Although the burlap was about $5 a roll at regular price (and the rolls were on the small size), I simply made a couple of trips for all of my supplies and had the hubby buy some with his own coupon code at the store. In addition to the ring and burlap, I found some adorable little ornaments on clearance for between $.50 to $1 each at the time. In all, I think I spent under $20 for what sells for over $40 (+shipping) online.

I had never made a wreath before, but took the blogosphere for help. I found an easy tutorial at Little Lovely Leaders that had lot of photos to guide me through the process. In all I am proud of how it came out and it held up really well so far (as it was sitting in storage since last year).

IMG_5093 IMG_5092 IMG_5089

To change it up a bit during the fall I buy small wood signs with things like "Happy Fall," "Happy Halloween," and "Give Thanks" (for Thanksgiving)at the craft store and hang them in the center. This way I am able to keep it up the entire season and still add a little more decoration to the door for the holidays.

The Rope Trick: Upcycling Decor

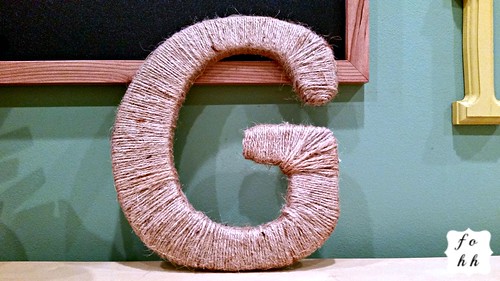
Rope is a simple and inexpensive item that is typically overlooked when it comes to a decorative use. However, with a move back to natural, somewhat bohemian elements in home decor, designers are taking a $3 spool of jute and turning it into $50 vases and $30 votive holders. After taking to Pinterest for some inspiration I took elements from this tutorial to turn an old, inherited piece and make it more...well...us.

IMG_5119

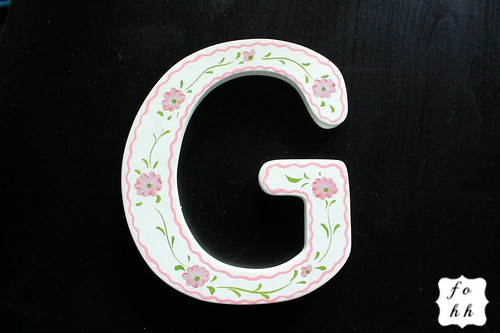
The original piece came from my husband's Grandmother's home in Avalon, NJ. It hung in out bathroom, but it's daintiness did not seem to fit the rest of the decor of the room. Needless to sayI decided to replace it with something more suiting (which also happened to be a piece from her home). It has been collecting dust and winding up in awkward places where it simply doesn't belong because I did not want to get rid of it. I also did not want to do something to it that might destroy it (just in case). So, I decided the rope wrapping was the way to go.


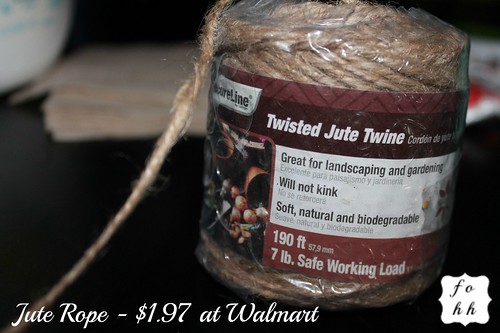
The entire project took less than one package of this jute rope, which I got at Walmart for $1.97 ( ca-ching! ). I usually keep a few of these around, but with the house in chaos right now (that's another story), I thought it easier to just buy another roll instead of ripping open boxes and bins. I like this particular rope for a lot of my crafts because it is unfinished. A lot of ropes have a wax-like coating on them which helps them "grip" as well as prevents them from fraying. Since I like my projects a little more rustic sometimes (pretty colors mixed with indie & natural elements), I want something that it going to have more texture. Other than that, the only supply you need is a hot glue gun or suitable glue.

20150821_191901

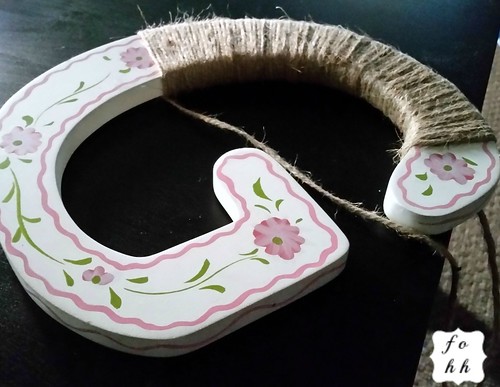
I began with the easiest part of my letter: the middle. As the girth of my letter is different than the tutorial, I opted out of the first step, which was to glue a strand around the perimeter of your letter.


When that was finished I took to conquer the tricky parts - the corners and ends. Wrapping in the corners can create a lot of bulky overlapping, so be careful. In these spots I applied some hit glue and applied the rope in a tight "wave" pattern actually wrapping it entirely around. After that I wrapped around this a few times to cover it up. I did the same for the ends, making sure to securely coil up my rope and apply a generous amount of hot glue to hold.

20150824_075455
All in all I am pleased with the end product. With under and hour of work and under $2 in cost, I was able to take an old treasure and turn it into something new.

 If you'd like some more inspiration on rope projects, check out this fabulous pin!

Free Artwork Downloads for Your Home

IMG_0986


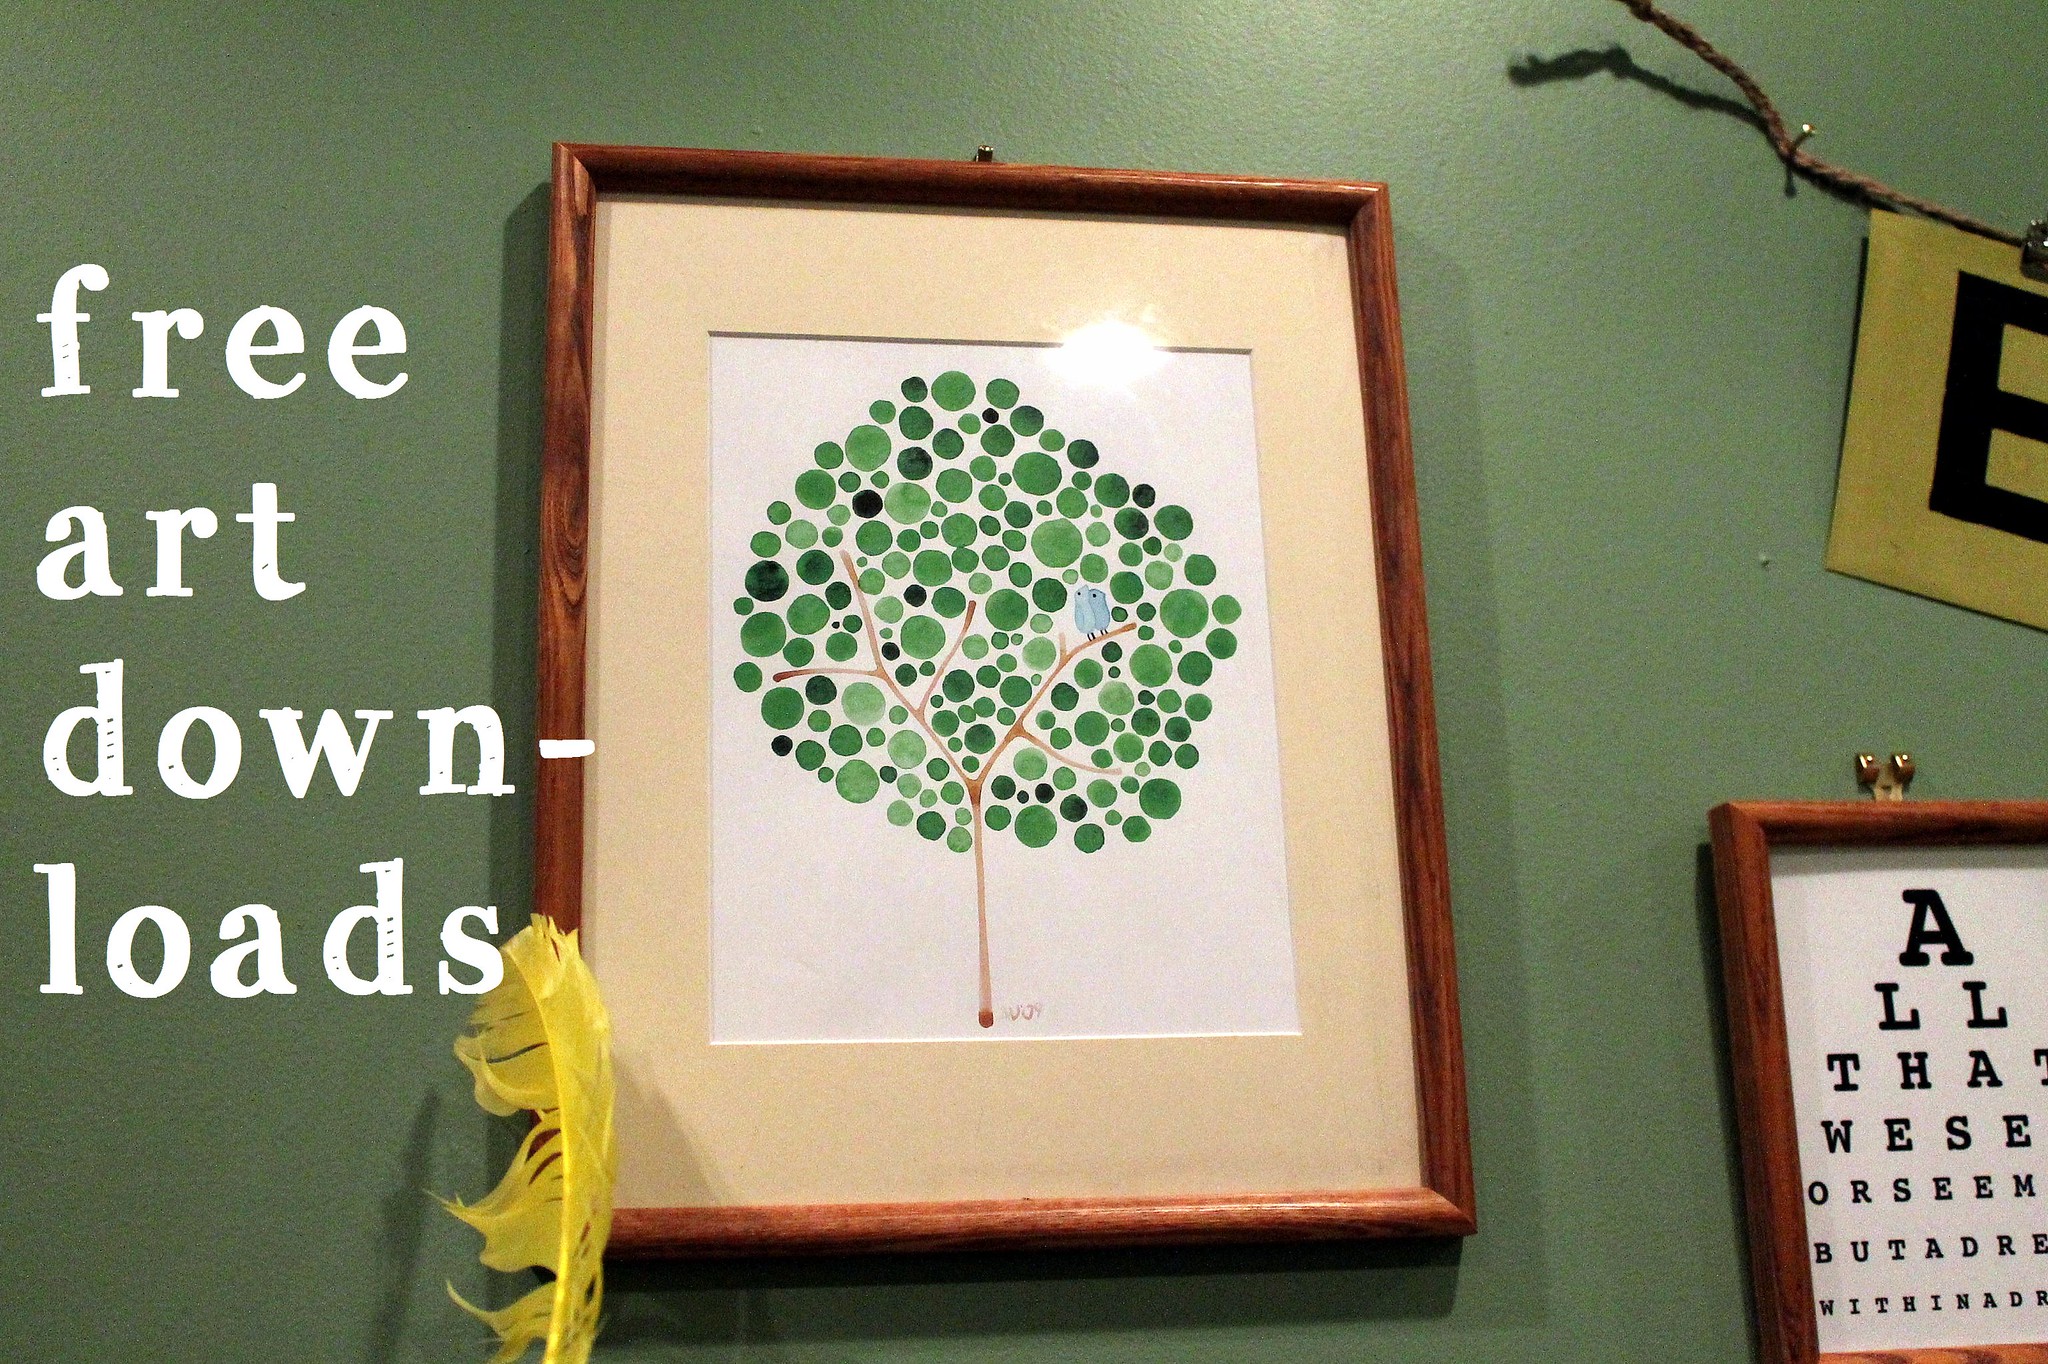
Guess how much this adorable tree print was? If you guessed FREE then you are absolutely correct. A few years ago I discovered a site called indiefixx.com where I found their Free Art Project. As a part of the project one free digital art print was uploaded monthly to share to the rest of world (as long as it was for personal use). Not only does it help those on tight budgets bring some color into their lives, but it also helps promote artists trying to make a name for themselves.
I had already downloaded a few of the prints to furnish my living room walls, so when I began switching around the artwork in the baby's room I remembered this site and began searching for something. This particular print is from Angela Vandenbogaard. I did some Googling and found her portfolio here. I mostly love how it mixes natural elements with a modern style.

I had already had frames from the artwork which had already hung on the wall, so all I had to do here is print the photo and remount it.

Although there haven't been any additions since 2011, the website still has lots of great art ready to print. The only downside is that they are .pdf images, so if you need to re-size make sure you adjust your printer settings.

Chalkboard Dresser Tags

Since I already had an abundance of chalkboard paint from my table and chair project I decided to do another project this past weekend (especially since there was a lovely break in the snow and the sun was shining!). I had seen SignificantOthers'chalkboard painted wood slices before and wanted to do something similar for my son's dresser baskets. My son's room was previously a craft studio of sorts and I already had an IKEA EXPEDIT shelf which I simply added eight of the BRANAS baskets to create a lovely baby dresser. Being that my son's clothes are still rather small the baskets suit my needs just fine and I was able to eliminate the purchase of a proper dresser.

DIY Chalkboard Table & Chairs

About a year ago we bought Eamon a table and chair set from IKEA for about $20. It was a great deal, but as with kids (and surfaces from IKEA), it took a beating since then. I had rearranged a few of his toys from our living room area and taken his chalkboard to his room, but since the boy loves to draw on absolutely EVERYTHING, I wanted to turn his table set into a place he can sit and color and I wouldn't have to sorry about constantly cleaning up! So, for a grand total of $5.79, I took his scribbled up table and chairs and made them into a surface ready for Picaso-junior himself. Here's how:

Baby Room Makeover: Name Sign

name sign (1)

This project cost me a little more than I had initially wanted, but I was also able to utilize materials I already had around the home to make this cute name sign for my love.

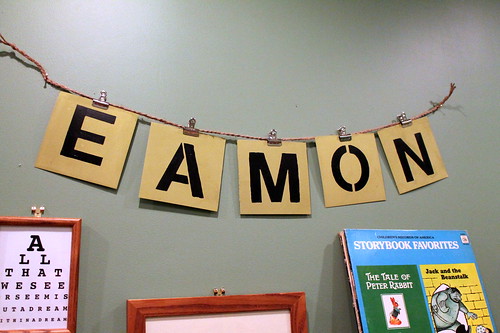
While I was at Blick art supplies I came across these adorable little canvases and had the wonderful idea to paint Eamon's name on them and turn them into a hanging sign to place above his new shelf and some artwork I hung above this dresser. Since I am not a magnificent freestyle painter, I was on a mission to find some durable stencils that I could reuse for other projects and that wouldn't bust the bank. Luckily, they were having a sale and I was able to score stencils that normally $7.79 for a bit lower at $5.99. Not much of a score when you think about it, considering that I could have printed free stencils online, but I was in the moment. My idea was to spray paint the canvases using some leftover paint at home and stenciling one letter to each using some acrylics (which I have a huge stash of). I would then use some cheap art clips and some jute I had picked up at the thrift store a while back to create the hanging sign.

Baby Room Makeover: Mini Skateboard Shelf Project

As my baby is getting bigger I decided that it was time to redecorate his room (which is rarely used to begin with) to make it a little more mature and playroom oriented. Doing this on a budget can be a trick, especially since things like artwork can be pricy when you're trying to do the "handmade" thing. The trick is to use items you already have around the house to keep that cost to a minimum.

One of the first things I noticed in Eamon's room was a novelty mini skateboard I had bought him during the summer from Five Below. Since it is something that is not regularly used (given that he has only just turned 2 and we literally a dozen other boards in the house), I decided to put it to good use and mount it to the wall above the vintage Playschool Record Player I dug out from my childhood pile and set up in his room.

The project is really quite easy and requires minimal skill (so don't fret if you're not a master building!)Now, everyone likes to make their shelves a bit differently: some people use prefabricated bookshelf materials and some people go for simple braces; it's really up to you. I chose to use small corner braces because I was using a small board to begin with and didn't want it to be "clunky" looking.